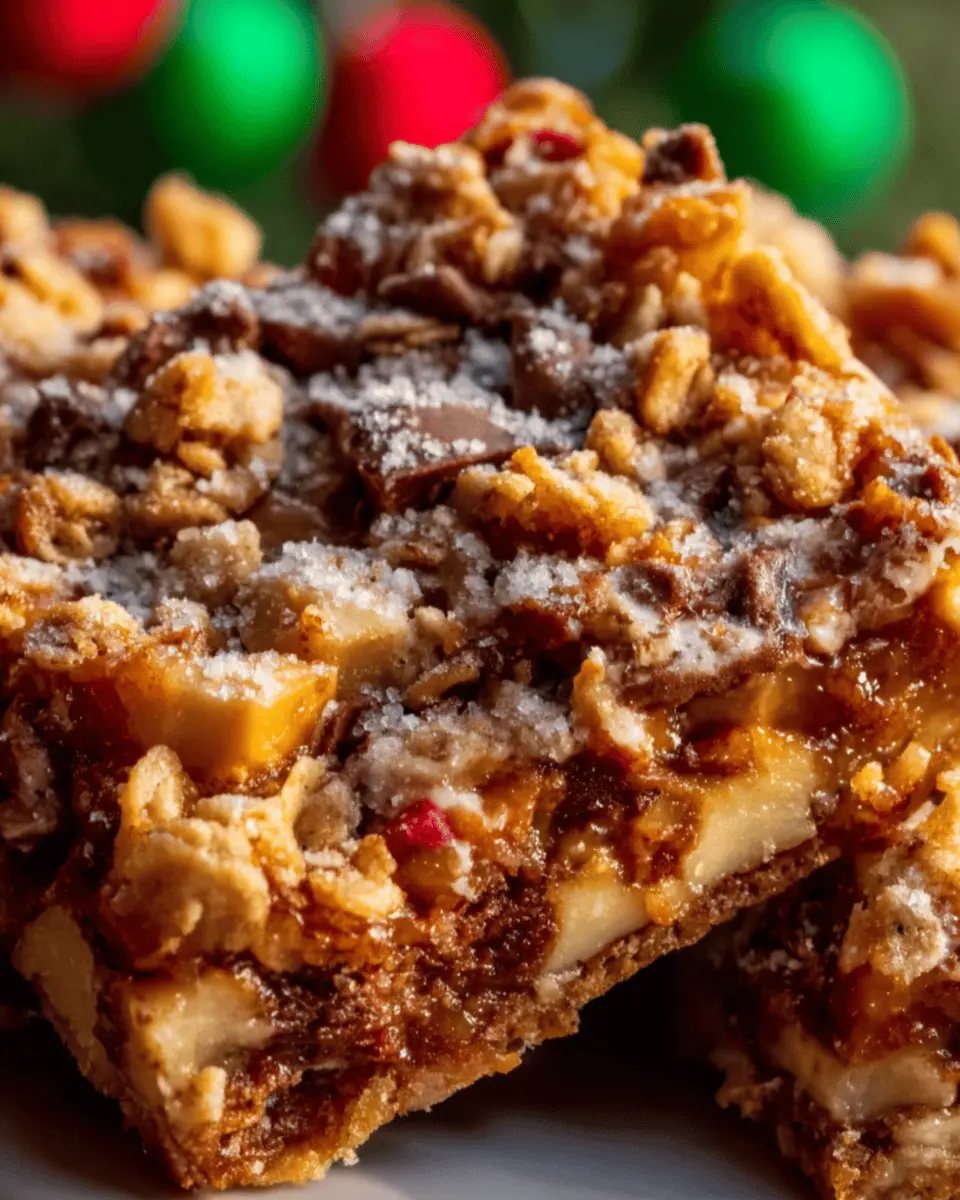
Introduction to Apple Crisp Bars
When the cool breezes of autumn start to weave their way through our daily lives, it’s a gentle reminder that it’s time to embrace the flavors of the season. Enter apple crisp bars — a delightful treat that marries the comforting taste of baked apples with a crunchy, buttery topping. They’re not just a treat; they’re nostalgia in edible form, perfect for cozy gatherings or even just a sweet pick-me-up on a Wednesday afternoon.
Why Apple Crisp Bars Are a Perfect Homemade Treat
What makes apple crisp bars the epitome of a homemade delight? For starters, they’re incredibly easy to make and require minimal kitchen equipment. A mixing bowl, a baking dish, and a spoon are pretty much all you’ll need. The sweet aroma of apples baking fills your kitchen, creating an inviting atmosphere that makes any day feel special.
Here are a few reasons to dive into these delightful bars:
-
Versatility: You can customize these bars with various toppings — think of caramel drizzles or a sprinkle of walnuts for an added crunch. You can also switch up the apples based on what’s in season or available near you. For reference on the best apples to use, check out this guide from The Spruce Eats.
-
Healthy-ish Comfort Food: While they taste indulgent, using whole grains and fresh fruit brings some nutritious elements into the mix. Did you know that apples are an excellent source of dietary fiber? They can help keep your digestive system in check while satisfying your sweet tooth.
-
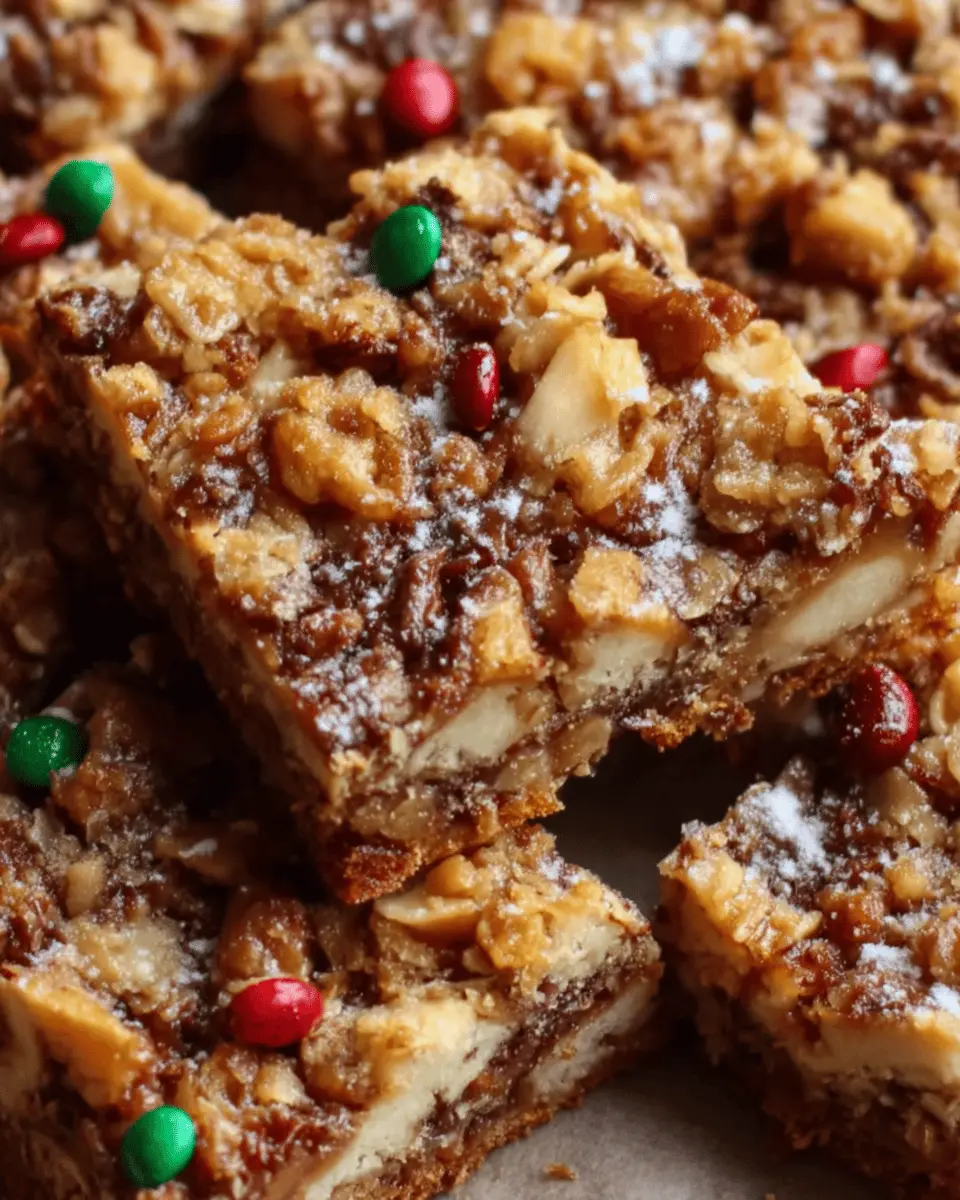
Perfect for Sharing: Whether you’re bringing dessert to a friend’s potluck or simply looking to impress your family, these apple crisp bars are easy to slice and serve. Cut them into small squares, and voilà — you have a charming treat for everyone!
In summary, apple crisp bars offer that cozy blend of crunch and sweetness, making them a quintessential homemade treat. While you whip these up in your kitchen, think about the memories they’ll create. Ready to get started on this delicious journey? Let’s dive into the recipe that will have everyone asking for seconds!
Ingredients for Apple Crisp Bars
When it comes to creating mouthwatering apple crisp bars, having the right ingredients is essential. Here’s what you’ll need to whip up this delightful treat:
For the Base:
- 1 cup all-purpose flour: This forms the structure of your bars.
- 1 cup oats: Rolled oats add the perfect chewy texture.
- ½ cup brown sugar: For that rich, caramel-like sweetness.
- ½ cup unsalted butter: Melted, to bind everything together.
For the Apple Filling:
- 3 cups peeled and sliced apples: I recommend Granny Smith for a tart flavor, but feel free to use your favorites.
- ½ cup granulated sugar: Balances out the tartness of the apples.
- 1 teaspoon cinnamon: Brings warmth and depth to the dish.
Topping:
- ½ cup chopped nuts (optional): Pecans or walnuts provide a nice crunch.
- ¼ teaspoon nutmeg: Just a pinch for extra flavor.
These ingredients come together to create a deliciously comforting dessert that’s perfect for any occasion. Whether you’re hosting a dinner party or just craving something sweet, these bars are sure to impress. You can find more about the health benefits of apples here.
With these basics, you’re all set to create apple crisp bars that will warm your kitchen and bring smiles to everyone around the table! Do you have any special variations or additions you like to make?
Preparing Apple Crisp Bars
Making apple crisp bars is a delightful way to enjoy the classic flavors of apple crisp in a portable format. These bars are perfect for gatherings, afternoon snacks, or a sweet pick-me-up any time of the day. Follow these easy steps, and you'll be on your way to creating a delicious dessert that will impress your friends and family.
Gather Your Ingredients
Before diving into the depths of baking, let's make sure you have everything you need. Here's a handy checklist for your apple crisp bars:
-
For the crust and topping:
-
1 ½ cups all-purpose flour
-
1 cup rolled oats
-
¾ cup brown sugar
-
½ teaspoon cinnamon
-
½ teaspoon salt
-
½ cup cold unsalted butter (cut into cubes)
-
For the apple filling:
-
4 cups peeled and sliced apples (Granny Smith or Honeycrisp work great)
-
¼ cup granulated sugar
-
1 tablespoon lemon juice
-
1 teaspoon vanilla extract
-
½ teaspoon cinnamon
Now that you have your ingredients, it’s time to roll up your sleeves and get to work!
Make the Crust and Topping
In a large mixing bowl, combine the flour, rolled oats, brown sugar, cinnamon, and salt. Mix well until everything is nicely blended. The fun (and delicious) part comes next: add the cold butter to the mixture. You can either use a pastry cutter or your hands to mix until the mixture resembles coarse crumbs. You want to feel those oats between your fingers and savor the buttery aroma filling your kitchen.
Did you know that oats are loaded with fiber, making this dessert a tiny bit healthier? You can read more about cooking with oats on Healthline.
Pre-bake the Crust
Preheat your oven to 350°F (175°C). Grab an 8x8 inch baking pan and line it with parchment paper for easy release. Press about two-thirds of your crust mixture into the bottom of the pan evenly. It doesn’t have to be perfect, just ensure it’s compact.
Bake for about 10 minutes, or until it starts to turn a light golden color. This step helps create a sturdy base for your apple crisp bars, ensuring they hold their shape once baked.
Prepare the Apple Filling
While the crust is pre-baking, let’s work on the apple filling. In a separate bowl, toss your sliced apples with granulated sugar, lemon juice, vanilla extract, and cinnamon. Mix everything lightly, ensuring every apple slice gets a bit of that flavor love. This mixture adds a wonderful zing that balances the sweetness of the bars.
Assemble the Bars
Now comes the fun part: assembling your apple crisp bars! Take the pre-baked crust from the oven and spread the apple filling evenly over it. Then, sprinkle the remaining crust mixture over the apples, making sure to cover as much as possible. This topping will crisp up nicely during baking, giving you that irresistible crunch.
Bake and Cool Properly
Pop the assembled pan back in the oven and bake for about 25-30 minutes, or until the top is golden brown and bubbly. The aroma wafting through your home will be utterly delightful!
Once baked, let your apple crisp bars cool in the pan for at least 15 minutes before lifting them out using the parchment overhang. This cooling time helps them set up a bit, making it easier to cut perfect squares.
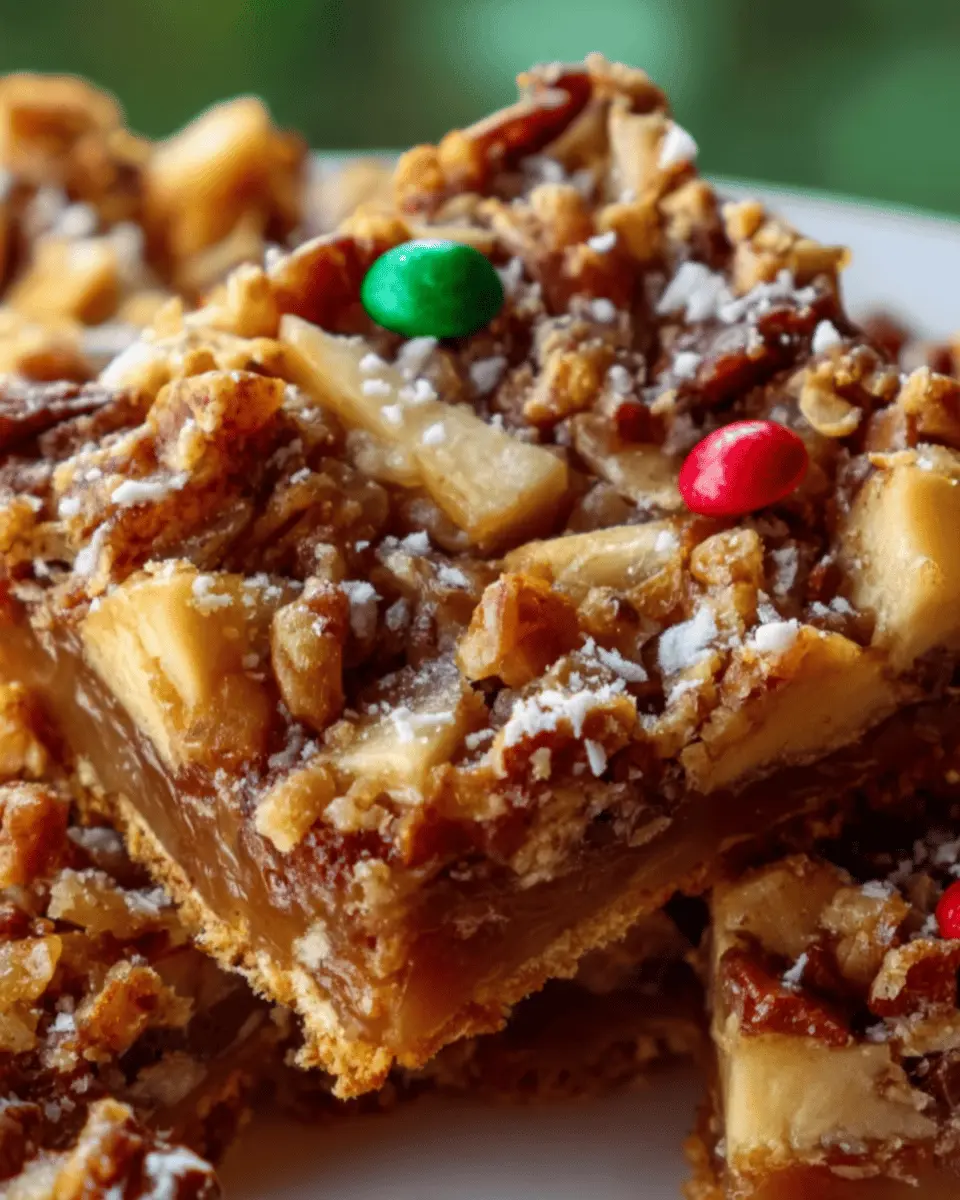
A little patience here goes a long way! Enjoy these delicious bars on their own, or serve them warm with a scoop of vanilla ice cream for an extra touch. Happy baking!
Variations on Apple Crisp Bars
Gluten-Free Apple Crisp Bars
For those who follow a gluten-free diet, fear not—apple crisp bars can easily adapt to fit your needs! Opt for gluten-free oats and substitute regular flour with almond flour or a store-bought gluten-free blend. Not only will this tweak provide a deliciously nutty flavor, but it also keeps the texture on point. You can find great gluten-free options at your local grocery store or online. Did you know that gluten-free baking can be just as satisfying? According to gluten-free expert and cookbook author, Elana Amsterdam, using wholesome ingredients like these can elevate the flavor experience.
Apple Crisp Bars with Nuts
If you're a fan of that delightful crunch, why not consider apple crisp bars with nuts? Adding chopped pecans, walnuts, or almonds to the topping can take these bars to a whole new level. For a caramel note, try toasting your nuts beforehand. This not only enhances the flavor but also adds extra depth to your dessert. Nuts are not only tasty but also provide healthy fats and protein, making your indulgence a little more balanced.
- Topping Suggestions:
- Chopped pecans or walnuts
- Almond slivers for a different texture
- Add a sprinkle of sea salt to enhance the sweet-tart flavors of the apples
With these variations, there's a version of apple crisp bars for every palate. So whether you’re doubling down on health or diving into decadence, there’s no excuse not to whip up a batch! For more inspiration, check out resources like The Gluten-Free Girl for additional tips!
Cooking Tips and Notes for Apple Crisp Bars
When it comes to crafting delicious apple crisp bars, a few handy tips can elevate your baking game. Here are some insights to keep in mind:
Choosing the Right Apples
For the best flavor and texture, opt for a mix of sweet and tart apples. Granny Smith and Honeycrisp are a fantastic duo. Their balance ensures an overall delightful taste.
Optimal Baking Time and Temperature
Preheat your oven to 350°F (175°C). Baking time can vary, so start checking your bars at the 25-minute mark. You want a golden-brown topping—too much time can make them dry.
Preparing the Oats
Using old-fashioned rolled oats adds a great chewy texture. You can find good options for oats at Bob's Red Mill or your local health store.
Letting Them Cool
Consider this a crucial step: Allow your apple crisp bars to cool in the pan. This helps them firm up, making them easier to cut into perfect squares.
Incorporating these tips will not only boost your confidence in the kitchen but also impress your friends and family with these delightful treats!
Serving Suggestions for Apple Crisp Bars
When you whip up a batch of apple crisp bars, you’ll want to enjoy them in more ways than one! Here are some delightful serving suggestions to elevate your dessert experience.
Pair with a Scoop of Ice Cream
Nothing complements the warm, spiced layers of your apple crisp bars like a scoop of vanilla ice cream. The creamy texture and mellow flavor create a divine contrast that highlights the sweet, tart apples.
Drizzle with Caramel Sauce
For an extra touch of indulgence, drizzle some warm caramel sauce over your bars. This gooey addition enhances the sweetness and can make your dessert look gourmet—even if you made it in your own kitchen.
Serve with Fresh Whipped Cream
If you prefer something lighter, consider a dollop of freshly whipped cream. The airiness of the cream balances the dense apple crisp bars, making every bite heavenly.
Add a Side of Greek Yogurt
For a healthier twist, serve your bars with a side of Greek yogurt. Not only does it provide a nice tangy contrast, but it also boosts protein, making it a satisfying snack any time of day!
Pair with a Cozy Beverage
To complete your treat, consider serving your apple crisp bars with a warm drink. Chai tea or even a cinnamon-infused herbal tea can complement the spices beautifully.
Ready to dive into your homemade goodness? Enjoy experimenting with these serving suggestions! For more apple recipes, check out Apple Recipes.
Time Breakdown for Apple Crisp Bars
Preparation Time
Getting your apple crisp bars started is a breeze! You’ll need about 15 minutes to prepare the ingredients. Make sure to gather your apples, oats, flour, and spices before diving in to keep things efficient.
Baking Time
Once your mixture is ready and in the pan, pop it in the oven for approximately 30 minutes. During this time, the aroma of baked apples and cinnamon will fill your kitchen—trust me, it's wonderful!
Total Time
In just about 45 minutes, you'll have a pan of delicious apple crisp bars to enjoy. It’s perfect for a quick dessert or a sweet snack that’s sure to impress friends and family. For more tips on perfecting your bars, check out King Arthur Baking for insights on baking techniques!
Nutritional Facts for Apple Crisp Bars
When indulging in delicious apple crisp bars, it's essential to be mindful of their nutritional content. Below is a quick overview to keep you informed as you enjoy this delightful treat.
Calories
A typical serving of apple crisp bars contains around 200 calories. This makes them a reasonable dessert choice when you're craving something sweet without overloading on calories.
Sugar Content
These bars generally contain about 10-12 grams of sugar per serving. While it's not the lowest, consider using natural sweeteners like honey or maple syrup to reduce refined sugar levels.
Fiber
One of the highlights of apple crisp bars is their fiber content. You can expect around 2-3 grams of fiber per serving, thanks to the oats and apples. Increasing your fiber intake is beneficial for digestion, making these bars not just tasty but wholesome.
For more detailed nutritional information, check resources like USDA’s FoodData Central or Healthline. Now you can enjoy your apple crisp bars with a little peace of mind about what’s in them!
FAQ about Apple Crisp Bars
Can I use different types of apples for the filling?
Absolutely! One of the fun aspects of making apple crisp bars is experimenting with apple varieties. While tart apples like Granny Smith bring a pleasant zing, sweeter varieties like Honeycrisp or Fuji can add lovely depth. Mixing different types can also enhance the flavor profile. Just ensure that whichever apples you choose are firm and fresh; otherwise, they might become mushy during baking. For some great apple variety recommendations, check out this guide.
How do I store leftover apple crisp bars?
If you happen to have leftovers (and let’s be honest, that’s a big if!), storing your apple crisp bars is straightforward. Place them in an airtight container and store them in the fridge, where they’ll stay fresh for up to five days. For best texture and flavor, reheat them briefly in the oven or microwave before enjoying. Trust me, a warm apple crisp bar is a delightful way to use leftovers!
Can I freeze apple crisp bars?
Yes, you can freeze your apple crisp bars! To do this, allow the bars to cool completely, then wrap them tightly in plastic wrap and place them in a freezer-safe container. They’ll last up to three months in the freezer. When you’re ready to indulge again, simply thaw them in the fridge overnight and warm them up, and you’ll have that freshly-baked taste to savor.
Making these bars can become a delightful tradition in your kitchen, and knowing how to store or freeze them turns them into an easy treat anytime! Happy baking!
Conclusion on Apple Crisp Bars
In wrapping up our delightful exploration of apple crisp bars, it's clear that these treats are more than just a dessert; they’re a celebration of flavors and textures. The balance of sweet and tart apples, combined with a buttery, crumbly topping, makes for a satisfying snack any time of day. Whether you're lounging at home or hosting friends, these bars are sure to impress.
So why not give this recipe a try? You might just discover your new favorite go-to dessert. For more tips on enhancing your baking skills, check out expanded resources on baking techniques or explore seasonal recipes for all occasions.
Print
Apple Crisp Bars: The Best Homemade Treat You'll Crave
Enjoy a deliciously sweet dessert with these homemade apple crisp bars.
- Total Time: 50 minutes
- Yield: 12 servings
Ingredients
- 4 cups peeled and sliced apples
- 1 cup granulated sugar
- 2 cups quick oats
- 1 cup all-purpose flour
- 1 teaspoon cinnamon
- ½ cup cold butter, cubed
Instructions
- Preheat the oven to 350°F (175°C).
- In a large bowl, mix the sliced apples with sugar and cinnamon.
- Combine oats, flour, and butter until crumbly.
- Press half of the oat mixture into the bottom of a greased baking pan.
- Spread the apple mixture over the crust, then top with the remaining oat mixture.
- Bake for 30-35 minutes until golden brown.
Notes
- For extra flavor, add a splash of lemon juice to the apples.
- Serve warm with vanilla ice cream.
- Prep Time: 15 minutes
- Cook Time: 35 minutes
- Category: Desserts
- Method: Baking
- Cuisine: American
- Diet: Vegetarian
Nutrition
- Serving Size: 1 bar
- Calories: 250
- Sugar: 15g
- Sodium: 150mg
- Fat: 9g
- Saturated Fat: 5g
- Unsaturated Fat: 3g
- Trans Fat: 0g
- Carbohydrates: 39g
- Fiber: 3g
- Protein: 2g
- Cholesterol: 20mg