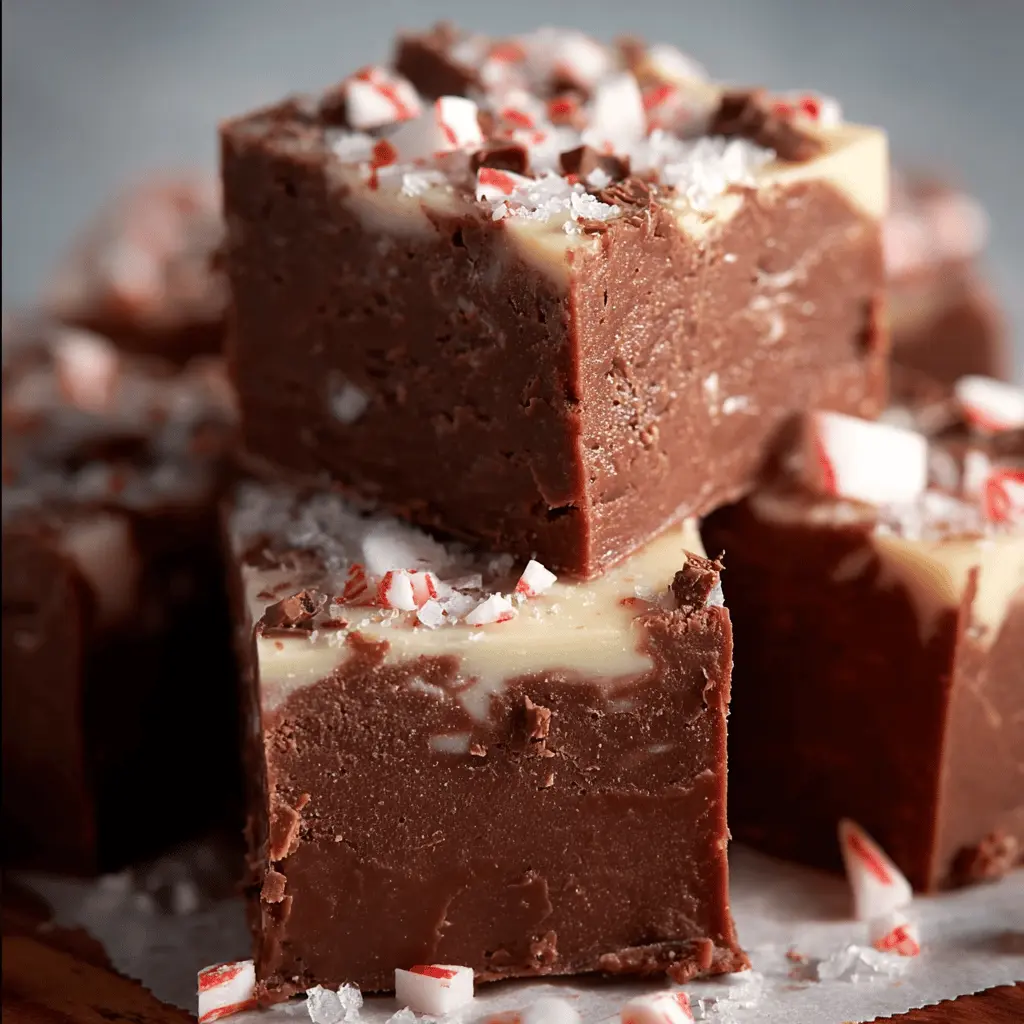
Introduction to No-Fail Chocolate Fudge
When it comes to sweet treats, few things evoke the same level of indulgence as chocolate fudge. The rich, creamy texture combined with a deep chocolate flavor can turn any day around. But if you're a young professional juggling work and life responsibilities, whipping up a batch of homemade fudge might feel daunting, right? This is where our no-fail chocolate fudge recipe comes in.
Life is busy, and we all face moments where time isn't on our side. That’s why this fudge recipe is crafted to be simple and realistic for everyone, especially those of us managing demanding schedules. With just a few basic ingredients and minimal steps, you can create delicious fudge without any stress. Plus, this recipe allows for creativity. Want to jazz it up? Add some nuts, marshmallows, or even a caramel swirl! The options are endless.
Why No-Fail Chocolate Fudge is Perfect for Young Professionals
As a young professional, you might find yourself in need of a quick treat for various occasions:
- Last-Minute Gifts: Unexpected birthday parties or coworker farewells? No-fail chocolate fudge is a thoughtful homemade gift that shows you care without requiring a significant time commitment.
- Desserts for Gatherings: Planning an impromptu get-together? This fudge will impress your friends and satisfy those sweet cravings at the same time.
- Self-Care and Relaxation: After a hectic week, treat yourself to a little indulgence. A piece of fudge can be the perfect pick-me-up during your well-deserved downtime.
Did you know that studies show treating yourself to sweet treats can boost your mood? According to the Journal of Positive Psychology, having small indulgences can contribute to an overall sense of happiness. So why not enjoy a delicious treat while enhancing your well-being?
In just a few minutes and with minimal effort, you can relish the taste of homemade no-fail chocolate fudge. It's a delightful addition to your culinary repertoire that fits perfectly into your busy lifestyle. Ready to get started? Let's dive into the recipe!
Ingredients for No-Fail Chocolate Fudge
Creating the perfect no-fail chocolate fudge is all about the right ingredients. Here’s what you’ll need to ensure your fudge turns out rich, creamy, and utterly delicious:
- Semi-sweet chocolate chips: 2 cups will give you that perfect balance of sweetness and richness. Choose high-quality chips for the best flavor.
- Sweetened condensed milk: One 14-ounce can is essential for that luscious, melt-in-your-mouth texture. It also helps bind everything together.
- Butter: 4 tablespoons of unsalted butter enhances the creaminess and flavor of your fudge. Don’t skip this ingredient!
- Vanilla extract: Just a teaspoon adds a touch of warmth and rounds out the chocolate flavor beautifully.
- Pinch of salt: A tiny bit counters the sweetness, making your fudge taste even more decadent.
These key ingredients are easy to find, and they help create a no-fail chocolate fudge that’s perfect for sharing or indulging yourself. Want to explore more about chocolate pairings? Check out this insightful blog for creative ideas!
Step-by-Step Preparation of No-Fail Chocolate Fudge
When it comes to creating homemade sweets, nothing beats the rich, satisfying flavor of chocolate fudge. If you're like me and want something that’s both easy and delicious, you're in the right place. Follow this step-by-step guide to make your very own no-fail chocolate fudge. It’s perfect for gifts, parties, or for simply indulging on a cozy night in.
Prepare the Baking Pan
First things first: you need to get your baking pan ready. Start with an 8-inch square or a 9-inch round pan—whichever you have on hand will work just fine!
- Line the Pan: Use parchment paper to line the bottom and sides. This makes it super easy to lift out the fudge once it's set. If you don’t have parchment paper, greasing the pan lightly with butter or non-stick spray will do the trick too.
- Optional Step: Dust the greased pan with cocoa powder for an extra kick of flavor!
This preparation step is crucial as it helps in avoiding any sticking and makes cleanup a breeze.
Melt the Chocolate and Combine Ingredients
Now that your pan is prepped, let's dive into the fun part: melting chocolate. Choose high-quality chocolate—we recommend using a mixture of semi-sweet and milk chocolate chips for the best flavor.
- Melt the Chocolate: You can melt the chocolate in a double boiler or a microwave. If using the microwave, heat in 30-second intervals, stirring in between to prevent burning. You're aiming for smooth and creamy chocolate.
- Combine Ingredients: Once you have melted chocolate, stir in sweetened condensed milk until well combined. This will be the base of your no-fail chocolate fudge.
Feel free to enhance your fudge by incorporating a pinch of sea salt or a splash of vanilla extract to elevate the flavor profile. Wouldn’t it be nice to surprise your friends with such a delightful treat?
Stir in Powdered Sugar
Once your chocolate and milk mixture is well blended, it’s time to bring in the powdered sugar. This is where the true magic happens, transforming the liquid mixture into something rich and fudgy.
- Sift the Sugar: To avoid clumps, sift the powdered sugar before adding it to the chocolate mixture. Gradually fold it in using a spatula to ensure it’s evenly incorporated.
- Achieve the Right Texture: The mixture should be thick and glossy at this stage. If it's too runny, you can add a bit more powdered sugar until you reach that perfect fudge consistency.
Adding the right amount of sugar is vital—too much can lead to a overly sugary fudge, while too little makes it less sweet. Finding that balance is part of the art!
Spread the Chocolate Mixture
With everything mixed together, it’s time to spread the chocolate mixture into your prepared pan.
- Pour and Spread: Pour the fudge mixture into the lined pan and use a spatula to evenly spread it out.
- Add Toppings: Now’s a great time to sprinkle some crushed nuts, mini marshmallows, or chocolate chunks on top for extra texture and flavor!
This step not only helps in shaping your no-fail chocolate fudge, but also gives you a chance to get creative with fun additions!
Chill to Set
Last, but definitely not least, it’s time to chill your fudge so it sets properly.
- Refrigerate: Place the pan in the fridge for at least two to three hours. This waiting game is critical—don’t rush it! Proper chilling allows the fudge to reach its ideal firmness.
- Cut and Enjoy: Once set, pull the fudge out using the parchment paper, slice it into squares, and enjoy!
You’ll soon find that this no-fail chocolate fudge is not just delicious but also holds a special place in your circle of friends and family. Who knows—you might just become the go-to fudge maker!
By following these simple steps, you’ll have a rich, creamy treat that's sure to impress. Plus, your friends will love it! For more delightful chocolate recipes, check out Food Network’s Dessert Section.
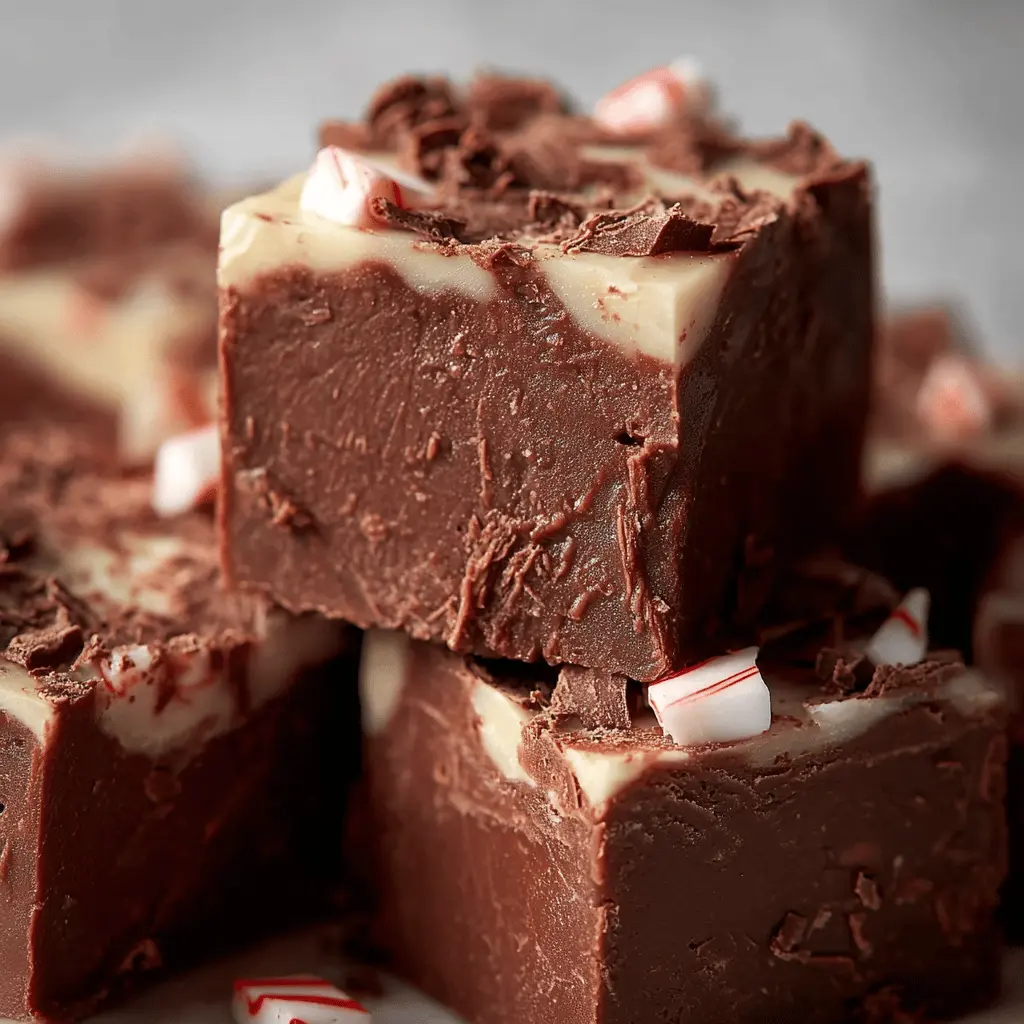
Variations of No-Fail Chocolate Fudge
When you’ve mastered the art of no-fail chocolate fudge, the next step is to get creative with flavor variations! Whether you're looking to impress guests or treat yourself, these variations bring unique twists to a classic favorite.
Nutty Chocolate Fudge
For those who enjoy a crunch in their fudge, adding nuts is a must! Pecans, walnuts, or even almonds can elevate your fudge to new heights. Simply stir in one cup of chopped nuts after the fudge mixture has cooled slightly. This not only adds a delightful texture but also a rich flavor that pairs beautifully with the chocolate. If you're on the lookout for nut-free options, sunflower seed butter can also mimic that satisfying crunch without the allergens.
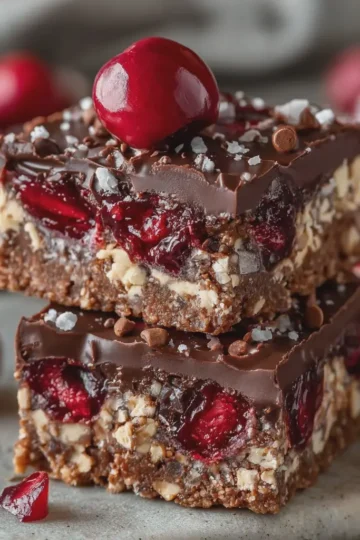
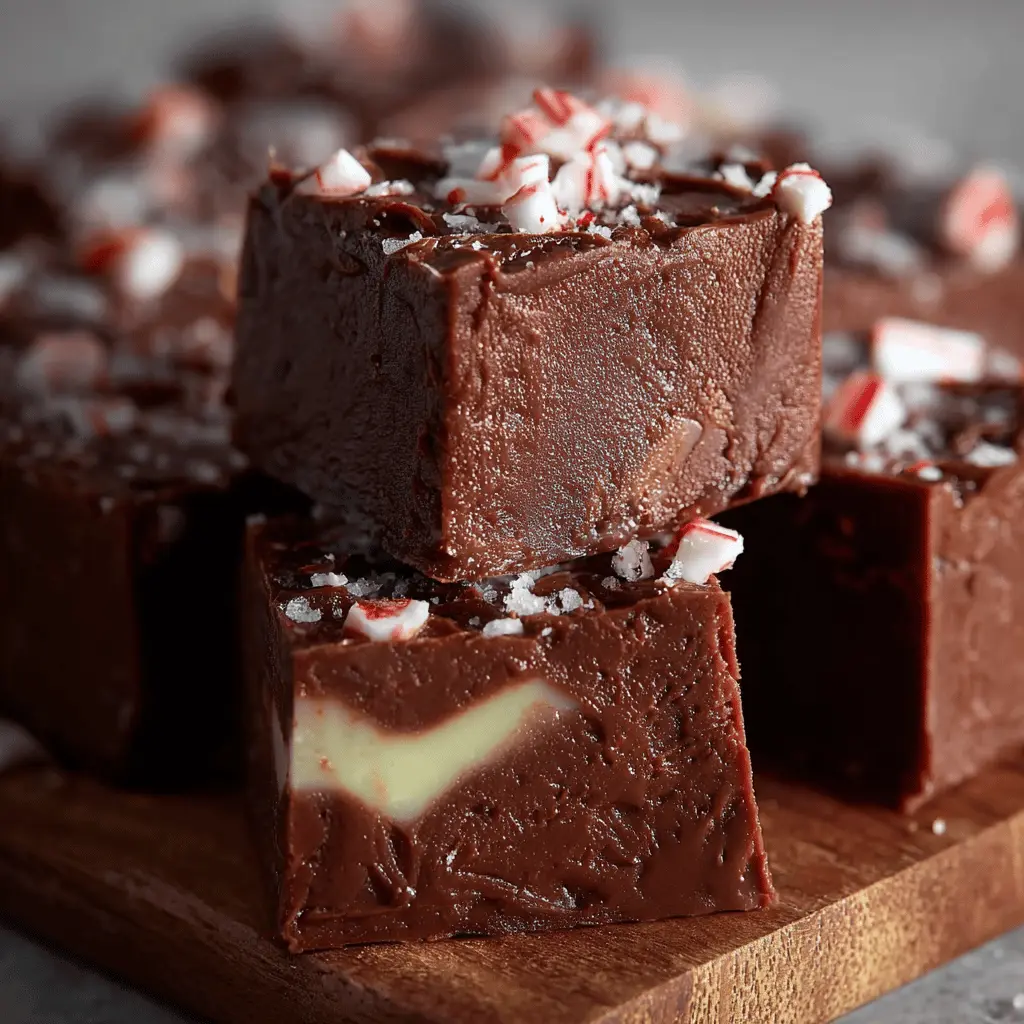
Mint Chocolate Fudge
If you're a fan of refreshing flavors, consider making mint chocolate fudge! Just add a teaspoon of peppermint extract to the mix before it sets. This will give you that classic combination of chocolate and mint that’s perfect for the holidays or any occasion. You can even top your fudge with crushed peppermint candies for an extra festive touch. Looking for more minty recipes? Check out this mint dessert guide for inspiration.
Swirled Chocolate Fudge with Peanut Butter
Peanut butter lovers, rejoice! Swirling creamy peanut butter into your no-fail chocolate fudge provides a rich, indulgent experience. Prepare your chocolate fudge base as usual, then drizzle warm peanut butter on top before swirling it in with a knife. The result is a decadent treat that’s both sweet and savory. Pair it with fruits like bananas or apples for an even more satisfying snack – it's a hit with both kids and adults!
Experimenting with these variations not only keeps things exciting but also allows you to cater to different tastes and occasions. Happy fudge-making!
Cooking Tips and Notes for No-Fail Chocolate Fudge
Creating the perfect no-fail chocolate fudge can be a delightful experience, but it's important to keep a few things in mind to ensure success.
Choose Your Chocolate Wisely
The quality of chocolate makes all the difference. Opt for high-quality chocolate chips or bars—this enhances the flavor and texture. Brands like Ghirardelli or Callebaut are great choices.
Mind the Temperature
Temperature is crucial! Make sure your mixture reaches a gentle simmer rather than a rolling boil. Overheating can lead to grainy fudge, ruining your sweet masterpiece. Using a candy thermometer can help—aim for about 234°F for perfect results.
Avoid Overmixing
Once your fudge reaches the desired consistency, mix just until combined. Overmixing can impact the smooth texture, turning your fudge into something less than dreamy.
Personal Touches
Feel free to get creative! Add nuts, peppermint extract, or even a hint of espresso to elevate your no-fail chocolate fudge. Food bloggers like Sally’s Baking Addiction often share unique twists on classic recipes that could inspire your version.
By following these simple tips, you'll be well on your way to impressing friends and family with your homemade fudge!
Serving Suggestions for No-Fail Chocolate Fudge
When it comes to enjoying your no-fail chocolate fudge, the possibilities are endless! Here are some fun and delicious serving ideas that will elevate your fudge experience.
Indulgent Pairings
- Fresh Berries: Pairing your fudge with strawberries or raspberries creates a delightful contrast. The tartness balances the rich taste of the fudge.
- Ice Cream: Add a slice of fudge on top of creamy vanilla or chocolate ice cream for an extravagant dessert. Have you tried drizzling some warm fudge sauce over the top?
Creative Combinations
- On a Charcuterie Board: Why not include your no-fail chocolate fudge on a dessert charcuterie board? Add turkey bacon strips, dried fruits, and nuts for a unique blend of flavors.
- Dipped in Hot Beverages: Serve with rich hot chocolate or a delicious coffee drink. It’s like an instant upgrade to your favorite warm beverages!
Gift-Worthy Presentation
- Cute Packaging: Want to gift your fudge? Cut it into bite-sized pieces and place them in decorative boxes. It makes a delightful present for friends or family.
Exploring these serving suggestions can enhance your enjoyment of no-fail chocolate fudge and impress everyone around you. For even more tips, check out experts at The Kitchn on how to serve chocolate desserts beautifully!
Time Breakdown for No-Fail Chocolate Fudge
When you're diving into the delicious world of no-fail chocolate fudge, it's essential to know how to manage your time effectively. Here’s a quick breakdown to keep your fudge-making experience smooth and enjoyable!
Preparation Time
Getting started is half the battle. Allow yourself about 15 minutes to gather your ingredients and prepare your fudge. This includes measuring out your chocolate, sweeteners, and any mix-ins like nuts or marshmallows. Make sure to check out tips on prep techniques to streamline your process here.
Chilling Time
Patience is key! After pouring your fudge into a prepared pan, let it chill in the refrigerator for at least 2 hours. This waiting time is crucial for achieving that perfect, fudgy texture. It’s a great moment to kick back with a book or catch up on your favorite shows while you wait.
Total Time
All in all, you're looking at around 2 hours and 15 minutes to whip up this scrumptious treat. Not too shabby for a dessert that will impress friends and family alike! Just think, with minimal effort, you’ll have a delightful batch of no-fail chocolate fudge ready to devour. Happy fudging!
Consider visiting Chowhound for more tips and variations that can elevate your fudge game!
Nutritional Facts for No-Fail Chocolate Fudge
When indulging in your no-fail chocolate fudge, it’s always good to know what you're savoring. Here’s a quick breakdown of its nutritional facts to help you better understand this delectable treat.
Calories
A single serving of no-fail chocolate fudge contains approximately 150 calories. It’s a rich dessert, so enjoying it in moderation is key to keeping your calorie intake balanced.
Sugar Content
Sugar lovers, rejoice! This fudge packs around 20 grams of sugar per serving. While it satisfies your sweet tooth, consider pairing it with nuts or dark chocolate for a bit of crunch and added benefits.
Fats
Each serving contains about 8 grams of fat, primarily from butter and chocolate. While it contributes to that creamy texture, opting for quality ingredients can enhance your fudge without piling on the unnecessary calories.
For more insights on the health effects of sugar and fats, check out articles from Healthline and Mayo Clinic. Balancing indulgence with nutritional awareness makes for smarter and more satisfying snacking!
FAQ about No-Fail Chocolate Fudge
Can I use dark chocolate chips instead of milk chocolate?
Absolutely! Swapping in dark chocolate chips for milk chocolate will give your no-fail chocolate fudge a richer, more intense flavor. Just keep in mind that dark chocolate is less sweet, so you may want to adjust the sugar if you prefer a sweeter treat. Many home bakers, including myself, enjoy the depth that dark chocolate adds. Experimenting with different cocoa percentages can lead to exciting variations!
How long can I store no-fail chocolate fudge?
One of the best things about no-fail chocolate fudge is its impressive shelf life. When stored in an airtight container at room temperature, it can last up to two weeks. If you want to make it last even longer, refrigerate it, and it can stay fresh for up to three weeks. For longer storage, consider freezing it in cut portions; just wrap it tightly to prevent freezer burn. Broaden your culinary experience with my freezer tips using resources from The Kitchn.
What can I add to enhance the flavor of my fudge?
To elevate your no-fail chocolate fudge, think about adding a touch of flavor or texture. Here are some delicious options:
- Nuts: Chopped walnuts or pecans add a wonderful crunch.
- Sea Salt: A sprinkle on top can enhance the chocolate flavor beautifully.
- Extracts: Vanilla, almond, or even peppermint extract can lend a unique twist.
- Bacon: For a savory kick, consider using crispy turkey bacon bits.
The choice is yours! Mixing and matching flavors not only personalizes your fudge but also impresses family and friends. Which variation are you most excited to try?
Conclusion on No-Fail Chocolate Fudge
Making no-fail chocolate fudge is not just about satisfying your sweet tooth; it's an opportunity to create unforgettable memories. As you dive into this recipe, remember that simplicity is key. With just a few ingredients, you can whip up a delightful treat that impresses friends and family.
Whether you're preparing for a cozy gathering or simply indulging yourself with a rich dessert, no-fail chocolate fudge delivers every time. So don your apron and get ready to experience the magic of chocolate!
For more delicious ideas, check out the Food Network or Martha Stewart for inspiration. Happy cooking!
Print
No-Fail Chocolate Fudge: The Indulgent Treat You'll Love
This No-Fail Chocolate Fudge is the perfect indulgent treat, rich and creamy, satisfying your sweet tooth.
- Total Time: 2 hours 20 minutes
- Yield: 20 servings
Ingredients
- 2 cups semi-sweet chocolate chips
- 1 can sweetened condensed milk
- ¼ cup butter
- 1 teaspoon vanilla extract
- 1 cup chopped nuts (optional)
Instructions
- In a saucepan over medium heat, combine the chocolate chips, sweetened condensed milk, and butter.
- Stir until the mixture is smooth and fully melted.
- Remove from heat and add vanilla extract and nuts if desired.
- Pour the fudge mixture into a greased baking dish and spread evenly.
- Chill in the refrigerator for 2 hours or until set.
- Cut into squares and serve.
Notes
- Make sure to use high-quality chocolate chips for the best flavor.
- Store leftover fudge in an airtight container.
- Prep Time: 10 minutes
- Cook Time: 10 minutes
- Category: Desserts
- Method: Stovetop
- Cuisine: American
- Diet: Vegetarian
Nutrition
- Serving Size: 1 piece
- Calories: 150
- Sugar: 16g
- Sodium: 50mg
- Fat: 9g
- Saturated Fat: 5g
- Unsaturated Fat: 3g
- Trans Fat: 0g
- Carbohydrates: 18g
- Fiber: 1g
- Protein: 2g
- Cholesterol: 10mg