Introduction to Lunch Lady Peanut Butter Bars
A nostalgic treat for modern tastes
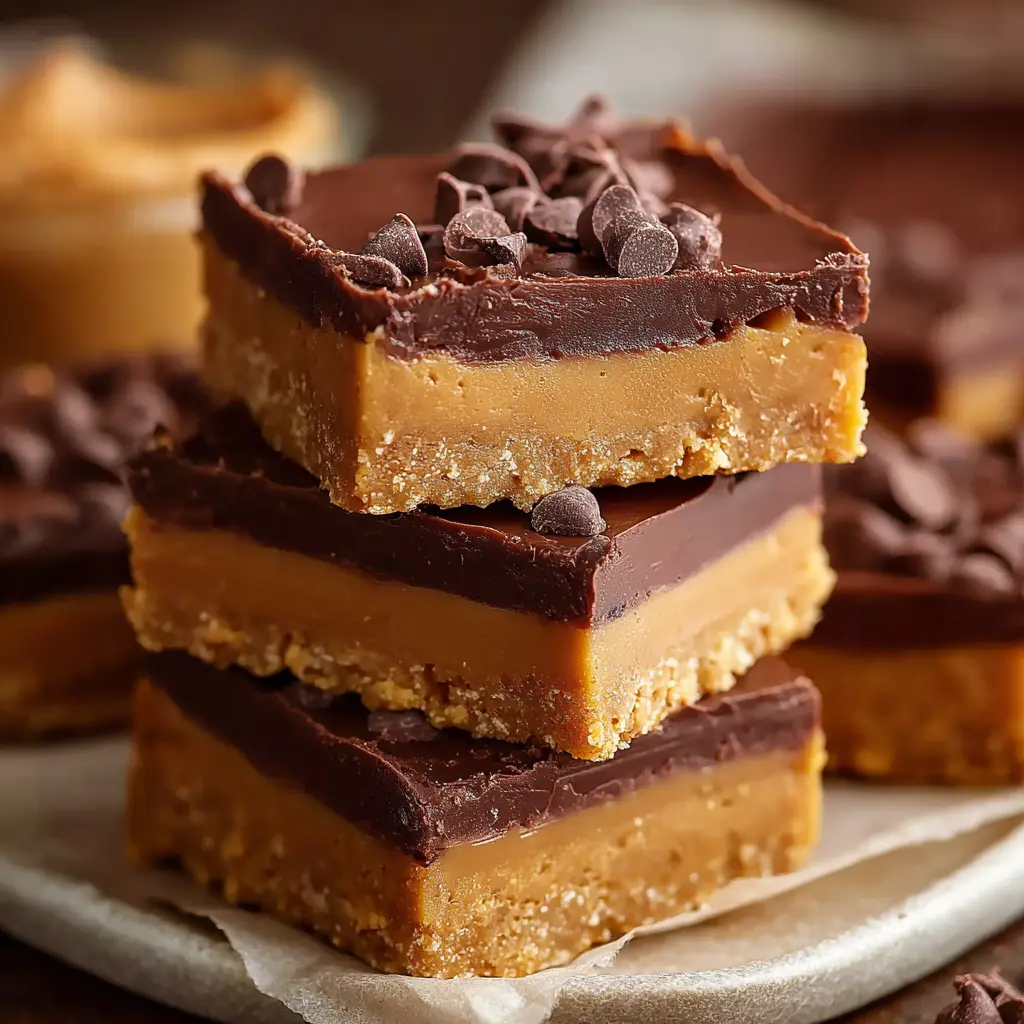
If you grew up experiencing school lunches, chances are you've had your fair share of Lunch Lady Peanut Butter Bars. These delectable treats were a staple in many cafeterias, delivering a satisfying blend of sweetness and nuttiness that made lunchtime a little brighter. As we navigate adulthood, those comforting flavors can easily slip into the realm of nostalgia—but what if we could recreate that beloved taste right in our own kitchens?
Today, more and more people are seeking homemade recipes that resonate with childhood memories while accommodating modern dietary preferences. Whether it’s a snack between meetings or a treat to share with friends, these peanut butter bars are versatile enough to satisfy any occasion. According to a study by the National Peanut Board, about 94% of American households have peanut butter, making these bars not only familiar but also a pantry-friendly option.
Simple ingredients and endless versatility
The beauty of Lunch Lady Peanut Butter Bars lies in their simplicity. With a handful of ingredients—mostly things you probably already have on hand—you're just a few steps away from a delightful batch of bars that everyone will enjoy. Consider switching up the mix-ins: perhaps add some dark chocolate chips for a rich contrast or a sprinkle of sea salt to amplify the flavors.
You might be wondering, “Can I make them healthier?” Absolutely! Swapping out traditional sugar for a natural sweetener like honey or agave syrup can provide that same sweetness with a touch less guilt. For those who are exploring gluten-free options, using almond flour can yield just as satisfying a texture without compromising the taste.
Bringing back memories, one bite at a time
By bringing this familiar treat into your home, you’re not just baking; you’re creating moments. Imagine sharing a plate of freshly baked peanut butter bars with friends or savoring them during a cozy movie night. With every bite, you can relish those sweet memories from childhood while delighting in the ease of modern cooking techniques.
So, roll up your sleeves, grab those ingredients, and let’s dive into the delightful journey of making Lunch Lady Peanut Butter Bars. For more inspiration, check out this peanut butter lovers’ guide for various recipes and nutritional tips.
Ingredients for Lunch Lady Peanut Butter Bars
When you're craving a nostalgic snack, Lunch Lady Peanut Butter Bars hit the spot every time. Let's dive into the essential components that make these bars so irresistible, starting with the base.
Essential ingredients for the base
To create a perfectly chewy and rich base, gather these essentials:
- Quick oats: They provide texture and a wholesome flavor.
- Brown sugar: This adds the necessary sweetness and a hint of molasses.
- All-purpose flour: For that classic bar consistency, flour is a must.
- Baking powder: A little lift is needed, and this helps achieve it.
- Salt: Just a pinch enhances all the flavors.
- Creamy peanut butter: Use a good quality peanut butter for rich taste.
- Butter: For that classic buttery flavor, make sure it's softened.
Topping ingredients
Once you've nailed the base, let’s talk toppings, which are just as important:
- Powdered sugar: This creates a sweet and creamy layer that pairs perfectly with peanut butter.
- Milk: Just enough to achieve that smooth topping consistency.
- Chocolate chips: Mini chocolate chips sprinkled on top bring a delightful contrast to the peanut butter.
With just a few simple ingredients, you're on your way to making Lunch Lady Peanut Butter Bars that are sure to impress! Ready to whip up your batch? Don't forget to check out our guide on making the perfect peanut butter mix for added tips.
Preparing Lunch Lady Peanut Butter Bars
Creating a batch of Lunch Lady Peanut Butter Bars is equivalent to crafting a sweet slice of nostalgia. Most of us remember these delightful treats from our school days—simple, delicious, and packed with flavor. Let’s dive into the fun process of preparing these bars, ensuring every bite brings back memories and joy.
Preheat Your Oven
Before you start mixing ingredients, it’s essential to preheat your oven to 350°F (175°C). This step helps achieve that perfect texture—the iconic chewy yet firm feel that makes Lunch Lady Peanut Butter Bars so irresistible. While the oven warms up, you can gather all your ingredients. You’ll need flour, oats, brown sugar, peanut butter, and, of course, some chocolate for the topping!
Creaming the Butter and Sugars
In a large mixing bowl, blend together ½ cup of softened butter, 1 cup of brown sugar, and ½ cup of granulated sugar. Use an electric mixer, if you have one, and cream until the mixture is light and fluffy. This step is crucial; the buttery, sweet base creates the foundation for your bars. If you want to learn more about the creaming method, you can check out resources like Serious Eats.
Mixing in the Peanut Butter, Eggs, and Vanilla
Next up, it's time to add the star of the show—1 cup of creamy peanut butter! Also, toss in 2 large eggs and a teaspoon of vanilla extract. Mix until everything is well incorporated. This combination of ingredients not only binds the bars together but also infuses a rich, nutty flavor that’s simply mouthwatering. Are you already tempted to taste? I know I am!
Combining Dry Ingredients
In a separate bowl, whisk together 2 cups of all-purpose flour, 1 teaspoon of baking powder, and a pinch of salt. For an extra touch of flavor and texture, consider adding 1 cup of oats to this mixture. Gradually combine the dry ingredients with the wet mixture, stirring until fully blended. This can be a bit tricky, but the key is to mix just until you see no dry flour—overmixing can lead to tough bars.
Baking the Magical Base
Once your batter is mixed, pour it into a greased 9x13-inch baking pan, spreading it evenly. Place it in the preheated oven and bake for about 25-30 minutes or until a toothpick inserted comes out clean. The smell wafting through your kitchen during this time? Pure bliss. It’s a reminder of those cafeteria days when these bars were the highlight of our lunchboxes.
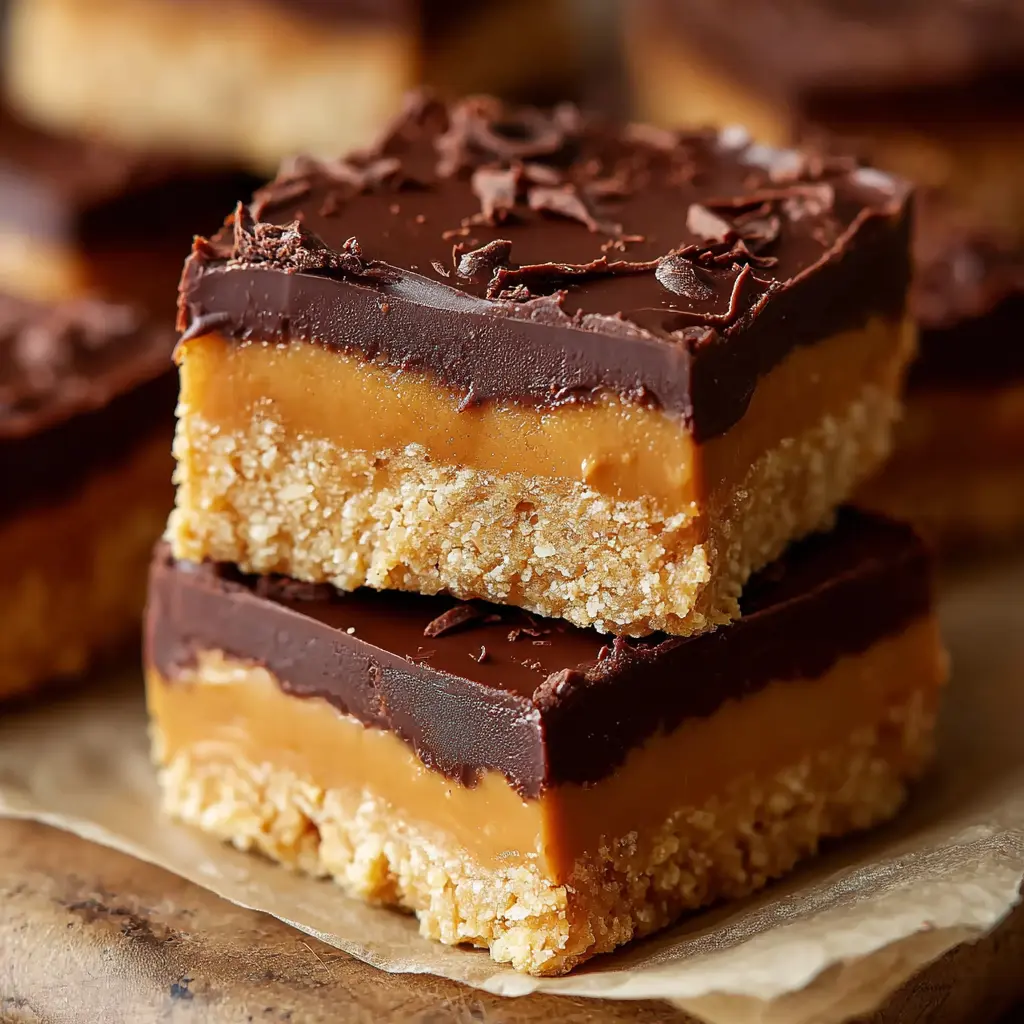
Preparing the Delicious Chocolate Topping
While the Lunch Lady Peanut Butter Bars are baking, you can prepare the topping. Melt 1 cup of semi-sweet chocolate chips with 2 tablespoons of butter in a microwave-safe bowl in 30-second increments, stirring in between. This creates a smooth, glossy topping that complements the peanut butter base perfectly.
Spreading the Topping and Letting Cool
Once your bars are baked, take them out and let them cool for around 10 minutes. Then, pour your melted chocolate over the top, spreading it evenly. Let the bars cool completely at room temperature. If you’re feeling impatience creeping in (who wouldn’t?), you can pop them in the fridge to speed things along—just don’t forget about them!
Slicing and Serving the Bars
After your bars have cooled and the chocolate topping has set, it's time to slice them up. I recommend cutting them into squares or rectangles for the classic shape. You can serve these as a delightful dessert or a sweet snack any time of the day. Consider pairing them with a glass of cold milk or a steaming cup of your favorite herbal tea for a truly comforting experience.
Enjoy the process and the result—you’re about to indulge in a beloved treat that warms the heart and satisfies the sweet tooth!
Variations on Lunch Lady Peanut Butter Bars
When it comes to Lunch Lady Peanut Butter Bars, the magic lies in their versatility. Whether you're looking to customize for taste preferences or dietary needs, there’s a variation for everyone. Let’s dive into some delicious options!
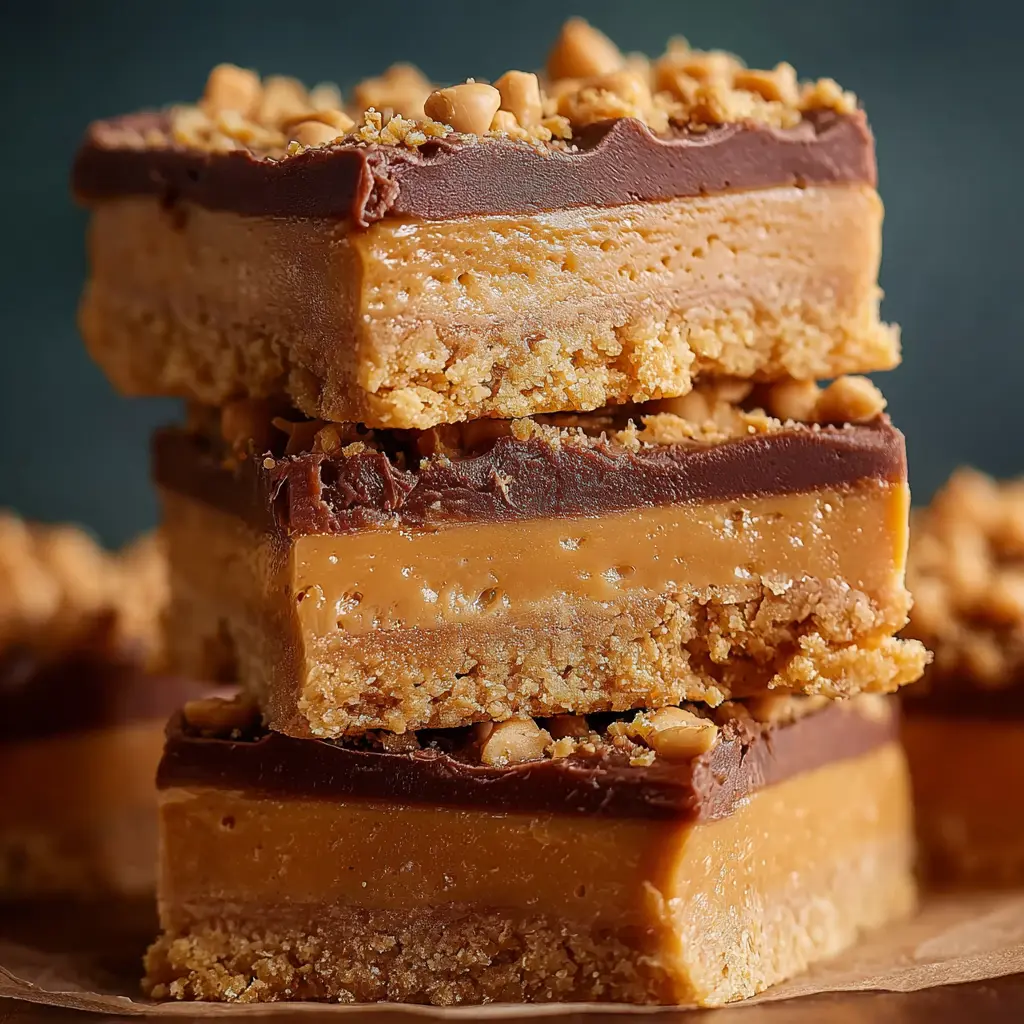
Adding Nuts for Crunch
If you're a fan of texture, consider incorporating some nuts into your Lunch Lady Peanut Butter Bars. Chopped peanuts or walnuts can add delightful crunch and a nutty flavor that complements the creamy peanut butter. Plus, nuts are a great source of healthy fats and protein, making your treat a little more satisfying. Aim for about ½ cup of your favorite nuts mixed into the batter for an extra layer of goodness.
Swapping Chocolate Chips for White Chocolate
Feeling adventurous? Switch out regular chocolate chips for white chocolate ones. This simple swap can give your Lunch Lady Peanut Butter Bars a sweeter, creamier profile that contrasts wonderfully with the rich peanut butter. The white chocolate adds a touch of elegance, too! Just make sure to keep an eye on the sweetness level—if you like it less sweet, adjust the sugar in the recipe accordingly.
Making It a Vegan-Friendly Treat
Want to enjoy these bars while keeping it plant-based? It's simpler than you think! Substitute honey with maple syrup or agave nectar, and choose dairy-free chocolate chips. For that creamy texture, use natural peanut butter or even almond butter as a replacement. These adjustments not only make your Lunch Lady Peanut Butter Bars vegan-friendly but also cater to various dietary preferences.
Explore these variations and experiment with your own ideas—after all, the best part of baking is making a recipe your own! For more fun embellishments, consider checking out The Spruce Eats or EatingWell for additional inspiration and tips. Happy baking!
Cooking tips and notes for Lunch Lady Peanut Butter Bars
Achieving the perfect texture
When making Lunch Lady Peanut Butter Bars, the texture is everything. For that indulgent, chewy consistency, be sure to measure your ingredients accurately. Using creamy peanut butter yields a smoother base, while adding just the right amount of quick oats creates that delightfully hearty feel. If you prefer a little crunch, consider mixing in some chopped nuts or even chocolate chips. It’s all about finding the balance that works for you!
Importance of allowing the bars to cool
Patience is key when it comes to cooling your Lunch Lady Peanut Butter Bars. Allowing them to set properly not only enhances the flavor but also helps maintain their structure. If you cut them too soon, you may end up with a delicious, yet crumbly mess—definitely one way to ruin a craving! So, let them cool in the pan for at least an hour, or even pop them in the fridge for quicker results. Trust us; it's worth the wait!
For more insights and tips on baking, check out this comprehensive guide for novice and seasoned bakers alike.
Serving suggestions for Lunch Lady Peanut Butter Bars
Pairing with a glass of cold milk
There’s something incredibly nostalgic about enjoying Lunch Lady Peanut Butter Bars with a tall glass of cold milk. The creamy texture of the peanut butter combined with a chewy, sweet base creates a delightful contrast to the refreshing chill of milk. Whether you're indulging in an afternoon snack or enjoying a late-night treat, this classic combination never fails to satisfy. If you're feeling adventurous, try using flavored milk like chocolate or strawberry for a fun twist that both kids and adults will love.
Great for lunchboxes or snacks
Looking to add a little excitement to your lunch or snack routine? Lunch Lady Peanut Butter Bars are absolutely ideal for lunchboxes, offering a sweet but satisfying option that's easy to grab on the go. You can cut them into smaller squares for a quick snack, or package them individually for a perfect treat any time of day. They also make for a great post-workout snack, replenishing your energy without compromising flavor.
Make sure to check out some creative lunchbox ideas at Love and Lemons to complement your peanut butter bars!
Time breakdown for Lunch Lady Peanut Butter Bars
When you're ready to whip up these Lunch Lady Peanut Butter Bars, understanding the timing can make your cooking experience smoother. Here's how it breaks down:
Preparation time
Start with about 15 minutes to gather your ingredients and set up your workspace. Prepping efficiently is key—having everything out makes cooking a breeze.
Cooking time
Next, allow roughly 25-30 minutes for baking. During this time, your kitchen will start to smell heavenly, drawing everyone in!
Total time
From start to finish, expect about 45-50 minutes to create these delicious Lunch Lady Peanut Butter Bars. Perfect for snacking or entertaining, these homemade treats will be worth every minute. For more time-saving tips, check out resources from culinary experts like Serious Eats for efficient kitchen skills. What are you waiting for? Dive into your cooking adventure!
Nutritional Facts for Lunch Lady Peanut Butter Bars
When you're craving something sweet but want to keep an eye on nutrition, Lunch Lady Peanut Butter Bars provide a delightful balance. Here’s a snapshot of what you’re indulging in:
Calories
Each bar contains around 150 calories, making it a satisfying option for a midday pick-me-up without derailing your day. Perfect for an afternoon snack!
Protein
Thanks to the peanut butter, these bars pack about 5 grams of protein per serving. This can help keep you full longer, especially if paired with a piece of fruit or a yogurt on the side.
Sugar Content
While they do have a sweeter side, each bar contains approximately 10 grams of sugar. For a sweet treat, this isn't too shabby, especially when you consider the absence of artificial ingredients.
Curious about healthier snacking options? Check out Healthline's guide for more inspiration on nutritious choices!
FAQs about Lunch Lady Peanut Butter Bars
Can I make these bars ahead of time?
Absolutely! One of the best things about Lunch Lady Peanut Butter Bars is that they can be made in advance, making them perfect for meal prep. You can whip up a batch on the weekend and enjoy them throughout the week. Just let them cool completely before slicing and storing them in an airtight container. This not only saves time but also allows the flavors to meld beautifully.
What’s the best way to store Lunch Lady Peanut Butter Bars?
Storing your Lunch Lady Peanut Butter Bars properly ensures they stay fresh and delicious longer. Here are a few tips:
- Room Temperature: If you plan to eat them within a week, simply store the bars in an airtight container at room temperature.
- Refrigerator: For extended freshness, keep them in the fridge for up to two weeks. They can be chilled if you prefer a refreshing snack!
- Freezing: For even longer storage, these bars freeze exceptionally well. Individually wrap each bar in plastic wrap and then place them in a freezer bag. They can last up to three months in the freezer. Just defrost at room temperature or pop them in the microwave for a few seconds when you’re ready to indulge.
Are there allergy-friendly substitutions?
Yes! The beauty of Lunch Lady Peanut Butter Bars is their versatility. If you have allergies, consider these substitutions:
- Peanut Butter: Swap for almond or sunflower seed butter for nut-free versions.
- Gluten-Free: Use gluten-free oats and flour to make the recipe suitable for those with gluten intolerances.
- Dairy-Free: Substitute dairy ingredients with non-dairy alternatives like coconut milk for a creamy texture without the lactose.
For more detailed information on substitutions, check out sources like The Spruce Eats or Food Allergen Safety. Happy baking!
Conclusion on Lunch Lady Peanut Butter Bars
Bringing joy to your homemade snack game
In the world of easy and delicious treats, Lunch Lady Peanut Butter Bars stand out as a nostalgic favorite that brings joy to any homemade snack lineup. These bars not only satisfy sweet cravings but also offer a delightful blend of flavors and textures that everyone will love.
Imagine indulging in a soft, chewy bar paired with the creamy richness of peanut butter—perfect for your afternoon pick-me-up. Plus, they’re incredibly easy to whip up, making them a great option for busy young professionals who crave a tasty snack without fuss.
So why wait? Dive into your kitchen and recreate this classic treat that has made countless lunchboxes a little brighter. Don’t forget to share your baking adventure; tag your creations with #LunchLadyPeanutButterBars on social media! For more snack ideas, check out The Kitchn's guide to healthy snacks. Happy baking!
Print
Lunch Lady Peanut Butter Bars: The Best Easy Treat Recipe
Deliciously sweet and chewy, Lunch Lady Peanut Butter Bars are an easy treat perfect for any occasion.
- Total Time: 45 minutes
- Yield: 24 bars
Ingredients
- 1 cup peanut butter
- 1 cup sugar
- 1 cup brown sugar
- 4 eggs
- 2 cups all-purpose flour
- 1 teaspoon baking soda
- ½ teaspoon salt
- 1 cup chocolate chips
Instructions
- Preheat the oven to 350°F (175°C).
- In a large bowl, mix together peanut butter, sugar, brown sugar, and eggs until smooth.
- In another bowl, combine flour, baking soda, and salt.
- Gradually add the dry ingredients to the peanut butter mixture, stirring until thoroughly combined.
- Fold in the chocolate chips.
- Spread the batter into a greased baking dish.
- Bake for 25-30 minutes or until golden brown.
- Let cool before cutting into bars.
Notes
- For added flavor, consider adding chopped nuts.
- These bars can be drizzled with melted chocolate for extra sweetness.
- Prep Time: 15 minutes
- Cook Time: 30 minutes
Nutrition
- Serving Size: 1 bar
- Calories: 250
- Sugar: 18g
- Sodium: 150mg
- Fat: 12g
- Saturated Fat: 3g
- Unsaturated Fat: 7g
- Trans Fat: 0g
- Carbohydrates: 35g
- Fiber: 1g
- Protein: 5g
- Cholesterol: 30mg