Introduction to Peanut Butter Dream Bars
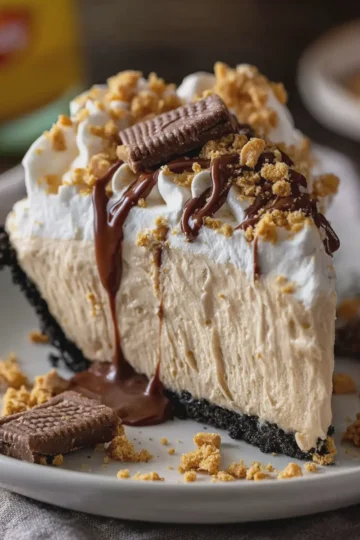
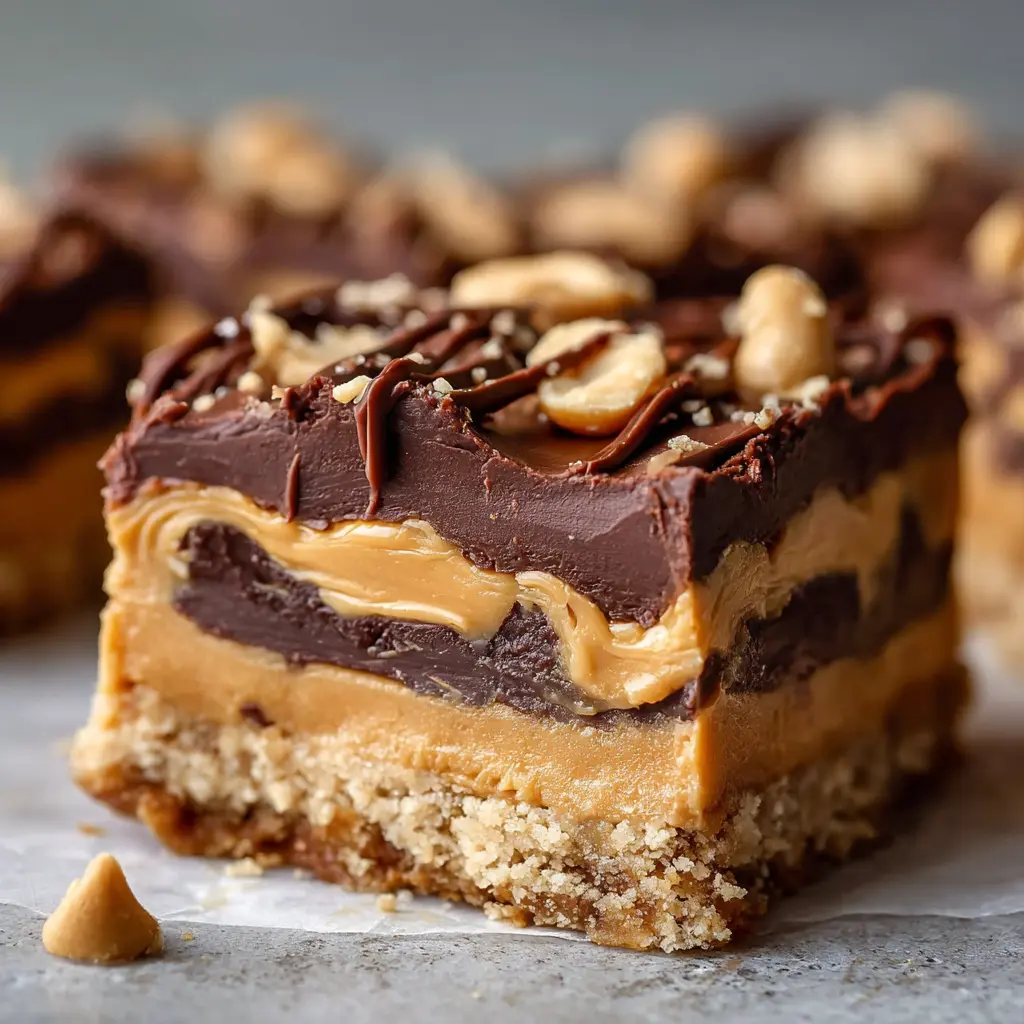
If you're on the hunt for an indulgent treat that effortlessly combines flavor and comfort, look no further than peanut butter dream bars. These delightful squares are a symphony of creamy peanut butter, fluffy textures, and just the right amount of sweetness. Perfect for sharing or keeping all to yourself, they elevate any dessert table and are surprisingly simple to make.
Why are Peanut Butter Dream Bars a must-try for homemade treats?
There are a plethora of reasons why peanut butter dream bars are a standout option for your homemade dessert repertoire. First and foremost, peanut butter is more than just a nostalgic childhood favorite; it’s packed with protein, healthy fats, and can be a delicious way to include energy in your diet. According to the American Peanut Council, eating peanuts may help with heart health due to their high levels of monounsaturated fats and other beneficial nutrients.
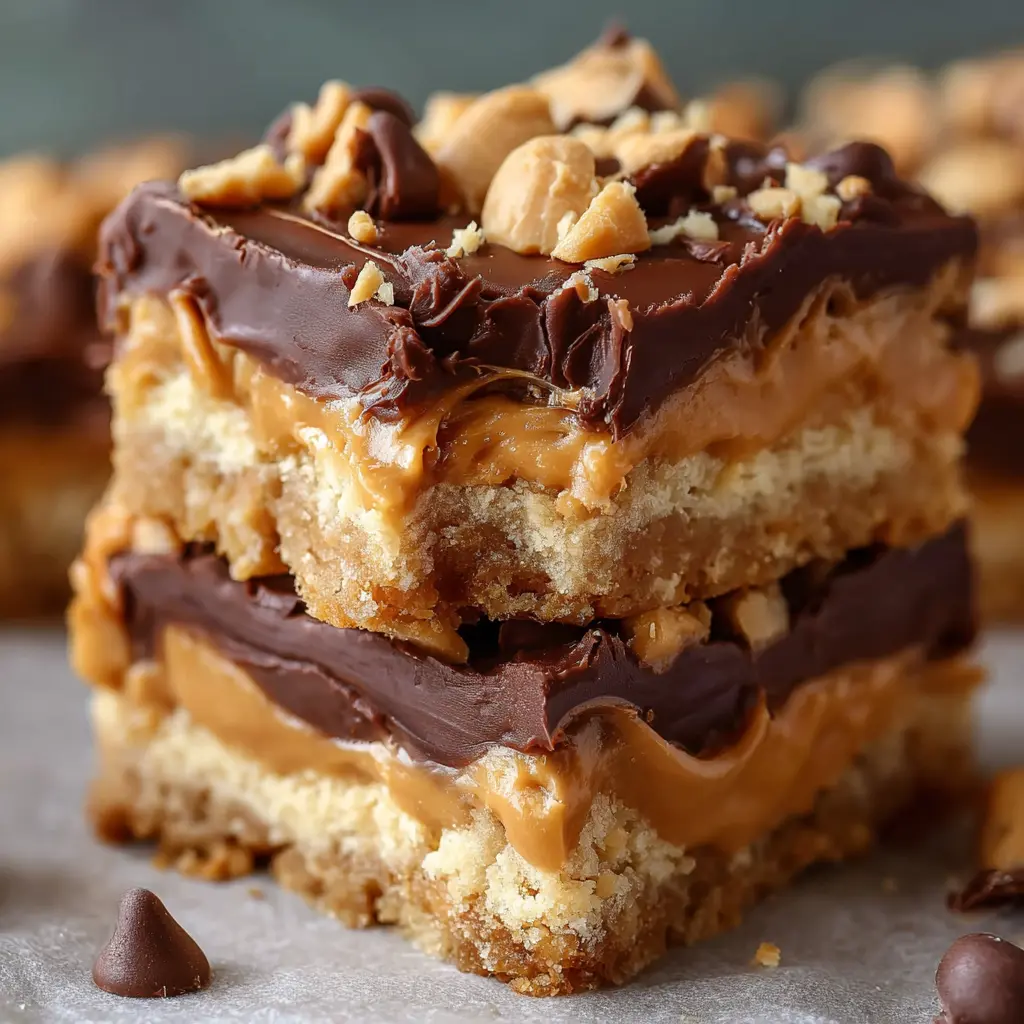
But it’s not just health benefits that make these bars tempting! The texture of these dream bars is simply irresistible. With a smooth peanut butter layer sandwiched between a buttery base and a creamy topping, each bite provides the perfect balance of crunch and decadence. Plus, they’re completely customizable! Want to kick things up a notch? Consider folding in some chocolate chips or crushed nuts for that extra crunch.
Easy to make and even easier to enjoy, these bars can be prepped in under 30 minutes. They require minimal ingredients, which means you won't have to make a trip to the grocery store for complicated items. Instead, you probably already have most of the ingredients in your kitchen—think peanut butter, graham cracker crumbs, and a few pantry staples.
For added convenience, peanut butter dream bars can be made ahead of time and stored in the fridge, making them an excellent option for potlucks, office treats, or just satisfying those late-night cravings. So, gather your supplies, roll up your sleeves, and get ready to whip up a batch of these heavenly bars!
If you’re curious about more creative ways to enjoy peanut butter or need tips on ingredient substitutions, check out resources like Serious Eats for expert guidance and inspiration.
Ingredients for Peanut Butter Dream Bars
When it comes to making peanut butter dream bars, having the right ingredients is essential for achieving that heavenly taste and texture. Here's what you'll need:
For the Base
- 1 ½ cups graham cracker crumbs: This provides a crunchy, sweet foundation.
- ½ cup unsalted butter, melted: A key ingredient that helps bind the crumbs together.
- ½ cup granulated sugar: Sweetens the crust perfectly.
For the Filling
- 1 cup creamy peanut butter: The star of the show, offering rich flavor and creaminess.
- 1 cup powdered sugar: Adds sweetness and helps thicken the filling.
- ½ cup whipped cream or whipped topping: For that dreamy, fluffy texture.
For the Topping
- ½ cup semi-sweet chocolate chips: Adds a delightful chocolate layer that balances the sweetness.
- 1 tablespoon coconut oil: Helps the chocolate melt smoothly and gives it a glossy finish.
These ingredients come together to create an irresistible dessert that can brighten any gathering. If you're curious about more ways to use peanut butter in your cooking, check out this peanut butter guide for inspiration!
Step-by-step Preparation of Peanut Butter Dream Bars
Prepare the Baking Dish
To start your journey toward making delicious Peanut Butter Dream Bars, the first step is preparing your baking dish. Grab an 8x8 inch or a 9x9 inch square pan—a classic choice for bars—and line it with parchment paper, leaving some overhang on the sides. This little trick not only prevents sticking but makes lifting the bars out easier once they’re set. Also, don’t skip the greasing part, as a little butter or cooking spray on the parchment helps ensure that divine peanut butter layer stays intact when you slice it up.
Create the Peanut Butter Base Layer
Now that your dish is prepped, we can dive into creating that irresistible peanut butter layer. In a mixing bowl, combine:
- 1 cup of creamy or crunchy peanut butter
- ½ cup of softened butter (unsalted is best)
- 1 cup of powdered sugar
- ½ cup of crushed graham crackers (this adds a lovely crunch!)
Using a hand mixer or a sturdy spatula, blend everything until it's smooth and creamy. You want it to be spreadable but dense enough to hold its form. As you mix, consider the nutritional benefits of peanut butter. Rich in protein and healthy fats, it’s not just delicious but also gives you a little energy boost, making these bars perfect for an afternoon treat. For a deep dive into nutritional info, check out Healthline for more insights.
Prepare the Chocolate Topping
A layer of chocolate is essential for making these peanut butter dream bars truly decadent. For the topping, you will need:
- 1 cup of semi-sweet chocolate chips
- 1 tablespoon of vegetable oil or coconut oil (to create a glossy finish)
Melt the chocolate using either a microwave or a double boiler. If you're using a microwave, heat it in 30-second increments, stirring in between to prevent burning. The oil not only adds sheen but also helps the chocolate to spread more smoothly.
Spread the Chocolate Layer
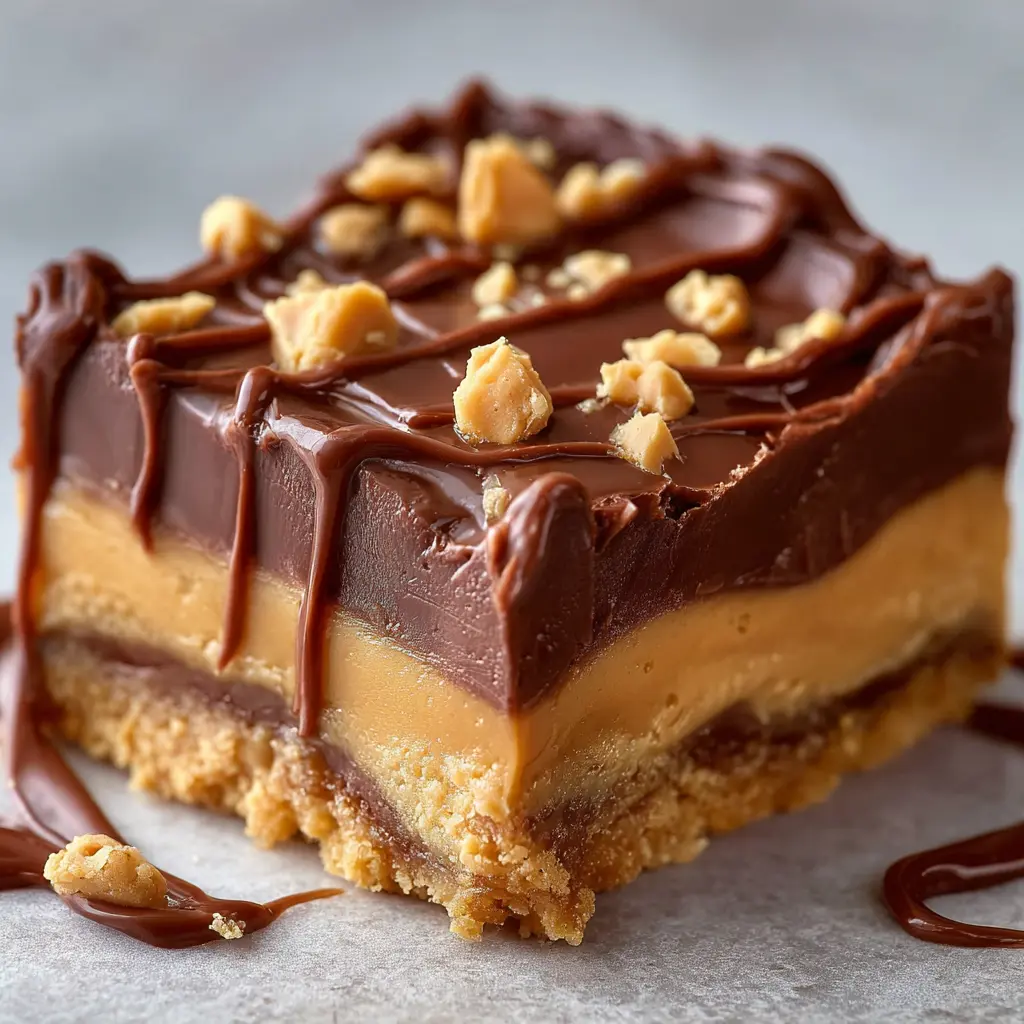
With your peanut butter base firmly in the pan, it's time for the chocolate topping. Using a spatula or a spoon, pour the melted chocolate over the peanut butter layer. Work your way from one side to the other, ensuring that every corner is covered in that melty goodness. The contrast of rich chocolate and creamy peanut butter is what makes these bars a dream! You can even sprinkle a pinch of sea salt on top for that sweet-and-salty flavor explosion.
Chill and Set the Bars
Finally, it’s time for the bars to chill out. Place your peanut butter dream bars in the refrigerator for at least 2 hours or until set. This step is crucial, as it helps the layers firm up and makes cutting them easier. Plus, there’s something so satisfying about slicing into a cold, beautifully set bar. Once they are ready, use the parchment overhang to lift them out and cut them into squares or rectangles, whichever appeals to your snacking style!
There you have it! Your very own Peanut Butter Dream Bars, perfect for impressing your friends or just indulging in a sweet treat while binge-watching your favorite series. Enjoy the process, and don’t forget to share your creations on social media or with friends. Happy baking!
Variations of Peanut Butter Dream Bars
Exploring nut-free alternatives
If you or someone you know has a nut allergy, don’t worry! You can still enjoy these delectable peanut butter dream bars with a few substitutions. Try using sunflower seed butter or soy nut butter instead of classic peanut butter. These nut-free options provide a similar creamy texture and flavor profile, ensuring that everyone gets a chance to delight in this dessert.
Adding a layer of caramel
For those who crave a little extra indulgence, consider adding a layer of caramel to your peanut butter dream bars. A homemade or store-bought caramel sauce can take these bars to a whole new level. Simply pour a thin layer of warm caramel over the peanut butter filling before adding the chocolate topping. The sweet, gooey texture contrasts beautifully with the creamy peanut butter, creating a rich and satisfying treat that’ll have your friends begging for the recipe.
Using different chocolate types
Chocolate lovers, rejoice! Your peanut butter dream bars can be as versatile as your chocolate cravings. Experiment with different chocolate types: dark, milk, or even white chocolate. Dark chocolate adds a sophisticated bitterness, while milk chocolate offers a classic sweet touch. If you’re feeling adventurous, sprinkle some sea salt or top with crushed nuts to enhance flavors. For inspiration on chocolate pairings and their health benefits, check out articles from reputable sources like Healthline or Eat This, Not That!.
Feel free to get creative and make these bars your own! Whether you stick to traditional flavors or try something new, these peanut butter dream bars are bound to impress.
Cooking Tips and Notes for Peanut Butter Dream Bars
Achieving the perfect texture
To create peanut butter dream bars that are both chewy and crumbly, pay attention to your ingredient ratios. Using creamy peanut butter enhances the smoothness, while unsweetened coconut adds a delightful chewiness. Ensure you properly soften your butter—room temperature is key here! This will blend better with sugars and create a fantastic base. If you want an extra layer of flavor, consider adding a dash of vanilla extract.
Recommended tools for easy preparation
Having the right tools can make all the difference in your baking adventure. Here are some essentials for making these delicious bars easier:
- Mixing bowls: A set of different sizes will allow for seamless ingredient prep.
- Rubber spatula: Great for scraping down the sides of your bowl and ensuring every bit of goodness is used.
- 9x9 inch pan: This size is typically perfect for these peanut butter dream bars.
- Parchment paper: Lining your pan with this makes for easy removal and cleanup.
If you haven’t checked out Serious Eats for other cooking tips, it's a fantastic resource to explore more about achieving great textures in your baked goods. Happy baking!
Serving Suggestions for Peanut Butter Dream Bars
Ideal Pairings for Warm Beverages
When enjoying your peanut butter dream bars, consider pairing them with comforting warm beverages. A creamy cup of hot chocolate or an aromatic spiced chai latte perfectly complements the rich, nutty flavors of the bars. If you're leaning towards coffee, a lightly brewed cappuccino adds a delightful contrast. The combination not only enhances the taste but also transforms your snack into a cozy treat for any afternoon. You can explore more creative coffee pairings here.
Creative Ways to Present Your Bars
Presentation matters, especially when sharing your peanut butter dream bars with friends at gatherings. Cut the bars into bite-sized pieces and arrange them on a rustic wooden platter. Consider adding some fresh fruit like sliced strawberries or bananas around the edges for a pop of color. You could also drizzle melted dark chocolate over the top for an elegant touch. Who wouldn’t love a beautiful dessert spread? For more inspiration on fun serving ideas, check out Food52’s presentation tips.
Whether you enjoy them solo or share them with friends, these suggestions will elevate your peanut butter dream bars experience.
Time Breakdown for Peanut Butter Dream Bars
Preparation Time
Making your peanut butter dream bars is a breeze and will only take about 15 minutes. Use this time to gather your ingredients and tools — think graham crackers, peanut butter, and cream cheese!
Chilling Time
After you prepare the mixture, it's essential to let your peanut butter dream bars chill for at least two hours in the fridge. This step is crucial for the bars to set up nicely and make slicing easier.
Total Time Commitment
In total, you’re investing about 2 hours and 15 minutes into this delicious dessert — a small price to pay for a sweet treat that's perfect for entertaining or indulging. With minimal effort and a little waiting time, you’re just moments away from enjoying these creamy delights.
For more tips and techniques on making no-bake desserts, check out Food Network's dessert section.
Nutritional Facts for Peanut Butter Dream Bars
When you indulge in peanut butter dream bars, knowing their nutritional breakdown can help you enjoy them guilt-free!
Calories per bar
Each delightful bar contains approximately 200 calories. This makes it a satisfying treat without derailing your day.
Key nutrients to note
These bars are packed with wonderful nutrients. Each one offers:
- Protein: Around 6g, thanks to the peanut butter.
- Healthy Fats: About 12g, which keeps you feeling full longer.
- Fiber: Approximately 3g, supporting digestive health.
For more insights on the benefits of peanut butter, check out the American Peanut Council.
Suggested serving size
A standard serving is one bar, which keeps portion control in check while still delivering rich flavor and texture. If you're sharing, cut them into smaller pieces for a perfect bite-sized treat!
Enjoy these peanut butter dream bars knowing you're treating yourself well!
FAQs about Peanut Butter Dream Bars
Can I make these bars vegan or gluten-free?
Absolutely! If you want to enjoy peanut butter dream bars while adhering to a vegan or gluten-free diet, it’s definitely possible to make some simple substitutions. For a vegan version, use a plant-based butter alternative and opt for maple syrup instead of honey. For a gluten-free option, you can swap Graham cracker crumbs with certified gluten-free crumbs or even crushed gluten-free cookies. It’s all about being creative with the ingredients you choose!
How do I store leftover bars?
Storing your peanut butter dream bars properly ensures they stay fresh and delicious. If you have leftovers (which is rare with these tasty treats!), place them in an airtight container. They can be stored at room temperature for up to three days or in the refrigerator for about a week. For longer storage, consider freezing them. Just wrap each bar tightly in plastic wrap or parchment paper, and pop them in the freezer for up to three months. You can then thaw them overnight in the fridge before enjoying!
What can I use instead of Graham cracker crumbs?
If you’re not a fan of Graham crackers or need an alternative for your peanut butter dream bars, there are plenty of options. Try using crushed digestive biscuits, coconut flour, or even almond flour mixed with a bit of sweetener for a delightful base. Each option brings a unique flavor and texture to the bar, making it fun to experiment and find your favorite combination!
Have other questions? I’d love to help you further! Don't hesitate to reach out or leave a comment below.
Conclusion on Peanut Butter Dream Bars
Now that you’ve learned how to create these delightful peanut butter dream bars, why not give it a try in your own kitchen? The process is straightforward, and the reward is nothing short of heavenly. Imagine the satisfaction of biting into a creamy, crunchy treat you've made from scratch!
- Creative freedom: Feel free to experiment with add-ins, like chocolate chips or chopped nuts, to customize your bars exactly to your taste.
- Healthy indulgence: Using natural peanut butter boosts the nutrient profile, so you can snack guilt-free.
Explore more about the benefits of peanut butter here and get inspired by other dessert ideas to complement your bars. Enjoy the process, and happy baking!
Print
Peanut Butter Dream Bars: The Indulgent Treat You’ll Love
Indulge in these creamy Peanut Butter Dream Bars that satisfy your sweet tooth and provide a delightful treat.
- Total Time: 2 hours 15 minutes
- Yield: 16 bars
Ingredients
- 1 cup peanut butter
- ½ cup granulated sugar
- 1 cup powdered sugar
- ½ cup unsalted butter, softened
- 2 cups graham cracker crumbs
- ½ cup chocolate chips
Instructions
- In a mixing bowl, cream together peanut butter and butter until smooth.
- Add granulated sugar and powdered sugar, mixing until fully incorporated.
- Stir in graham cracker crumbs until the mixture is well combined.
- Press the mixture into a greased baking dish.
- Sprinkle chocolate chips on top and gently press them in.
- Refrigerate for at least two hours before cutting into bars.
Notes
- For added flavor, consider adding a pinch of salt to the mixture.
- These bars can be topped with melted chocolate for an extra indulgence.
- Prep Time: 15 minutes
- Cook Time: 0 minutes
- Category: Dessert
- Method: No-Bake
- Cuisine: American
- Diet: Vegetarian
Nutrition
- Serving Size: 1 bar
- Calories: 250
- Sugar: 18g
- Sodium: 150mg
- Fat: 15g
- Saturated Fat: 5g
- Unsaturated Fat: 10g
- Trans Fat: 0g
- Carbohydrates: 23g
- Fiber: 1g
- Protein: 6g
- Cholesterol: 10mg