Introduction to Butterfinger Cheesecake
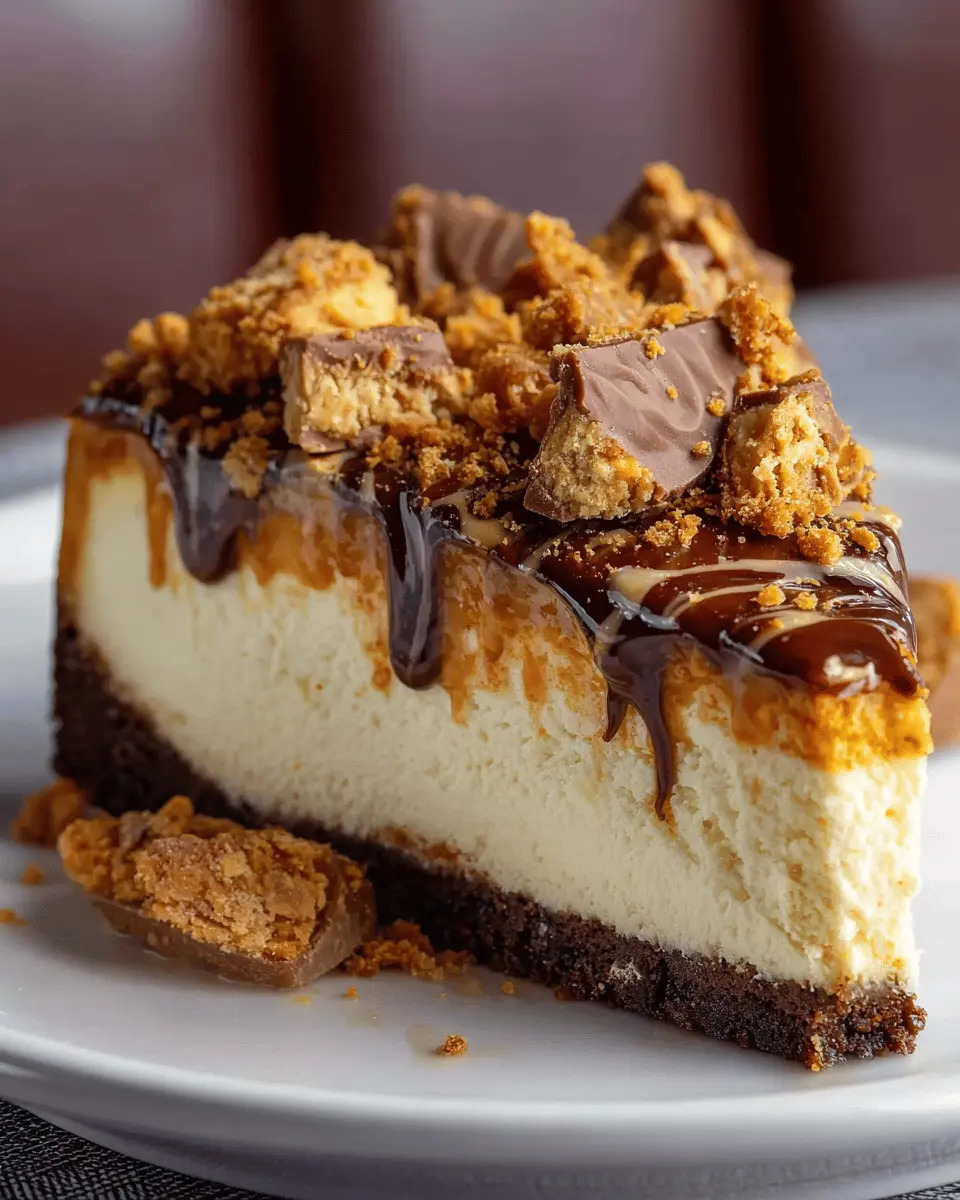
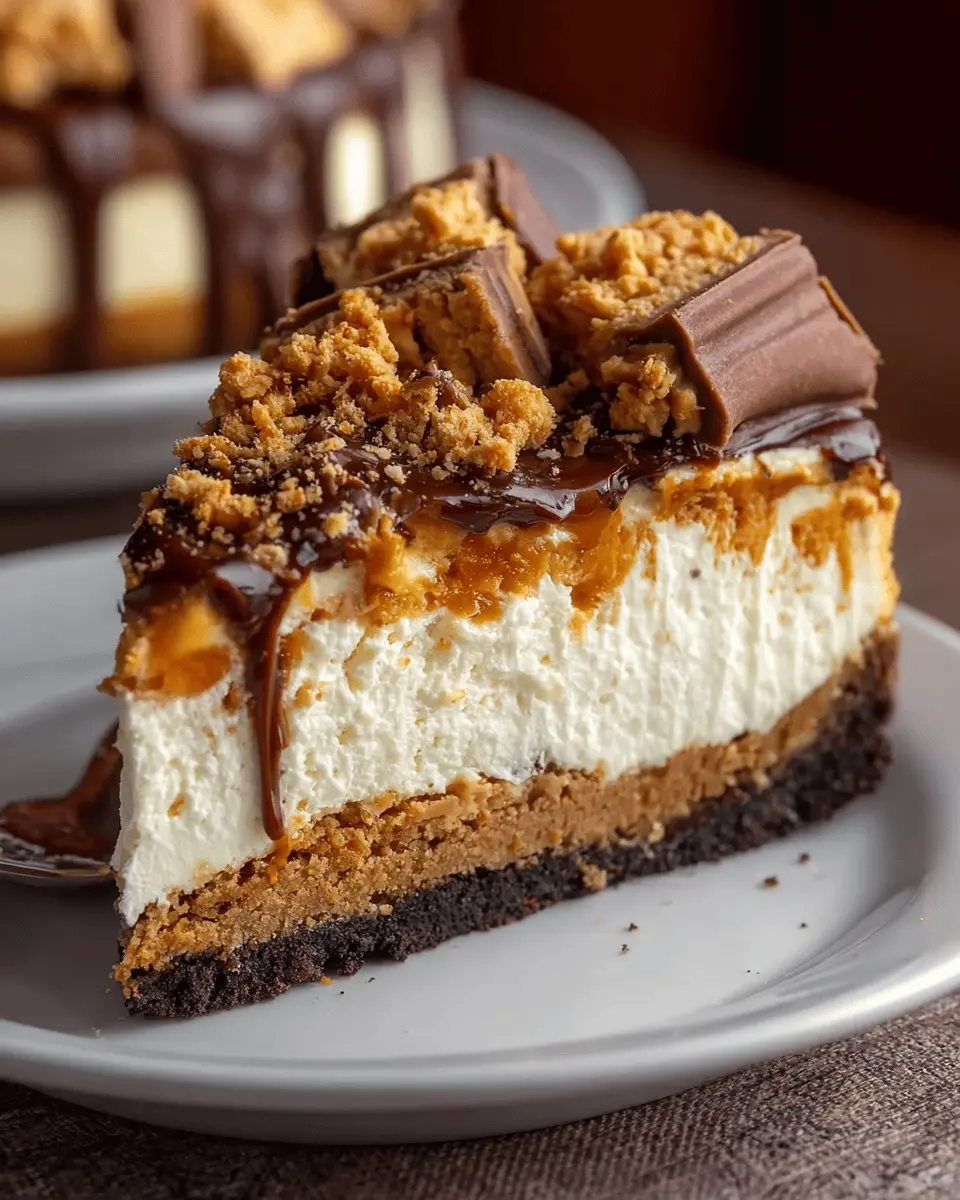
When it comes to dessert, there’s something truly special about a Butterfinger cheesecake. Imagine a smooth, creamy cheesecake that blends perfectly with the playful crunch and rich flavor of Butterfinger candy bars. It’s a delightful combination that can elevate any gathering—whether it’s a birthday celebration, holiday feast, or a cozy night in.
Why a Butterfinger Cheesecake Might Be Your New Favorite Dessert
So, why should you consider adding this delightful treat to your recipe repertoire? Here are some reasons that might just make butterfinger cheesecake your go-to dessert:
-
Irresistible Flavor Contrast: The combination of the rich creaminess of cheesecake with the sweet and salty crunch of Butterfingers creates a mouthwatering experience. Each bite offers a unique textural contrast that keeps your taste buds dancing.
-
Easy to Prepare: Many homemade cheesecakes can seem daunting, but this recipe is surprisingly straightforward. With just a handful of ingredients, you’ll find yourself whipping up a stunning dessert without needing any advanced kitchen skills. Plus, it's a great way to impress friends or family!
-
Flexibility: You can easily customize this cheesecake by adding your favorite toppings. From whipped cream to chocolate drizzle, the possibilities are endless. Want to keep it even easier? A simple sprinkle of crushed Butterfinger on top makes for a gorgeous finish.
-
Perfect for Any Occasion: This cheesecake isn’t limited to special events! It's just as perfect for a Friday night treat after a long week of work. You can also bring it to gatherings or potlucks to share joy with others.
A Treat Besides the Ordinary
If you're looking for an alternative to a classic chocolate cake or another common dessert, butterfinger cheesecake provides that unique twist that can turn ordinary moments into extraordinary ones. Imagine seeing the joyful expressions on your friends' faces as they dive into this treat!
Incorporating this recipe into your dessert lineup might just become your new favorite way to end a meal. Who wouldn’t want to indulge in something unique and delicious? For more inspiration on delightful desserts, check out sites like Bon Appétit or Food Network for endless options!
Ingredients for Butterfinger Cheesecake
Creating a delicious Butterfinger cheesecake is all about the right mix of ingredients that come together to produce a flavor explosion. Here’s what you’ll need to whip up this decadent dessert.
For the Crust
- Graham cracker crumbs: 2 cups, finely crushed
- Sugar: ¼ cup, enhances sweetness
- Butter: ½ cup, melted, to bind everything together
For the Cheesecake Filling
- Cream cheese: 4 packages (8 oz each), softened for creamy texture
- Granulated sugar: 1 cup, balances the richness
- Vanilla extract: 2 teaspoons, a classic flavor enhancer
- Sour cream: 1 cup, adds tanginess and smoothness
- Eggs: 4 large, for structure and richness
For the Butterfinger Topping
- Butterfinger bars: 4 medium bars, crushed to sprinkle on top
- Chocolate chips: 1 cup, semi-sweet for drizzling
Now you have all the essentials for your Butterfinger cheesecake! Make sure to check out this article on baking tips for even more ideas and tricks to elevate your dessert-making game. Your taste buds are about to thank you!
Step-by-Step Preparation of Butterfinger Cheesecake
Creating a Butterfinger cheesecake at home is not just a culinary adventure; it's an opportunity to impress your friends and satisfy your sweet tooth! With layers of creamy goodness, buttery crust, and delightful candy crunch, this dessert is a must-try. Let’s walk through each step together, making it easy and enjoyable.
Prepping the springform pan
Before we dive into the sweet stuff, let’s get our springform pan ready. This is crucial because it ensures easy removal of your cheesecake after baking.
- Gather your materials: You’ll need a standard 9-inch springform pan, parchment paper, and a bit of non-stick spray.
- Prepare the pan: Lightly spray the bottom and sides of the pan with non-stick spray to prevent sticking. Next, cut a round piece of parchment paper to fit the base and place it in the bottom of the pan. This extra step guarantees that your cheesecake comes out flawlessly.
Making the chocolate cookie crust
Who can resist a chocolate cookie crust? It’s the foundation of our Butterfinger cheesecake and sets the tone for deliciousness!
- Gather ingredients: You’ll need about 1 ½ cups of crushed chocolate cookies (like Oreos) and ½ cup of melted butter.
- Mix and press: In a mixing bowl, combine the crushed cookies and melted butter until the mixture resembles wet sand. Press the mixture evenly into the bottom of your prepared springform pan. This is where you might want to use the back of a measuring cup to firmly pack it down for a sturdy crust.
Mixing the cheesecake batter
Now comes the fun part! Let’s whip up that creamy batter that will bring your Butterfinger cheesecake to life.
- Ingredients: You’ll need 24 ounces of cream cheese (softened), 1 cup of granulated sugar, 1 teaspoon of vanilla extract, and 3 large eggs.
- Blend it up: In a large mixing bowl, beat the softened cream cheese until smooth. Gradually add in the sugar and vanilla, combining until well mixed. Then, add the eggs one at a time, making sure each egg is fully incorporated before adding the next. A touch of dilution makes a big difference, so be careful not to overmix!
Adding the Butterfinger candy pieces
Is there anything better than biting into a Butterfinger? We think not, especially when mixed into a cheesecake!
- Chop and mix: Take about 4-5 full-size Butterfinger bars and chop them into small pieces. Fold them gently into your cheesecake batter (but leave some for the top—it’s like the cherry on the cake!).
Pouring and swirling the caramel and chocolate sauces
Let’s elevate your cheesecake experience by adding delightful swirls of flavor!
- Sauce it up: Drizzle caramel and chocolate sauce over the batter in swirling patterns. You can use store-bought sauces for ease or make your own if you’re feeling adventurous. A quick Google search for homemade sauce recipes can yield fantastic results that can take your cheesecake to the next level.
Baking the cheesecake
It’s time to bake! Follow these steps for that perfect final product.
- Preheat your oven to 325°F (160°C). Place the prepared springform pan in a larger baking pan and fill the larger pan with a water bath. This method helps to prevent cracking.
- Bake for about 60-70 minutes or until the edges are set but the center is still slightly wobbly. A little jiggle means it’ll set as it cools.
Cooling and refrigerating
After a long wait, the cheesecake needs to settle down.
- Let it cool: Remove the pan from the oven and the water bath, and let it cool for about an hour at room temperature.
- Refrigerate: Cover the cheesecake with plastic wrap and chill in the refrigerator for at least 4 hours (overnight is even better). This helps the flavors meld beautifully.
There you have it! A delightful Butterfinger cheesecake ready to be devoured. Serve it chilled, and watch your guests rave about this heavenly treat. Don’t forget to share your masterpiece on social media or tag us for a chance to be featured. Happy baking!

Delicious Variations on Butterfinger Cheesecake
When it comes to butterfinger cheesecake, there's no limit to how you can indulge in this decadent dessert! Let's explore some delightful variations that will tickle your taste buds and elevate your cheesecake game.
Chocolate Fudge Variation
For chocolate lovers, adding a rich chocolate fudge layer turns your butterfinger cheesecake into a true chocolate dream. Here’s how to do it:
- Chocolate Base: Replace half of the crumbs in your crust with crushed chocolate cookies. This adds a delightful kick right from the bottom.
- Fudge Layer: Melt dark chocolate and heavy cream together to create a luscious fudge topping. Pour it over your cheesecake before adding the Butterfinger crumbles on top.
- Serve Warm: For added delight, warm up a slice briefly in the microwave. The fudge becomes gooey, and you’ll get that beautiful contrast of temperatures!
This variation not only enhances the chocolate flavor but also adds texture and richness.
Peanut Butter Swirl Variation
If you’re a fan of the classic peanut butter and chocolate combo, this peanut butter swirl version of butterfinger cheesecake is a must-try!
- Swirled Peanut Butter: Create a smooth peanut butter mixture with a bit of cream cheese and sugar. As you’re pouring your cream cheese filling into the crust, drop dollops of the peanut butter mixture throughout and swirl them in with a knife for a beautiful aesthetic.
- Topping: Top with additional crushed Butterfingers and some drizzled peanut butter for a glamorous finish!
- Add a Tracking Element: Want an idea for a drink pairing? Consider a refreshing iced coffee or a creamy milkshake to enjoy alongside your slice!
Not only does this elevate the flavors, but it also adds a fun visual element that’s sure to impress at your next gathering.
Feel free to get creative and mix these ideas! For those keen on exploring more about cheesecakes, check out resources like Taste of Home or Food Network.
Cooking Tips and Notes for Butterfinger Cheesecake
When crafting your delightful Butterfinger cheesecake, a few tips can elevate your dessert game. Here’s how to make your cheesecake not just tasty but memorable!
Achieving the Perfect Consistency
-
Room Temperature Ingredients: Ensure that your cream cheese, eggs, and sour cream are at room temperature before mixing. This helps achieve a smoother batter and avoids lumps.
-
Don’t Overmix: When combining your ingredients, mix until just combined. Overmixing can lead to cracks during baking.
Baking and Cooling
-
Water Bath Technique: Consider using a water bath when baking your butterfinger cheesecake. This method helps maintain moisture and results in a creamier texture.
-
Gradual Cooling: After baking, turn off the oven and let the cheesecake cool inside for about an hour. This prevents sudden temperature changes that can crack the surface.
Adding Personal Touches
- Customize with Toppings: Feel free to get creative with toppings! Crushed Butterfingers, drizzles of caramel or chocolate sauces, or a dollop of whipped cream can add a delightful finish to your cheesecake.
For more insights on making cheesecakes, check out The Cheesecake Factory’s Professional Tips and enhance your baking repertoire!
Creative Ways to Serve Butterfinger Cheesecake
When it comes to enjoying your Butterfinger cheesecake, presentation and pairing can elevate this delightful dessert to new heights. Here are some fun serving suggestions to impress your guests or simply treat yourself!
Perfect Pairings for Cheesecake
-
Fresh Berries: Consider offering a side of seasonal berries—strawberries, raspberries, and blueberries. Their natural tartness beautifully complements the rich, creamy cheesecake.
-
Chocolate Sauce: A drizzle of warm chocolate sauce can create a decadent contrast. Just think of how irresistible that combination can be!
-
Whipped Cream: Don’t shy away from a dollop of freshly whipped cream atop each slice. For a personalized twist, you can sprinkle some crushed Butterfinger candy on top for added crunch.
Drink Options to Enjoy
When serving your Butterfinger cheesecake, think about what beverages to pair it with:
-
Coffee: A robust cup of coffee can balance out the sweetness of the cheesecake nicely, making it an ideal post-dinner treat.
-
Milkshakes: For a fun twist, offer milkshakes—think chocolate or caramel—to keep the indulgence rolling.
Serving Suggestions for Special Occasions
-
Layered Dessert Cups: If you're planning a gathering, why not try layering mini cheesecakes in clear cups? This creates a visually stunning arrangement that guests will rave over!
-
Cheesecake Bars: Cut the Butterfinger cheesecake into bars for easy serving. This is especially handy for events where guests might prefer finger foods.
By thinking outside the box, you can turn your Butterfinger cheesecake into a show-stopping centerpiece. Keep these fun serving suggestions in mind, and your dessert table will be the highlight of any gathering! For more dessert inspiration, check out this article on baking essentials to ensure your treats turn out perfect every time.
Time Breakdown for Butterfinger Cheesecake
Preparation Time
This butterfinger cheesecake requires about 20 minutes of prep work. Gather all your ingredients beforehand—cream cheese, sugar, and, of course, those delightful Butterfinger bars. You'll be blending and mixing, so having everything ready will smooth the process.
Cooking Time
Once everything is mixed, the baking takes about 60 minutes. Keep a close eye during the last few minutes; you'll want that perfect, slightly jiggly center. Baking a cheesecake can feel like an art form!
Cooling Time
After baking, allow it to cool for at least 4 hours, or ideally overnight in the fridge. This chilling period helps the flavors meld beautifully and gives the cheesecake a dreamy, creamy texture. Plus, patience is key when you're waiting to treat your taste buds!
By following this time breakdown, you’ll be well on your way to enjoying a fantastic butterfinger cheesecake. For more dessert inspirations, check out sites like Epicurious or Food Network for creative ideas!
Nutritional Facts for Butterfinger Cheesecake
If you're eyeing that rich Butterfinger cheesecake, it's smart to consider the nutritional profile before diving in. Here’s a quick rundown of what to expect:
Calories
A slice of this indulgent cheesecake typically packs around 350 calories. This makes it a delightful treat, but be mindful of portion sizes if you’re watching your intake.
Sugar Content
With approximately 25 grams of sugar per slice, this butterfinger cheesecake certainly satisfies a sweet tooth. For those monitoring their sugar, it’s good to enjoy this dessert occasionally.
Protein
You’ll get about 5 grams of protein in each slice, thanks to the cream cheese base supplemented by other ingredients. While it's not a protein powerhouse, every little bit counts towards your daily intake!
For more detailed information on nutrition, feel free to explore resources like USDA's FoodData Central or NutritionData, where you can dive deeper into food values and health impacts. Balancing indulgence with awareness makes every bite of that Butterfinger cheesecake even more enjoyable!
FAQs About Butterfinger Cheesecake
Can I make this cheesecake ahead of time?
Absolutely! Making your Butterfinger cheesecake ahead of time is a fantastic idea, especially if you have a busy week. In fact, it tastes even better after chilling in the fridge for a day or two, as the flavors meld beautifully. Just ensure you cover it tightly with plastic wrap to keep it fresh. This cheesecake can be made up to three days in advance, making it the perfect dessert for parties or gatherings.
What if I don’t have a springform pan?
No springform pan? No problem! You can use a regular 9-inch round cake pan instead. Just make sure to line the bottom and sides with parchment paper for easier removal. You could also use a disposable aluminum pan, which might be a great option if you’re bringing the Butterfinger cheesecake to a party. The key is to let it cool completely before slicing to maintain its shape.
How should I store leftovers?
Storing leftover Butterfinger cheesecake is easy! Simply place any uneaten slices in an airtight container and keep them refrigerated for up to five days. If you want to savor your cheesecake for longer, you can freeze it. Just wrap individual slices in plastic wrap and then place them in a freezer-safe bag. This keeps them fresh for up to three months. When you're ready to enjoy, just thaw it in the fridge overnight.
For more tips on cake storage, check out resources like The Spruce Eats or Food Network. Happy baking!
Conclusion on Butterfinger Cheesecake
In summation, your Butterfinger cheesecake is not just a dessert; it’s an experience! The rich, creamy texture paired with the crunchy bits of Butterfinger candy creates a harmonious blend of flavors that will delight your taste buds. Whether you’re serving it at a gathering or indulging solo after a long day, this cheesecake is sure to impress.
Don’t forget to explore variations! You might consider adding layers of chocolate ganache or even incorporating a hint of peanut butter for a twist. Remember, the beauty of baking lies in experimentation. For more inspiration, check out this Baker’s website for tips on amazing cheesecake flavors.
As you dive into this decadent recipe, feel free to share your experiences and tweaks—you might just inspire someone else to indulge in their own Butterfinger cheesecake adventure!
Print
Butterfinger Cheesecake: The Indulgent Treat You’ll Love to Make
Enjoy making this rich and creamy Butterfinger Cheesecake that will wow your guests and satisfy your sweet tooth.
- Total Time: 4 hours 20 minutes
- Yield: 12 servings
Ingredients
- 1 cup graham cracker crumbs
- ½ cup unsalted butter, melted
- 1 cup granulated sugar
- 3 (8 ounce) packages cream cheese, softened
- 1 teaspoon vanilla extract
- 4 large eggs
- 1 cup heavy cream
- 3 cups Butterfinger candy bars, crushed
Instructions
- Preheat your oven to 325°F (160°C).
- In a medium bowl, combine graham cracker crumbs and melted butter. Press into the bottom of a springform pan.
- In a large mixing bowl, beat the cream cheese and sugar until smooth.
- Add eggs, one at a time, beating well after each addition. Mix in vanilla extract.
- Pour the cream cheese mixture over the crust, then sprinkle the crushed Butterfinger bars on top.
- Bake for 55-60 minutes or until the center is set.
- Let cool, then refrigerate for at least 4 hours before serving.
Notes
- For an even richer flavor, consider adding a chocolate ganache layer on top.
- Serve with whipped cream and extra Butterfinger pieces for garnish.
- Prep Time: 20 minutes
- Cook Time: 1 hour
- Category: Dessert
- Method: Baking
- Cuisine: American
- Diet: Vegetarian
Nutrition
- Serving Size: 1 slice
- Calories: 450
- Sugar: 30g
- Sodium: 400mg
- Fat: 28g
- Saturated Fat: 15g
- Unsaturated Fat: 10g
- Trans Fat: 0g
- Carbohydrates: 45g
- Fiber: 1g
- Protein: 6g
- Cholesterol: 100mg