Introduction to Cherries in the Snow Dessert
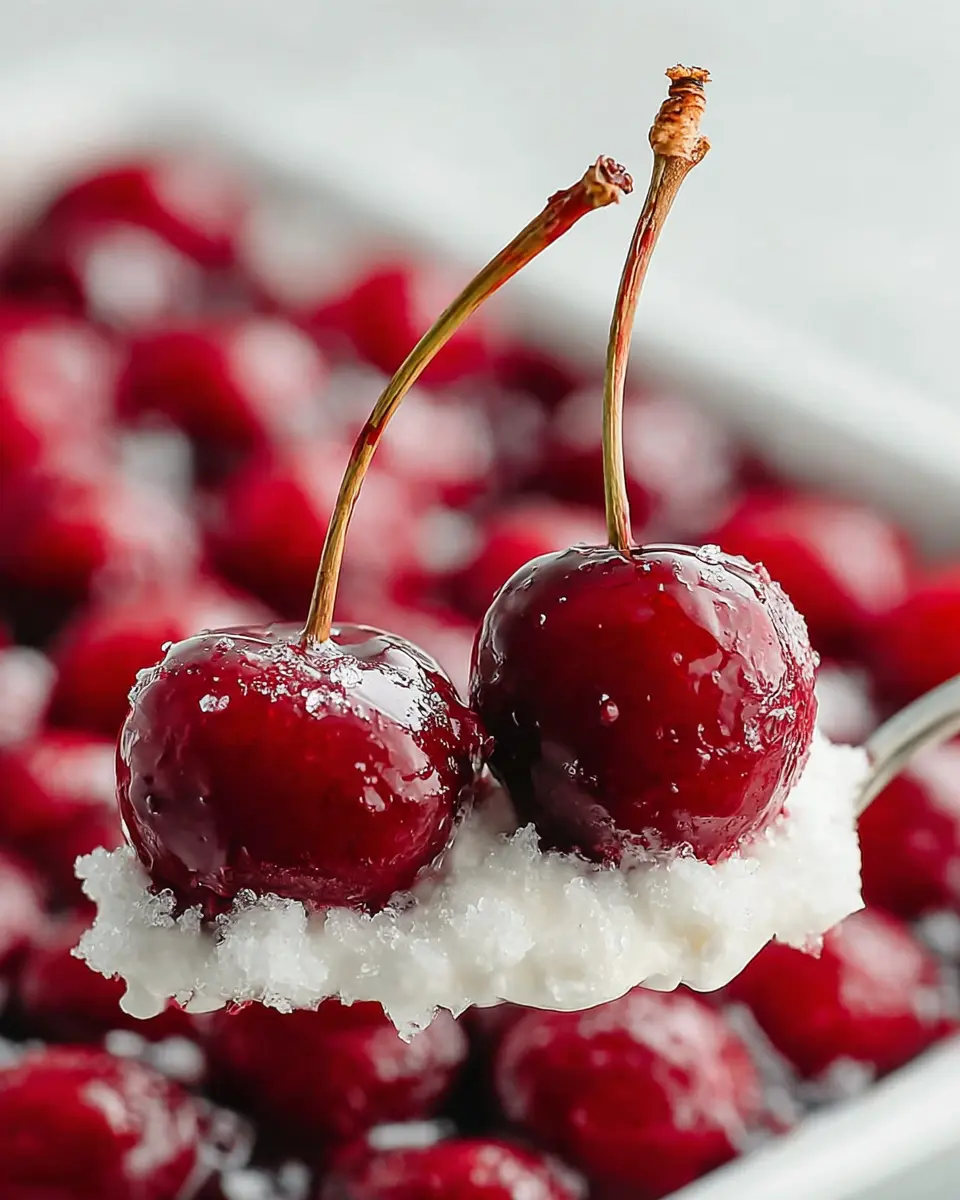
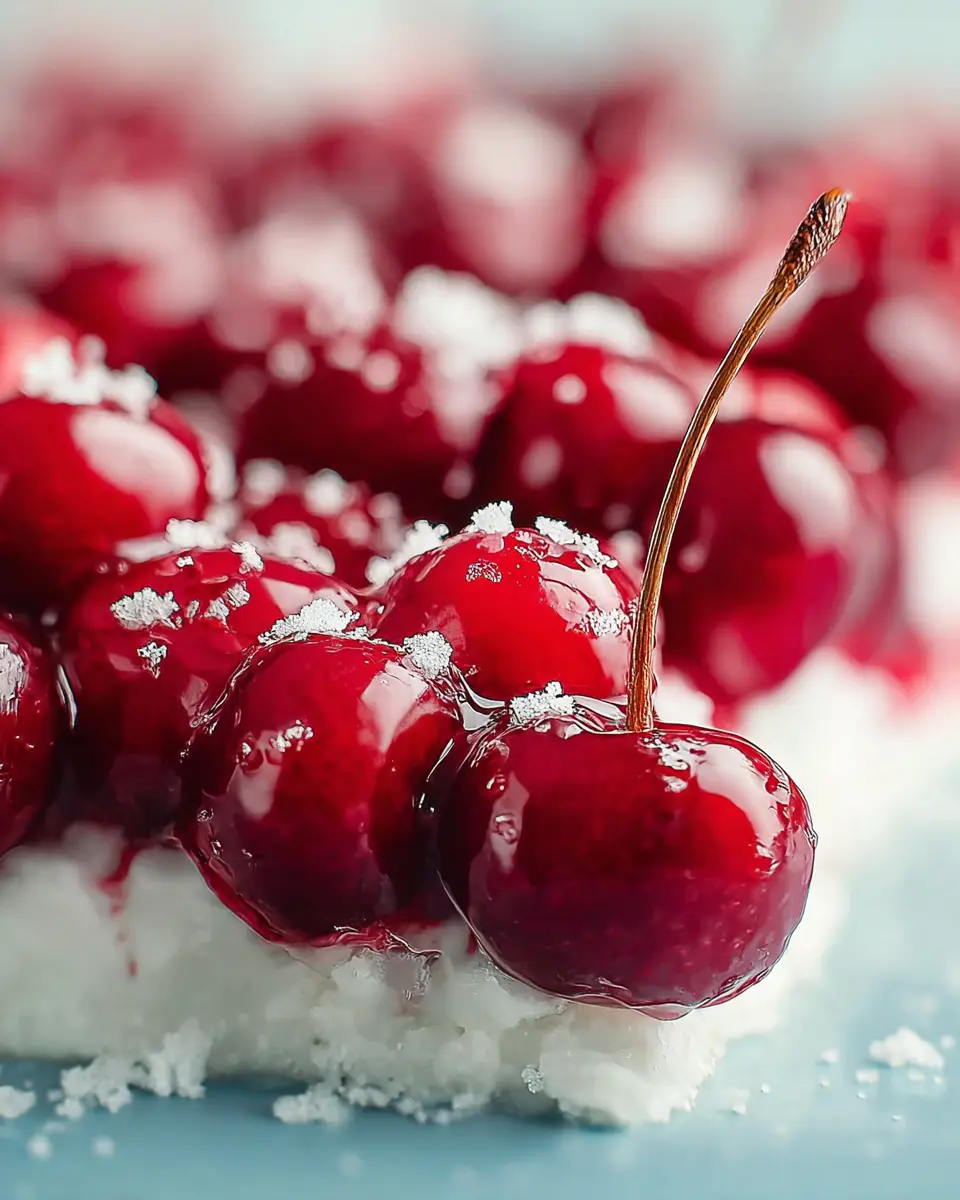
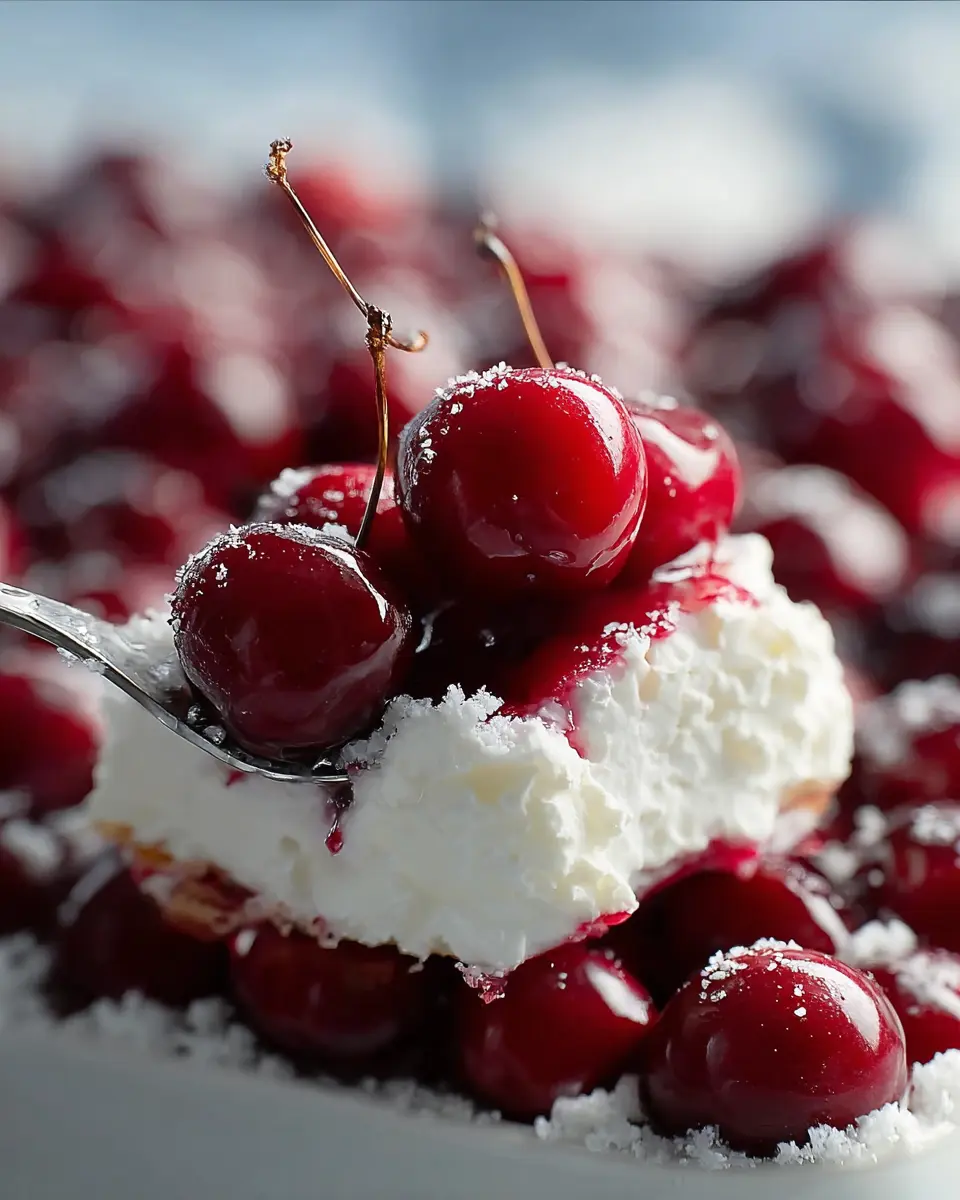
When it comes to homemade indulgence, Cherries in the Snow Dessert is an absolute game-changer. If you’ve ever found yourself dreaming about a dessert that feels like a celebration, look no further! With its striking combination of vibrant red cherries against a backdrop of fluffy white cream, this dessert practically embodies winter’s magic. But don’t be fooled by its stunning appearance; it’s incredibly simple to whip together, making it perfect for busy young professionals like you.
Why This Dessert is a Game-Changer for Homemade Indulgence
So, what makes this dessert stand out from the endless array of sweet treats? Here are a few key reasons:
-
Quick and Easy Preparation: You don’t need to be a master baker to create this delightful dish. With just a handful of ingredients like fresh cherries, cream cheese, and whipped topping, you can serve a crowd-pleaser in no time.
-
Impressive Presentation: The visual appeal of Cherries in the Snow Dessert is undeniable. Layered beautifully in a glass dish or served in individual cups, it’s sure to wow your friends at your next gathering. It’s one of those desserts that not only tastes great but also looks like you put in a lot of effort—perfect for impressing guests!
-
Versatile Flavors: The tartness of the cherries beautifully balances the sweetness of the creamy layers. You can easily customize it by mixing in other fruits or experimenting with flavor variations to suit your taste buds.
-
Seasonal Adaptability: While cherries shine in this dish, feel free to switch it up with seasonal fruits. Think strawberries in the summer or even peaches in the early fall; it allows you to enjoy this delightful dessert year-round.
When you’re in the mood for a sweet treat that’s as enjoyable to make as it is to eat, Cherries in the Snow Dessert is your ticket to success. It delivers on flavor without breaking a sweat. Plus, for those of you looking for inspiration on decadent dessert options, consider exploring BBC Good Food or Food Network for a culinary dive!
So, are you ready to give this stunning dessert a try? Let's dive into the recipe!
Ingredients for Cherries in the Snow Dessert
Creating a delightful Cherries in the Snow Dessert requires some simple yet essential ingredients. Ensure you have these on hand before you get started, as they'll come together beautifully to create a visually stunning and delicious treat.
Core Ingredients
- Fresh or Frozen Cherries: About 2 cups should do the trick. If you’re using frozen, make sure to thaw them first!
- Sweetened Condensed Milk: This creamy ingredient adds sweetness and richness; opt for one can.
- Whipped Topping: You’ll need 2 cups of any whipped topping, whether store-bought or homemade. It keeps the dessert light and fluffy.
- Cream Cheese: One 8-ounce package, softened, adds a luscious texture.
Optional Additions
- Powdered Sugar: For a touch of extra sweetness, ¼ cup is usually enough.
- Graham Cracker Crumbs: A sprinkle on top or mixed in adds a nice crunch.
When making this dessert, consider pairing it with a refreshing non-alcoholic beverage like sparkling water or herbal tea.
Cooking can be such a rewarding experience, so why not grab these ingredients and get started? For more tips on cooking with cherries, check out the Cherry Marketing Institute!
Preparing Cherries in the Snow Dessert
If you’re looking for a delightful dessert to impress your friends, then the Cherries in the Snow Dessert is a perfect choice! This creamy, dreamy treat is not only visually stunning but also incredibly simple to prepare. Let’s dive into the steps to create this luscious dessert that will surely become a staple in your recipe collection.
Gather Your Ingredients
Before you get started, it’s essential to have all your ingredients at hand. For the Cherries in the Snow Dessert, you’ll need the following:
- 8 oz cream cheese, softened
- 1 cup powdered sugar
- 1 cup milk
- 1 tub of whipped topping (Cool Whip works great!)
- 1 can (about 21 oz) cherry pie filling
- Graham cracker crumbs (for layering)
The beauty of this recipe is that the ingredients are relatively easy to find, which means you can whip it up anytime the craving strikes. Plus, if you want to add a twist, you can substitute the graham cracker crumbs for vanilla wafers or chocolate cookie crumbs!
Beat the Cream Cheese and Sugar
Start by placing the softened cream cheese and powdered sugar in a large mixing bowl. Using an electric mixer, beat them together until the mixture is smooth and creamy. This may take a couple of minutes, but it’s crucial for achieving that rich, velvety texture that makes the Cherries in the Snow Dessert so enjoyable.
If you don’t have an electric mixer, a hand whisk will do! Just be prepared for a little workout. The goal here is to incorporate air into the cream cheese to make it fluffy.
Blend in the Milk
Once your cream cheese and sugar are well mixed, it’s time to incorporate the milk. Slowly add in the milk while continuing to beat the mixture. This step ensures that the cream cheese blends well into a smooth consistency without lumps. You want your mixture to look like a creamy, luscious pudding at this point, which will serve as the base for your dessert.
Fold in the Whipped Topping
After your cream cheese and milk are combined, gently fold in the whipped topping. Use a spatula or a wooden spoon, as this will keep the mixture light and airy. The key is to avoid deflating the whipped topping, which is what gives this dessert its cloud-like texture.
This step not only enhances the consistency but also adds an airy sweetness that perfectly complements the richness of the cream cheese.
Assemble the Dessert Layers
Now for the fun part: assembling your Cherries in the Snow Dessert! In a glass or a serving dish, create layers of your creamy mixture and cherry pie filling. Start with a layer of your cream cheese mixture, followed by a layer of cherry filling, and then a sprinkle of graham cracker crumbs. Repeat until you reach the top of your dish, ensuring that the top layer ends with cherry pie filling for that striking presentation.
Don't worry about being perfect—rustic is in! Plus, each spoonful will taste heavenly regardless of how it looks.
Chill to Perfection
Once your dessert is layered, cover it with plastic wrap and place it in the refrigerator for at least four hours, or ideally overnight. Chilling allows the flavors to meld and also firms up the dessert, making it easier to serve. It's the perfect indulgence to prepare in advance for your next dinner party or gathering!
In conclusion, preparing your Cherries in the Snow Dessert is straightforward and rewarding. Not only will you impress your guests when you present this lovely treat, but you’ll also enjoy the process of making it. So, put on your apron, gather those ingredients, and get ready to create something delicious! And if you find yourself looking for more dessert inspiration, check out these creative dessert ideas for even more possibilities.
Variations on Cherries in the Snow Dessert
The classic cherries in the snow dessert is scrumptious on its own, but sometimes, a twist can elevate it to new heights. Here are a few delightful variations that will surprise and satisfy your taste buds.
Chocolate Cherry Version
If you’re craving a little indulgence, consider adding chocolate to your cherries in the snow dessert. Simply fold in some melted dark chocolate into the creamy mixture before spreading it onto the layer of cherries. You can also sprinkle chocolate shavings on top for a gourmet finish. The rich flavor of chocolate pairs harmoniously with the tartness of cherries, creating a dessert experience that’s truly unforgettable. For a bit of extra flair, try using cherry-flavored chocolate for an all-around cherry explosion!
Seasonal Twists with Fresh Fruit
One of the best things about this dessert is its versatility. As the seasons change, you can easily swap out the cherries for other fresh fruits. Imagine using ripe strawberries in the summer or tangy cranberries in the autumn. Each variation can bring a new flavor profile, while still keeping that light, fluffy texture you love. Don’t forget to explore local and seasonal options for the freshest taste. This could turn your cherries in the snow dessert into a berry medley or a tropical delight, using pineapple and coconut for an island-inspired treat.
Next time you're in the mood for something sweet, give one of these variations a try. Creativity in the kitchen is what makes cooking fun! For more inspiring ideas, check out Epicurious or Food Network.
Cooking tips and notes for Cherries in the Snow Dessert
Importance of softened cream cheese
When making your cherries in the snow dessert, softened cream cheese is crucial. It blends more smoothly with the other ingredients, resulting in a creamy, luscious filling. To get that perfect consistency, leave your cream cheese out at room temperature for about 30 minutes before starting. This little step can make a big difference in texture and taste.
Tips for achieving the right texture
Achieving the ideal texture for your cherries in the snow dessert can be as simple as following these steps:
- Blend in stages: Start mixing the cream cheese and sugar together before adding in any whipped cream. This prevents lumps and helps create a fluffy filling.
- Use fresh ingredients: Fresh whipped cream will elevate your dessert. If you're short on time, store-bought whipped cream is a good alternative, but opt for a high-quality brand.
- Chill well: Allow your dessert to set in the refrigerator for a few hours, or even overnight. This helps all the flavors to meld beautifully—trust me, patience pays off!
For additional guidance on cream cheese, check out the American Dairy Association’s tips on using dairy products effectively. Happy baking!
Serving suggestions for Cherries in the Snow Dessert
Creative plating ideas
Elevate your Cherries in the Snow Dessert presentation with some fun plating techniques! Consider using a clear glass dessert cup to showcase the beautiful layers. Start by layering the fluffy whipped cream on the bottom, followed by the vibrant cherry compote, and top it off with a sprinkle of crushed nuts for added texture. For an artistic touch, drizzle some chocolate syrup around the edges of the cup before adding the layers.
Another charming idea is to use petite tart shells as vessels. Fill each shell with the Cherries in the Snow Dessert mixture and finish with a dollop of whipped cream and a fresh cherry on top. Not only does this create a delightful visual appeal, but it also offers a crunchy contrast to the creamy filling.
Pairing with non-alcoholic drinks
Enhance the experience of your Cherries in the Snow Dessert with delicious non-alcoholic drink pairings! A refreshing sparkling water infused with lemon or mint complements the sweetness of the cherries beautifully. If you're in the mood for something warmer, consider serving a cup of chamomile or hibiscus tea. Their floral notes provide a soothing balance to the dessert's rich flavors.
For a fruity twist, a homemade cherry soda can be a delightful match! Simply mix cherry syrup with club soda and a squeeze of lime for a fizzy treat that mirrors the dessert’s ingredients.
Feel free to explore more about non-alcoholic beverage pairings to find your perfect match.
Time breakdown for Cherries in the Snow Dessert
When preparing the delicious Cherries in the Snow Dessert, it’s all about timing. Here's a quick look at how your time will be allocated:
Prep time
You’ll want to set aside about 20 minutes for prep. This includes gathering your ingredients, mixing, and layering everything perfectly. Don't rush – good things take time, after all!
Chill time
After you’ve prepped, the dessert needs to chill in the fridge for 2 to 3 hours. This is crucial for letting the flavors meld and becoming that delightful treat we all love.
Total time
In total, you’re looking at around 2 hours and 20 minutes to 3 hours and 20 minutes from start to finish. Perfect for a weekend gathering or a sweet personal treat after a long week.
This dessert brings a refreshing twist to any occasion! Check out King Arthur Baking for tips on ingredient substitutions if you're missing anything!
Nutritional Facts for Cherries in the Snow Dessert
If you're considering indulging in Cherries in the Snow Dessert, understanding its nutritional content is key. Let’s dive into some essential facts!
Calories
A serving of Cherries in the Snow Dessert typically contains around 200 calories. This makes it a delightful treat without completely derailing your daily caloric intake—perfect for satisfying your sweet tooth!
Sugar Content
When it comes to sugar, this dessert packs about 20 grams per serving. While cherries are naturally sweet, additional ingredients may contribute to the sugar factor. Opt for natural sweeteners or fresh fruit to keep things healthier!
Fat Content
In terms of fat, you can expect about 7 grams in a serving of Cherries in the Snow Dessert. This is primarily from the whipped cream or cream cheese used in the recipe. Choosing lighter alternatives can help you maintain a balance without sacrificing flavor!
For more information on the benefits of cherries, check out the Cherry Marketing Institute. They detail not just the nutritional value, but also the potential health benefits of incorporating cherries into your diet!
FAQs about Cherries in the Snow Dessert
Can I make this dessert ahead of time?
Absolutely! Cherries in the snow dessert is a fantastic option for meal prep. You can assemble it a day or two in advance and keep it refrigerated. The flavors meld beautifully as it sits, enhancing the overall taste, so don’t hesitate to prepare it ahead of a gathering. Just make sure to cover it tightly to maintain freshness. If you're in a time crunch, this dessert can actually save the day!
What can I substitute for whipped topping?
If you prefer a more natural approach, there are several options to swap out whipped topping in your cherries in the snow dessert. Here’s what you can consider:
- Homemade Whipped Cream: Whip heavy cream with a bit of powdered sugar and vanilla extract for a delightful treat.
- Greek Yogurt: For a healthier twist, use plain Greek yogurt. It’s creamy and offers a tangy flavor that complements the cherries well.
- Coconut Cream: This dairy-free option brings a subtle coconut flavor and a rich texture, perfect for those avoiding dairy.
Feel free to experiment! The great part about this dessert is its versatility.
How do I store leftovers?
If you find yourself with any delightful leftovers (though that’s rarely the case!), store your cherries in the snow dessert in an airtight container in the refrigerator. It should last for about 3 to 4 days. Keep in mind that the texture may alter slightly due to humidity, but the flavor will remain on point.
For more tips on dessert storage, check out FoodSafety.gov. They provide thorough insights on how to keep your goodies fresh!
Incorporating these tips can help ensure your cherries in the snow dessert remains a hit, whether you’re enjoying it fresh or saving it for later!
Conclusion on Cherries in the Snow Dessert
If you’re looking to impress your friends at your next gathering, the cherries in the snow dessert is a delightful and elegant choice. This recipe combines the tartness of cherries with a light, fluffy topping that feels indulgent yet refreshing. Perfect for any season, it’s an easy dessert that looks stunning on any table.
Here are a few takeaways to keep in mind:
- Simple Ingredients: You likely already have most of the ingredients at home, making this dessert accessible.
- Versatility: Feel free to experiment with different fruits or add in your favorite spices for a unique twist.
- Impressive Presentation: The beautiful contrast of bright cherries against a snowy-white backdrop will wow your guests.
Ready to give it a try? You won’t regret it! For more ideas, check out Bigger Bolder Baking or The Spruce Eats for additional inspiration. Happy baking!
Print
Cherries in the Snow Dessert: Easy Indulgence for Any Occasion
Indulge in the delightful taste of Cherries in the Snow Dessert, a perfect treat for any special occasion.
- Total Time: 2 hours 20 minutes
- Yield: 8 servings
Ingredients
- 2 cups pitted cherries
- 1 cup sugar
- 1 cup whipped cream
- ½ cup cream cheese
- 1 teaspoon vanilla extract
- 1 cup crushed graham crackers
Instructions
- In a mixing bowl, combine the cream cheese and sugar until smooth.
- Fold in the whipped cream and vanilla extract.
- In a serving dish, layer the crushed graham crackers, cherry mixture, and cream mixture.
- Repeat the layers until all ingredients are used, finishing with the cream layer on top.
- Chill in the refrigerator for at least 2 hours before serving.
Notes
- For a richer flavor, use fresh cherries when in season.
- This dessert can be made a day in advance to allow flavors to meld.
- Prep Time: 20 minutes
- Category: Dessert
- Method: No-bake
- Cuisine: American
- Diet: Vegetarian
Nutrition
- Serving Size: 1 slice
- Calories: 250
- Sugar: 20g
- Sodium: 150mg
- Fat: 12g
- Saturated Fat: 7g
- Unsaturated Fat: 3g
- Trans Fat: 0g
- Carbohydrates: 30g
- Fiber: 1g
- Protein: 3g
- Cholesterol: 30mg