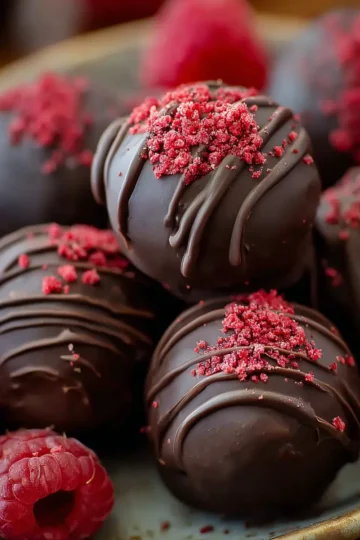
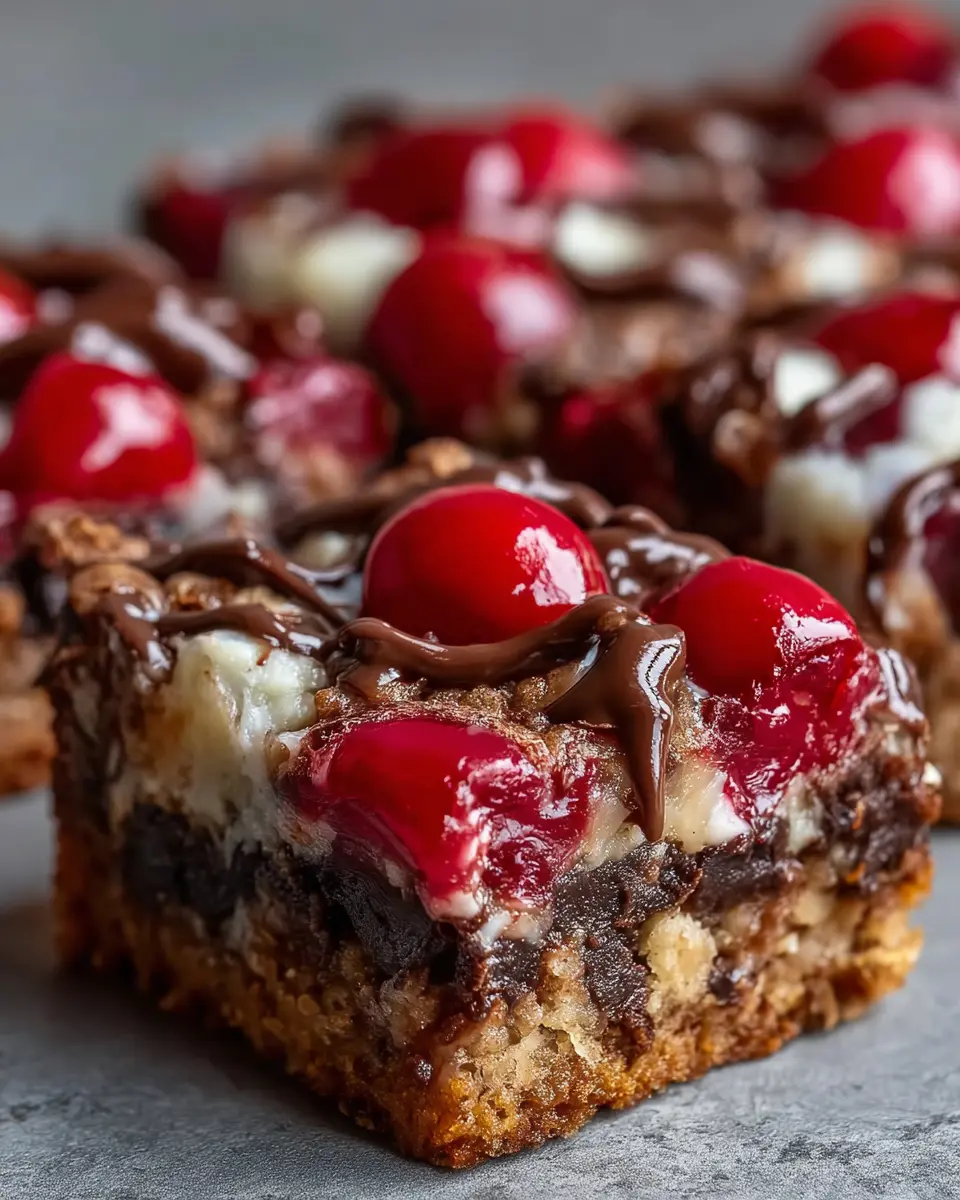
Introduction to Chocolate Covered Cherry Magic Bars
When it comes to dessert, few things can compete with the decadence of chocolate combined with the tartness of cherries. Enter the delightful world of chocolate covered cherry magic bars! These treats aren’t just a feast for the taste buds; they’re a celebration of flavors that resonate with young professionals who are looking to balance indulgence with convenience.
Why Chocolate Covered Cherry Magic Bars are a Must-Try for Young Professionals
As a busy young professional, you might think that finding time for baking is a challenge, but these magic bars are designed for efficiency. With only a few ingredients, you can whip up a batch in no time—perfect for social gatherings or an afternoon pick-me-up. Imagine the joy of sharing a sweet treat with friends after a long week at work!
-
Simplicity in Preparation: The recipe is straightforward and uses ingredients often found in your pantry. You don’t have to be a master chef to enjoy these delights; even novice bakers will find success.
-
Taste Explosion: The rich chocolate combined with the sweet yet tangy cherries creates a flavor profile that’s hard to resist. Studies have even shown that chocolate can boost your mood—just another reason to indulge every once in a while.
-
Perfect for Sharing: If you love making an impression at gatherings, these bars are perfect for potlucks or office parties. You’ll be the star of the show, and everyone will wonder about your secret recipe (which you can easily share).
And let’s be honest, who doesn’t want an easy dessert that dazzles? You could even consider pairing these bars with a warm cup of coffee or a refreshing glass of sparkling water for an added touch.
In summary, chocolate covered cherry magic bars aren't just a dessert; they're an experience, bringing joy, flavor, and a bit of magic to your table. As you embark on this culinary adventure, you’ll discover how simple ingredients can create something truly extraordinary. There's no reason these bars shouldn't be part of your go-to recipe collection!
Ingredients for Chocolate Covered Cherry Magic Bars
Ready to whip up some chocolate covered cherry magic bars? Here’s what you’ll need to create this delectable treat that’s perfect for sharing (or not)!
Essential Ingredients
-
Crust:
-
1 ¾ cups graham cracker crumbs
-
½ cup unsalted butter, melted
-
¼ cup granulated sugar
-
Layers of Delight:
-
1 cup sweetened shredded coconut
-
1 cup semi-sweet chocolate chips
-
1 cup chopped cherries (fresh or canned, drained)
-
½ cup chopped nuts (e.g., walnuts or pecans)
-
1 can (14 oz) sweetened condensed milk
Optional Toppings
- Drizzle of melted chocolate for an extra indulgent touch
- A sprinkle of sea salt to balance the sweetness
These ingredients come together to create luscious layers bursting with flavor. The combination of the rich chocolate and the tart cherries is absolutely unbeatable! Ready to dive in? Check out this guide on baking basics to amp up your baking skills and make these bars truly magical!
Step-by-Step Preparation of Chocolate Covered Cherry Magic Bars
Making chocolate covered cherry magic bars at home can turn any ordinary day into a delightful treat. These layers of indulgence combine the tangy sweetness of cherries with creamy textures and rich chocolate—perfect for a cozy night in or a dessert for gatherings. Here’s a simple and engaging step-by-step guide to walk you through the process.
Preheat the Oven and Prepare the Baking Dish
First thing’s first, let’s make sure your oven is ready for the magic! Preheat your oven to 350°F (175°C). While it heats up, grab a 9x13 inch baking dish and lightly grease it with non-stick spray or line it with parchment paper. This not only makes for easier removal of the bars but also ensures that every delightful layer stays intact. Ready? Let’s move on!
Craft the Graham Cracker Crust
The foundation of our chocolate covered cherry magic bars is a delicious graham cracker crust. You’ll need about 1 ¾ cups of crushed graham crackers, mixed with ½ cup of melted butter, and ¼ cup of granulated sugar.
- In a mixing bowl, combine the crushed crackers and sugar, then slowly stir in the melted butter until the mixture resembles wet sand.
- Press this mixture firmly into the bottom of your prepared baking dish. Use the bottom of a measuring cup or your hands to get an even layer. Don’t be shy with the pressure—this crust needs to hold together!
Whip Up the Cream Cheese Layer
Next, we’ll create a rich cream cheese layer that adds a luxurious texture to our bars. For this, you’ll need 8 oz. of softened cream cheese, 1 cup of powdered sugar, and 1 teaspoon of vanilla extract.
- In a medium bowl, beat the cream cheese until smooth and creamy. Gradually add in the powdered sugar and vanilla, mixing well until fully combined. This layer should be velvety and slightly sweet, which balances the tartness of the cherries beautifully.
Add the Cherry Pie Filling
Now for the star of the show! Open up a can of cherry pie filling (you can make your own if you’re feeling adventurous) and gently spread it over the cream cheese layer.
- Use a spatula to distribute the cherries evenly, allowing them to peek through the cream cheese. The contrast of colors in your chocolate covered cherry magic bars will be simply stunning!
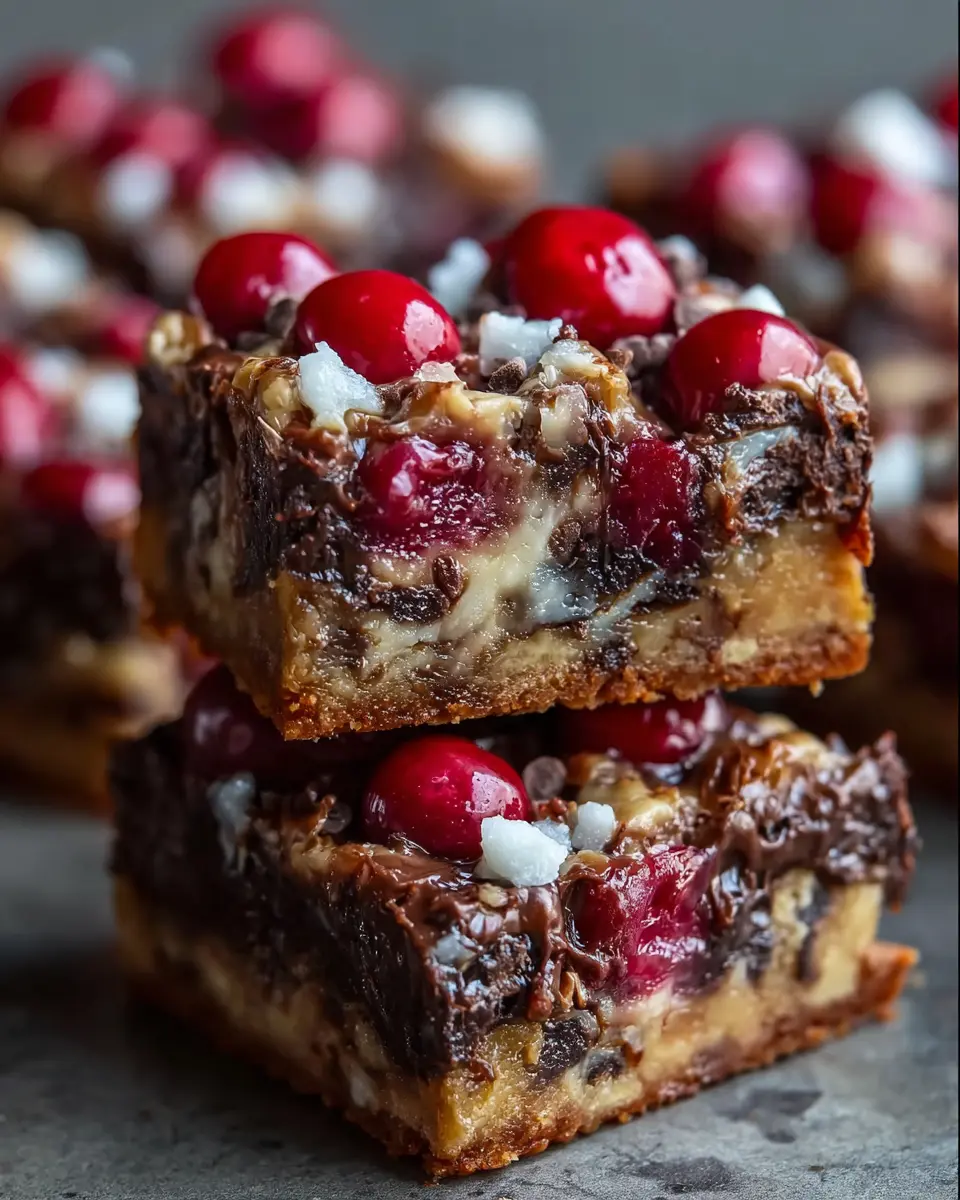
Layer with Chocolate, Coconut, and Nuts
Here comes the fun part! It’s time to create the ultimate layering experience. You’ll need 1 cup of semi-sweet chocolate chips, 1 cup of sweetened shredded coconut, and ½ cup of chopped nuts (walnuts or pecans work great).
- Sprinkle the chocolate chips evenly over the cherry layer, followed by the shredded coconut and chopped nuts. This trio not only provides an awesome texture but also adds incredible flavors that harmonize with the cherries.
Bake, Cool, and Serve
Pop your baking dish into the oven for 25 to 30 minutes, or until the edges are golden brown and the chocolate is melted to perfection. You’ll smell the heavenly aroma filling your kitchen!
Once baked, remove the dish from the oven and let it cool completely before cutting into squares. This cooling time will allow the layers to set nicely. When you’re ready to serve, cut them into bars and enjoy the delightful combination of textures and flavors that define chocolate covered cherry magic bars!
You might even want to send some to friends; it’s a great way to spread joy! And don’t forget, these bars can be stored in an airtight container for up to a week—if they last that long!
Feeling inspired? Check out this article about unique dessert recipes to try next! Happy baking!
Variations on Chocolate Covered Cherry Magic Bars
Dark Chocolate Coconut Magic Bars
Indulge your senses with an elevated take on chocolate covered cherry magic bars by swapping out milk chocolate for rich dark chocolate. The bitterness of dark chocolate creates a perfect harmony with the sweetness of cherries and the chewy coconut. For added texture, try sprinkling some chopped nuts on top—walnuts or pecans work beautifully. This combination not only pleases the palate but also offers a variety of health benefits, such as antioxidants found in dark chocolate, which can be a great conversation starter at your next get-together!
Nut-Free Cherry Delight Bars
For those who need to avoid nuts, these nut-free cherry delight bars still pack a punch of flavor. Use crushed graham crackers or gluten-free options for the base, and replace nuts with an extra layer of shredded coconut or even crumbled cookies. Did you know that adding a layer of oats can enhance the texture? A recent article on health benefits of oats discusses how they can provide sustained energy throughout the day—ideal for young professionals with busy schedules.
Mini Magic Bars for Individual Treats
If you’re hosting a gathering or simply want a portion-controlled treat, consider crafting mini magic bars. Use a muffin tin to create individual servings, making them perfect for parties or lunchboxes. These bite-sized delights encourage sharing and are fantastic for sampling various flavors. Plus, they can easily be customized; try adding a dash of mint extract or some orange zest for a surprising twist that keeps your guests guessing.
Whichever variation you choose, these creative interpretations will surely make your chocolate covered cherry magic bars a hit! For more variations and tips, check out Taste of Home for inspired recipes.
Cooking Tips and Notes for Chocolate Covered Cherry Magic Bars
Ensuring the Perfect Layering Technique
Creating delicious chocolate covered cherry magic bars is all about achieving that perfect blend of textures and flavors. To layer your ingredients effectively, start with a sturdy base — mix graham cracker crumbs with melted butter to form a strong crust. Pack it tightly in the pan; this will help your bars hold together beautifully. When adding your next layers, such as chocolate chips and cherries, try to distribute them evenly for a balanced bite every time.
For an extra burst of flavor, consider sprinkling sea salt over the top before baking. This enhances the sweetness and gives the bars a little flair. You can always check out resources like Food Network for more layering tips.
Creative Substitutes for Ingredients
Don't have all the ingredients? No problem! Here are some creative substitutes to keep your chocolate covered cherry magic bars on track:
- Graham Cracker Crust: If you're short on graham crackers, use crushed Oreos for a deeper chocolate flavor.
- Sweetened Condensed Milk: Try using coconut milk and corn syrup for a dairy-free option.
- Cherries: While fresh cherries are ideal, frozen or even dried cherries can work wonders in a pinch.
Experimenting with substitutes can make the baking process fun and will give you a chance to customize your bars to suit your taste. Remember, cooking is all about creativity!
Serving Suggestions for Chocolate Covered Cherry Magic Bars
Pairing with Whipped Cream and Fresh Fruits
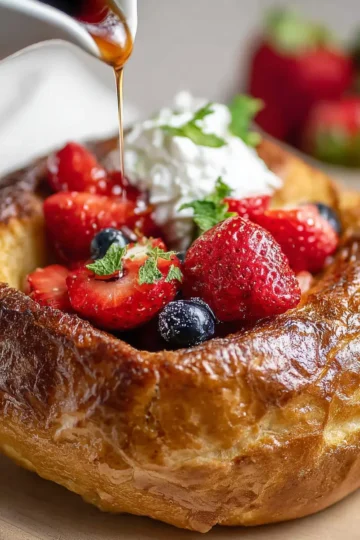
To elevate your chocolate covered cherry magic bars, think about serving them with a dollop of fresh whipped cream. The creamy texture perfectly complements the rich chocolate and tart cherries, creating a delightful contrast. Add some fresh fruits, like strawberries or raspberries, for an extra burst of flavor and a pop of color on your plate. These fruits are not only tasty but also provide a refreshing balance to the sweetness.
Ideal Occasions: Potlucks, Holidays, and Everyday Indulgence
These chocolate covered cherry magic bars are versatile enough for any occasion. They shine at potlucks, bringing a touch of decadence that everyone will appreciate. For holidays, imagine them on the dessert table next to festive treats! And let's not forget about that midweek craving—there's nothing like indulging in a bit of homemade sweetness after a long day.
For more ideas on dessert pairings, check out Food Network's suggestions for inspiration. You might find new ways to enjoy your treats!
Time Breakdown for Chocolate Covered Cherry Magic Bars
Preparation Time
Making chocolate covered cherry magic bars is a delightful experience, and it’s even more rewarding when you consider the time involved. You’ll need about 20 minutes to gather your ingredients, prepare your baking dish, and mix everything together. Pro tip: setting out your ingredients ahead of time can make the process feel smoother!
Baking Time
Once you're ready to go, pop your bars in the oven. The baking will take around 30 to 35 minutes. You'll know they’re done when the edges get golden brown and the center is delightfully gooey. Keep a close eye on them—the sweet aroma streaming from the oven can be tempting!
Total Time
In total, you’re looking at about 55 to 60 minutes from start to finish. This means you can whip up these chocolate covered cherry magic bars even on a busy weeknight while still having time for a Netflix episode! So, what are you waiting for? Get those ingredients together, and let’s create some magic!
For tips on perfecting your baking techniques, check out this baking guide to elevate your skills.
Nutritional Facts for Chocolate Covered Cherry Magic Bars
Calories and Macronutrients Breakdown
When indulging in chocolate covered cherry magic bars, it's essential to be aware of what you're consuming. A standard bar contains approximately 200-250 calories, making it a delightful yet manageable sweet treat. Here's a quick look at its macronutrient breakdown:
- Carbohydrates: 30g
- Proteins: 3g
- Fats: 12g
These bars are rich in sugars, primarily due to the chocolate and cherries, so they're a delightful energy boost—perfect for a mid-afternoon pick-me-up.
Dietary Considerations
If you have dietary restrictions, fear not! Chocolate covered cherry magic bars can be tweaked to fit many lifestyles:
- Gluten-Free: Use almond flour instead of wheat flour.
- Vegan-Friendly: Substitute eggs with flaxseed or applesauce and opt for vegan chocolate.
For more tailored advice, check out resources like the National Institutes of Health on gluten-free diets. Remember, moderation is key, so enjoy your bars while staying mindful of your own health goals!
FAQs about Chocolate Covered Cherry Magic Bars
Can I make these bars ahead of time?
Absolutely! Chocolate covered cherry magic bars are actually perfect for making ahead of time. They stay fresh for several days, allowing you to prepare them for an upcoming gathering or enjoy a sweet treat throughout the week. Store them in the fridge for up to a week or freeze them for longer storage if you need to keep them for a special occasion.
What are some easy storage options?
When it comes to storing your magic bars, here are a few tips:
- Room Temperature: If you plan to eat them within a few days, store them in an airtight container at room temperature. Keep them away from direct sunlight.
- Refrigeration: For longer freshness, refrigerate the bars in a sealed container. They'll maintain their flavor and texture.
- Freezing: To enjoy later, wrap individual bars in plastic wrap, then place them in a freezer-safe bag. They can last up to three months in the freezer!
How can I customize based on dietary needs?
Customizing your chocolate covered cherry magic bars to fit dietary restrictions is simpler than you think! Here are some ideas:
- Gluten-Free: Substitute regular graham crackers with gluten-free ones for a safe, delicious alternative.
- Vegan: Swap out the butter for coconut oil and use dairy-free chocolate chips.
- Nut-Free: If you have nut allergies, just omit any nuts or replace them with seeds like sunflower seeds.
Getting creative with your ingredients not only accommodates dietary needs but also adds a personal touch to your dessert! If you're eager to explore more tailored options, check out resources like Nutrition.gov for additional tips and ideas.
Conclusion on Chocolate Covered Cherry Magic Bars
Recap on Making Your Own Delicious Magic Bars at Home
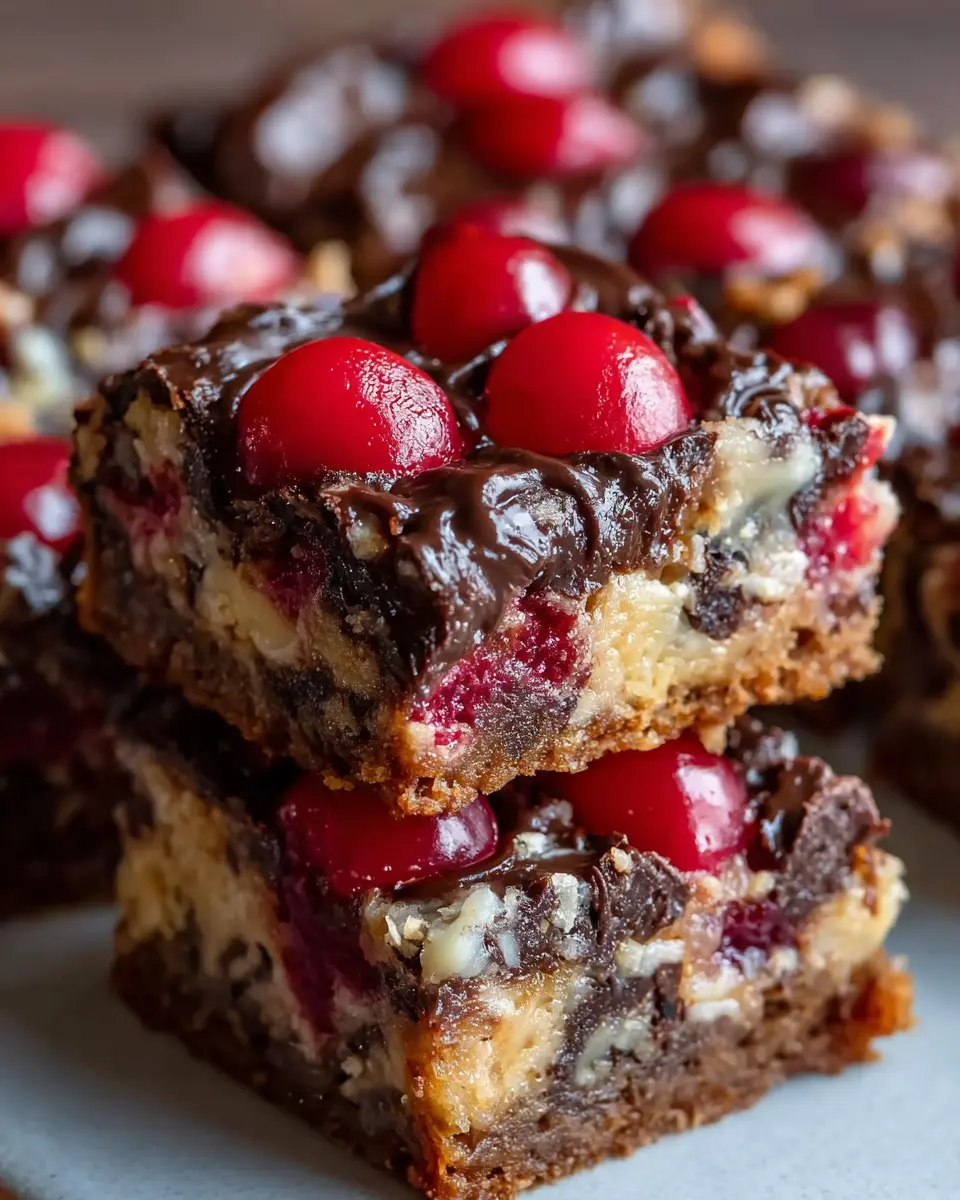
There's something incredibly satisfying about creating your own chocolate covered cherry magic bars right in your kitchen. They are not only a treat for the taste buds but also a feast for the eyes! By layering ingredients thoughtfully and with love, you create a dessert that showcases contrasting textures and flavors—sweet chocolate, tart cherries, and a crunchy base.
Remember, the beauty of these bars lies in their versatility; feel free to experiment with different nuts or even swap cherries for another favorite fruit. The process is simple, yet the joy they bring is immense. Celebrate your culinary creations! If you want more baking inspiration, check out AllRecipes for endless ideas. Embrace your inner confectioner, and enjoy every bite of your homemade treats!
Print
Chocolate Covered Cherry Magic Bars: The Best Indulgent Treat
Indulge in the rich, sweet flavors of these delightful Chocolate Covered Cherry Magic Bars, perfect for any occasion.
- Total Time: 45 minutes
- Yield: 12 bars
Ingredients
- 1 cup graham cracker crumbs
- ½ cup melted butter
- 1 cup semi-sweet chocolate chips
- 1 cup sweetened shredded coconut
- 1 cup chopped maraschino cherries
- 1 can (14 oz) sweetened condensed milk
Instructions
- Preheat your oven to 350°F (175°C).
- In a bowl, mix graham cracker crumbs with melted butter.
- Press the mixture into the bottom of a greased baking dish.
- Sprinkle chocolate chips, coconut, and cherries over the crust.
- Pour sweetened condensed milk evenly over the top.
- Bake for 25-30 minutes or until golden.
- Let cool before cutting into bars.
Notes
- For added richness, use dark chocolate chips instead of semi-sweet.
- Allow the bars to set completely for easier slicing.
- Prep Time: 15 minutes
- Cook Time: 30 minutes
- Category: Dessert
- Method: Baking
- Cuisine: American
- Diet: Vegetarian
Nutrition
- Serving Size: 1 bar
- Calories: 250
- Sugar: 18g
- Sodium: 120mg
- Fat: 12g
- Saturated Fat: 7g
- Unsaturated Fat: 4g
- Trans Fat: 0g
- Carbohydrates: 32g
- Fiber: 1g
- Protein: 2g
- Cholesterol: 30mg