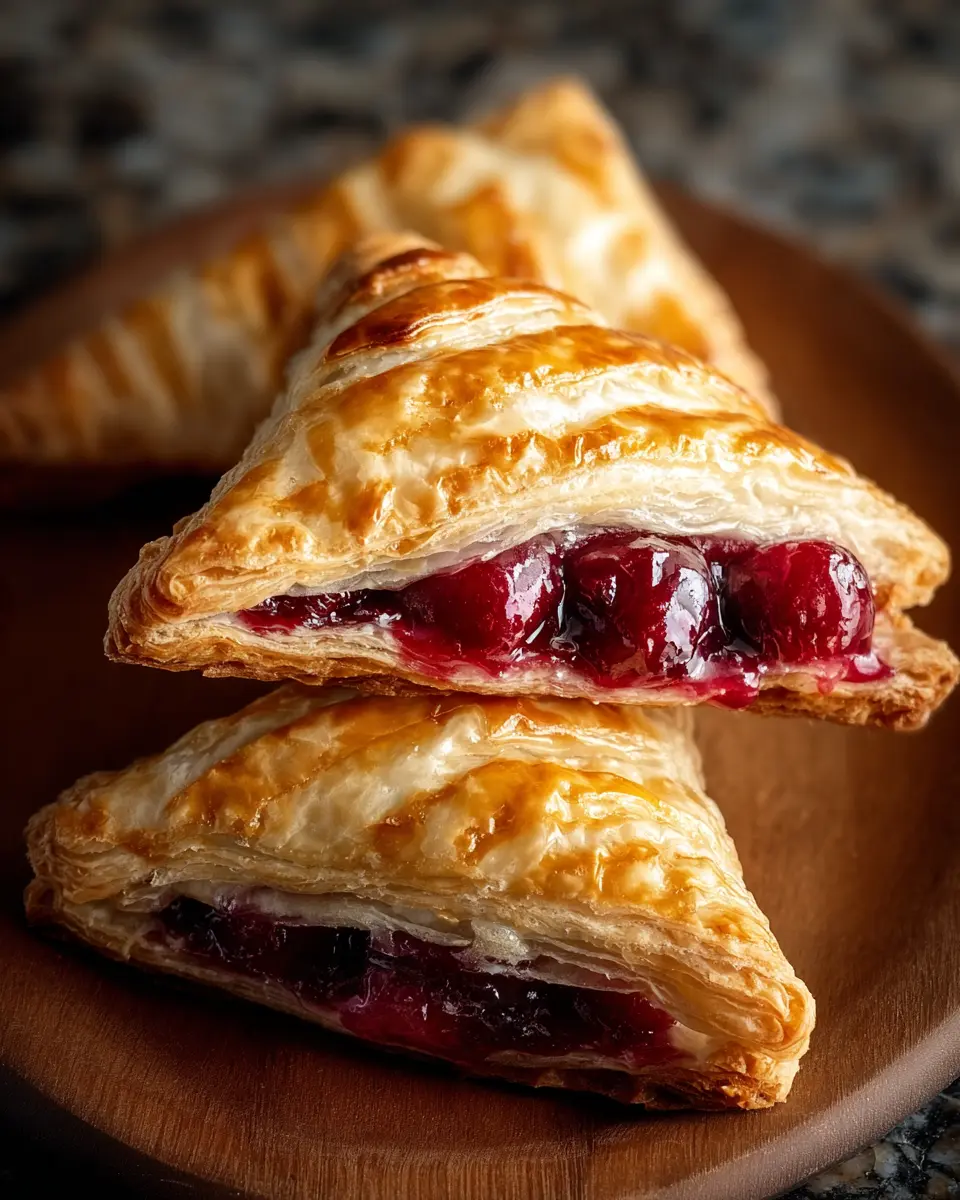
Introduction to Homemade Cherry Turnovers
Homemade cherry turnovers are an irresistible delight for anyone who enjoys sweet pastries. Imagine a warm, flaky pastry bursting with juicy cherries, drizzled with a light glaze, or served alongside a scoop of vanilla ice cream. These treats aren’t just delicious; they embody comfort and joy. Whether you’re making them for a cozy breakfast, a snack, or even a special occasion, they are a fantastic way to impress your friends or simply indulge yourself.
Why Homemade Cherry Turnovers Are a Delightful Treat?
There are countless reasons to whip up a batch of homemade cherry turnovers in your kitchen. For starters, the fresh cherries used in this recipe can elevate your dessert. According to the USDA, cherries are not only delicious but also packed with antioxidants, making them a wholesome choice for satisfying your sweet tooth. Plus, the process of making these turnovers is a lot easier than you might think! The mythical image of baking can often be daunting, but remember: every expert was once a beginner.
Creating your own turnover allows you to customize the filling to your liking. Feel free to experiment by adding ingredients such as almond extract for an extra layer of flavor or even mixing in other berries for a delightful twist.
The Joy of Homemade Pastries
Consider the experience of making homemade cherry turnovers as a creative outlet. You can turn a regular day into something special while reminiscing about your childhood—perhaps your mom or grandmother made similar treats for you. The delightful aroma wafting through your house while they bake will make your heart sing and your stomach rumble!
Moreover, these turnovers are perfect for sharing. Bake a batch for a friend’s brunch, or enjoy them during a movie night at home. The smiles on your loved ones' faces as they bite into these fluffy, cherry-filled pastries are truly priceless.
So gather your ingredients, roll up your sleeves, and let’s dive into the world of homemade cherry turnovers! Whether you're a novice baker or a seasoned pro, these pastries are sure to please. For more inspiration on baking with cherries, check out This Old House on Cherry Picking.
Ingredients for Homemade Cherry Turnovers
When it comes to making delicious, homemade cherry turnovers, the right ingredients make all the difference! Here’s what you’ll need to create these delightful pastries that are sure to impress at your next gathering.
Essential Ingredients
-
Puff Pastry: This will be the flaky outer layer that encases your sweet cherry filling. You can either make your own or buy pre-made pastry sheets from the store. Look for brands that use natural ingredients for the best flavor.
-
Fresh or Frozen Cherries: Depending on the season, you can use fresh cherries when they are ripe, or frozen ones when they are not in season. Just make sure to pit and chop them!
-
Sugar: A little sweetness goes a long way. Use granulated sugar for the filling and consider adding some powdered sugar for a light dusting on top after baking.
-
Cornstarch: This helps thicken the filling, giving you that perfect consistency.
-
Vanilla Extract: Adding a splash of vanilla extract enhances the cherry flavor beautifully.
-
Lemon Juice: A touch of acidity brightens up the cherries and balances the sweetness.
Looking for tips on choosing the best cherries? Check out this helpful guide on How to Choose Cherries.
Assembling Your Turnovers
With these ingredients on hand, you’re ready to dive into your homemade cherry turnovers. The process is simple, and I promise the aroma of baking pastries will fill your kitchen in no time! Make sure you've preheated your oven to get those turnovers golden and crispy.
With this friendly guide, you'll not only be prepared but also excited to make your own homemade cherry turnovers. Happy baking!
Preparing Homemade Cherry Turnovers
Cherry turnovers are a delightful treat that brings joy to any occasion, whether it’s a cozy weekend brunch or a celebratory gathering. The flaky pastry combined with sweet cherry filling makes for a perfect dessert. If you’re ready to dive into this delectable recipe, let’s walk through each step together!
Thaw and Roll Out the Puff Pastry
The foundation of your homemade cherry turnovers starts with puff pastry. If you're using frozen puff pastry, it’s important to allow it to thaw properly. Here’s how to do it:
-
Thawing: Remove the puff pastry from the freezer and let it sit in the refrigerator for about 6 to 8 hours or overnight. If you’re short on time, you can leave it at room temperature for about 30 minutes.
-
Rolling: Once thawed, sprinkle some flour on your work surface to prevent sticking. Carefully unroll the pastry and gently roll it out to smooth the surface. You want it to be about ⅛ inch thick. This way, it’ll puff up beautifully in the oven!
For a great guide on working with puff pastry, you can check out resources from Serious Eats.
Cut the Pastry into Squares
Now that you have your pastry rolled out, it's time to cut it. Grab a sharp knife or a pizza cutter for this task:
- Squares: Cut the pastry into 4x4-inch squares. Depending on the size of your pastry sheet, you might get around 6 to 9 squares. Make sure each square is a uniform size for even baking.
Use a ruler if you want precision, but don’t worry too much; imperfect squares can still lead to homemade cherry turnovers that taste amazing!
Fill the Squares with Cherry Pie Filling
The filling is the star of the show! You can use store-bought cherry pie filling or make your own from fresh cherries. Here's a quick breakdown:
- Store-Bought: If you’re in a hurry, using canned cherry pie filling is perfectly fine. Just make sure to drain excess liquid to prevent soggy turnovers.
- Homemade: For fresh filling, cook pitted cherries with sugar, lemon juice, and a cornstarch slurry until thickened. This option allows you to control sweetness and flavor while adding a personal touch.
Spoon about 1 tablespoon of filling onto the center of each pastry square. Be careful not to overfill; it can lead to messy turnovers.
Seal and Crimp the Edges
Now comes the fun part—sealing those delicious fillings inside the pastry!
- Sealing: Fold each pastry square diagonally to create a triangle. Press the edges together to seal.
- Crimping: For an extra touch, crimp the edges with a fork or your fingers to give it that classic turnover look and ensure the filling doesn’t escape during baking.
If you’re feeling creative, you can try adding slits on top of each turnover for steam to escape and a unique visual.
Apply the Egg Wash
An egg wash is the secret to that gorgeous golden color we all admire in baked goods.
- Mixing the Wash: Beat one egg with a tablespoon of water (or milk) in a small bowl.
- Brushing the Turnovers: Gently brush the egg wash over the tops of each turnover. This will ensure they have a lovely shine and a beautiful crust when they emerge from the oven.
Bake to Golden Perfection
Finally, preheat your oven to 400°F (200°C) and line a baking sheet with parchment paper. It’s time for the magic to happen!
- Baking: Place the prepared turnovers on the baking sheet, spacing them adequately apart. Bake for about 15-20 minutes or until they are golden brown and puffed up.
The smell wafting through your kitchen while they bake is simply irresistible! You can also check out more baking tips from The Kitchn to ensure you’re hitting all the right notes.
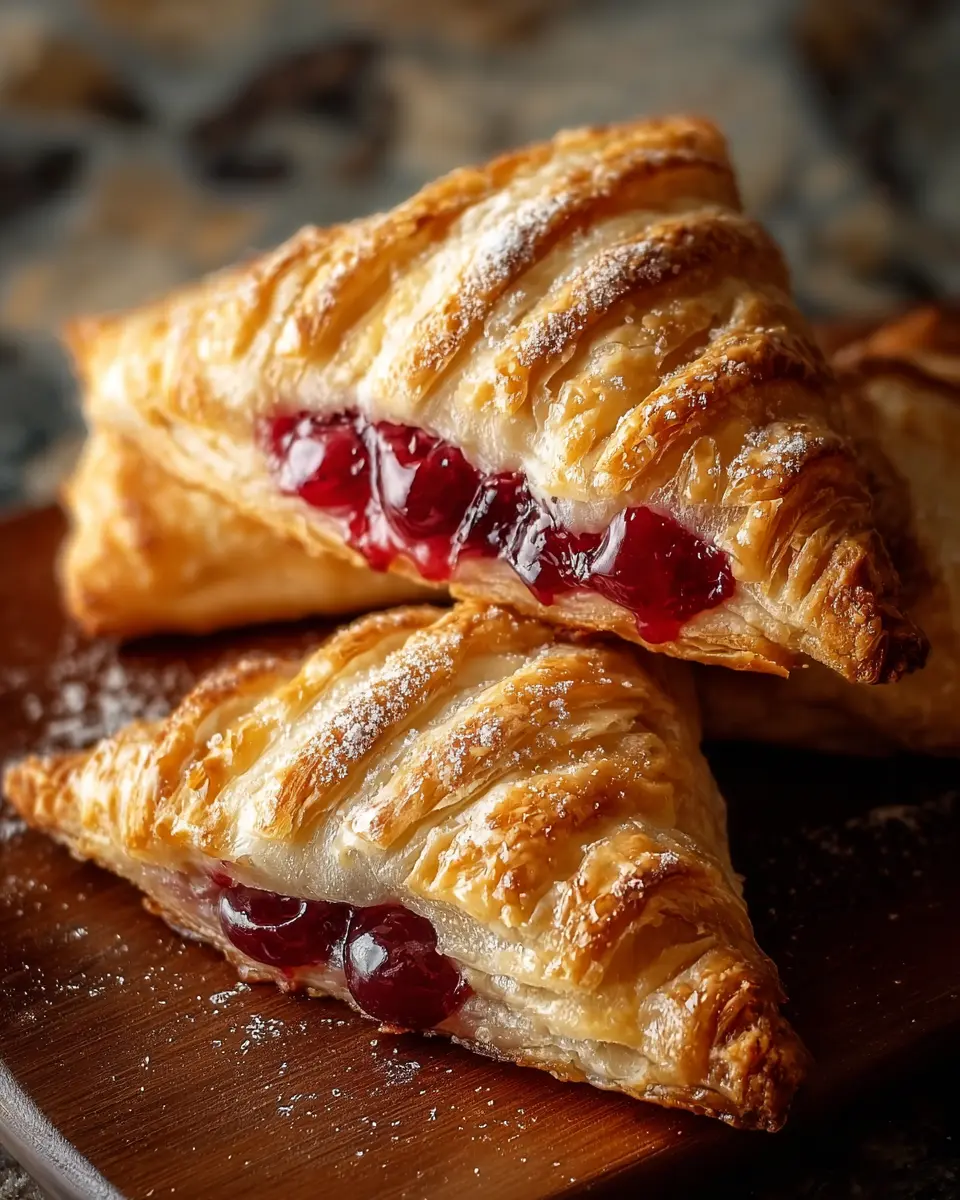
Once they’re out of the oven, let them cool slightly before serving. Enjoy your homemade cherry turnovers warm, maybe with a scoop of vanilla ice cream, and relish the sweet and flaky joy you’ve just created!
Variations on Homemade Cherry Turnovers
Cherry turnovers are a delicious treat, but why not explore the unlimited potential they offer? Here are some exciting variations to elevate your homemade cherry turnovers.
Using Different Fruit Fillings
While cherry is undeniably a classic, consider experimenting with other fruits to cater to different tastes. You could try:
- Blueberries: Their slightly tangy flavor complements pastry beautifully.
- Peaches: Sweet summer peaches make for a delightful filling.
- Apples: Add a pinch of cinnamon for a warm, comforting twist.
- Raspberries: Their bold flavor adds a unique zing to the mix.
Imagine the delight on your friends' faces when you serve a platter of mixed fruit turnovers! For more inspiration on fruit combinations, sites like EatingWell offer great insights.
Exploring Unique Spices and Flavors
To take your homemade cherry turnovers to the next level, consider incorporating unique spices and flavors. Here are a few ideas:
- Vanilla Extract: A dash can enhance the sweetness of any fruit filling.
- Cardamom: This exotic spice can add a warm, aromatic touch.
- Lemon Zest: Brightens the flavor profile and balances sweetness.
- Almond Extract: It pairs beautifully with cherry and adds a delightful depth.
Do you ever feel like your baking could use a little extra flair? Try these tips next time! Additionally, sites like The Spice House offer a wide range of unique spices to experiment with.
Whether you're hosting a gathering or simply indulging yourself, these variations will make your homemade cherry turnovers truly memorable!
Cooking tips and notes for Homemade Cherry Turnovers
Ensuring a flaky pastry
Creating the perfect flaky pastry is an art form that anyone can master with practice. Start with cold ingredients; both your butter and water should be chilled to prevent the fat from melting before baking. When mixing your dough, avoid overworking it—just combine until you see those heavenly little butter flecks. This technique is key to achieving that light, flaky texture we all love in homemade cherry turnovers.
- Use a food processor to mix your dough quickly.
- Chill the dough for at least 30 minutes before rolling it out.
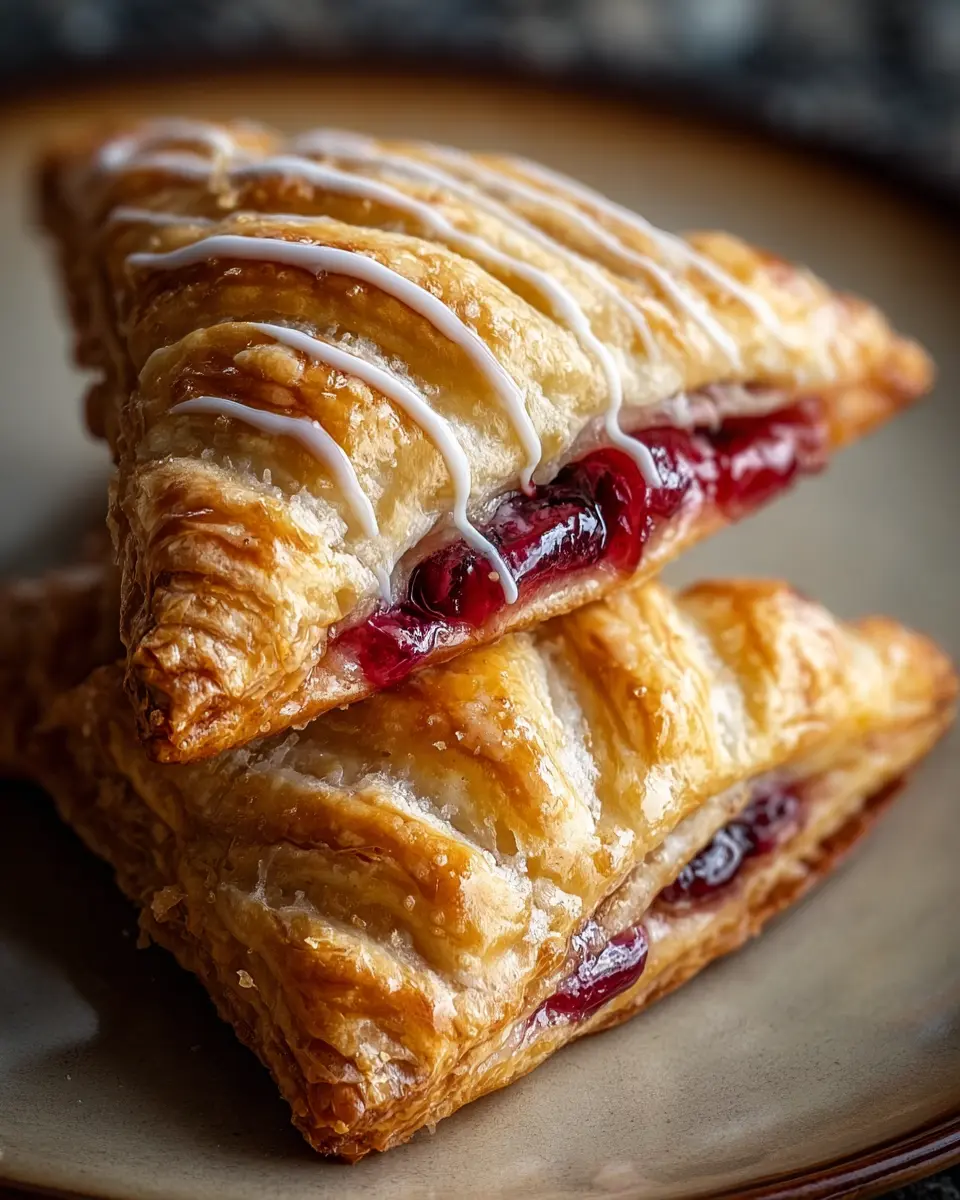
Making the glaze just right
The glaze on your homemade cherry turnovers can elevate your pastries from good to unforgettable! For a glossy finish, whisk together powdered sugar and a splash of milk or lemon juice for that zesty kick. The consistency should be thick but still pourable. If it gets too runny, just add a touch more powdered sugar. Drizzle generously over your cooled turnovers for a sweet finishing touch that pleases the palate.
- Try adding vanilla extract for an extra layer of flavor.
- Experiment with almond milk if you’re looking for a dairy-free option!
For more tips on pastry techniques, check out Serious Eats. Happy baking!
Serving Suggestions for Homemade Cherry Turnovers
Serving your delicious homemade cherry turnovers can elevate the experience from delightful to extraordinary. Here are two fantastic options that will add an extra layer of sweetness to your treats.
Pairing with Ice Cream
Imagine that warm, flaky pastry melding with the creamy goodness of ice cream. Vanilla is a classic choice, but don’t shy away from flavors like almond or black cherry to enhance the cherry filling. Simply serve a scoop of your favorite ice cream alongside your homemade cherry turnovers. For an extra touch, drizzle some chocolate sauce or a sprinkle of crushed nuts over the ice cream. It’s a dessert that feels indulgent yet easy, perfect for sharing with friends or enjoying solo on a cozy night in.
Serving with Fresh Whipped Cream
If you’re looking for a lighter touch, fresh whipped cream is the way to go. The airy texture complements the delicious cherry filling beautifully. You can even flavor the cream with a hint of vanilla or almond extract for an extra kick. Just whip it up until soft peaks form and serve a generous dollop on top of your homemade cherry turnovers. This not only adds visual appeal but also balances the sweetness of the cherries.
For more inspiration, check out America’s Test Kitchen for dessert tips and tricks!
Time Breakdown for Homemade Cherry Turnovers
When you find yourself craving something sweet and flaky, homemade cherry turnovers are a delightful solution. Here’s a quick breakdown of the timing involved so you can plan ahead!
Preparation Time
Setting up your ingredients and making the cherry filling will take about 20 minutes. Don’t rush it—this is where you get to add your personal touch to the cherries!
Baking Time
Once those turnovers are assembled, pop them in the oven for around 25-30 minutes until they are golden brown and irresistible.
Total Time
In total, you're looking at approximately 55-60 minutes from start to finish. It’s a small investment for such a delicious treat! Planning to entertain? These homemade cherry turnovers can be made ahead and reheated for perfect party snacks.
For more inspiration, check out Bakerella for creative ideas on making your pastries even more unique and scrumptious!
Nutritional facts for Homemade Cherry Turnovers
Understanding the nutritional profile of your homemade cherry turnovers can help you enjoy them guilt-free! Here's a closer look at what they bring to the table.
Calories
A typical homemade cherry turnover contains approximately 200-300 calories, depending on the size and specific ingredients used. This makes them a delightful treat, perfect for an afternoon snack without going overboard.
Sugar Content
Homemade cherry turnovers usually have about 10-15 grams of sugar, primarily from the cherries and any sweeteners you choose. For a healthier option, consider using less sugar or substituting with natural sweeteners like honey or maple syrup.
Fiber
These pastries are generally low in fiber, providing around 1-2 grams per serving due to the fruit filling. To boost the fiber content, you might consider using whole grain flour for the crust.
For more information on the nutritional benefits of cherries, check out links such as Healthline and WebMD. Making informed choices not only enhances your cooking skills but also your overall well-being!
FAQs about Homemade Cherry Turnovers
Can I make the filling ahead of time?
Absolutely! Preparing the filling for your homemade cherry turnovers in advance can save you time on baking day. Simply cook the cherries with sugar, cornstarch, and maybe a splash of lemon juice for brightness. Once the filling cools, store it in an airtight container in the refrigerator for up to five days. This way, when you're ready to whip up those turnovers, you can simply assemble and bake!
How do I store leftover turnovers?
Storing your delicious homemade cherry turnovers is a breeze. First, make sure they've cooled completely. Place the turnovers in an airtight container; a single layer is best to keep them from getting squished. You can keep them at room temperature for up to two days. If you think you won’t finish them quickly, consider refrigerating them for up to a week, or follow the freezing instructions below for longer storage.
Can I freeze homemade cherry turnovers?
Yes, you can definitely freeze your homemade cherry turnovers! If you want to prepare them ahead of time, fill and fold them before freezing. Place the unbaked turnovers on a baking sheet lined with parchment paper, freeze them until solid, then transfer them to a freezer bag. They can be stored for up to three months. When you’re ready to bake, just pop them straight from the freezer into the oven—no need to thaw!
For even more tips on storing pastries, check out this insightful guide from The Kitchn, which goes deeper into pastry preservation methods. Enjoy your baking adventures!
Conclusion on Homemade Cherry Turnovers
In summary, homemade cherry turnovers are a delightful way to indulge your sweet tooth while impressing friends and family. The flaky pastry enveloping the juicy cherry filling is a match made in heaven. Plus, making them from scratch allows for customization; you can experiment with spices or even mix in other fruits for a fun twist.
Whether you're gathering with loved ones or enjoying a quiet evening treat, these turnovers are always a hit. Don’t forget to use high-quality cherries to elevate the flavor. For tips on sourcing the best cherries, check out resources from The Cherry Marketing Institute. Happy baking!
Print
Homemade Cherry Turnovers: Easy and Indulgent Dessert to Love
A delightful dessert that combines sweet cherries and flaky pastry, perfect for any occasion.
- Total Time: 45 minutes
- Yield: 8 servings
Ingredients
- 2 cups fresh or frozen cherries
- 1 cup sugar
- 1 tablespoon cornstarch
- 1 teaspoon vanilla extract
- 1 package puff pastry sheets
- 1 egg (for egg wash)
- 1 tablespoon milk (for egg wash)
- powdered sugar (for dusting)
Instructions
- Preheat the oven to 400°F (200°C).
- In a medium saucepan, combine the cherries, sugar, cornstarch, and vanilla extract over medium heat. Cook until the mixture thickens and bubbles.
- Roll out the puff pastry on a floured surface and cut into squares.
- Place a tablespoon of the cherry mixture onto the center of each pastry square.
- Fold the pastry over to create triangles and seal the edges with a fork.
- Brush the tops with the egg wash made from mixing egg and milk.
- Bake in the preheated oven for about 20-25 minutes or until golden brown.
- Allow to cool slightly, then dust with powdered sugar before serving.
Notes
- Ensure the pastry is cold before rolling out for best results.
- Feel free to add almond extract for extra flavor.
- Prep Time: 20 minutes
- Cook Time: 25 minutes
- Category: Dessert
- Method: Baking
- Cuisine: American
- Diet: Vegetarian
Nutrition
- Serving Size: 1 turnover
- Calories: 250
- Sugar: 15g
- Sodium: 150mg
- Fat: 12g
- Saturated Fat: 7g
- Unsaturated Fat: 3g
- Trans Fat: 0g
- Carbohydrates: 30g
- Fiber: 1g
- Protein: 3g
- Cholesterol: 40mg