Introduction to Cheeseburger Pockets
What are cheeseburger pockets and why are they a must-try?
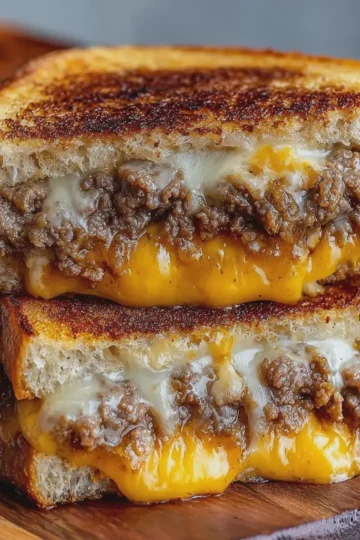
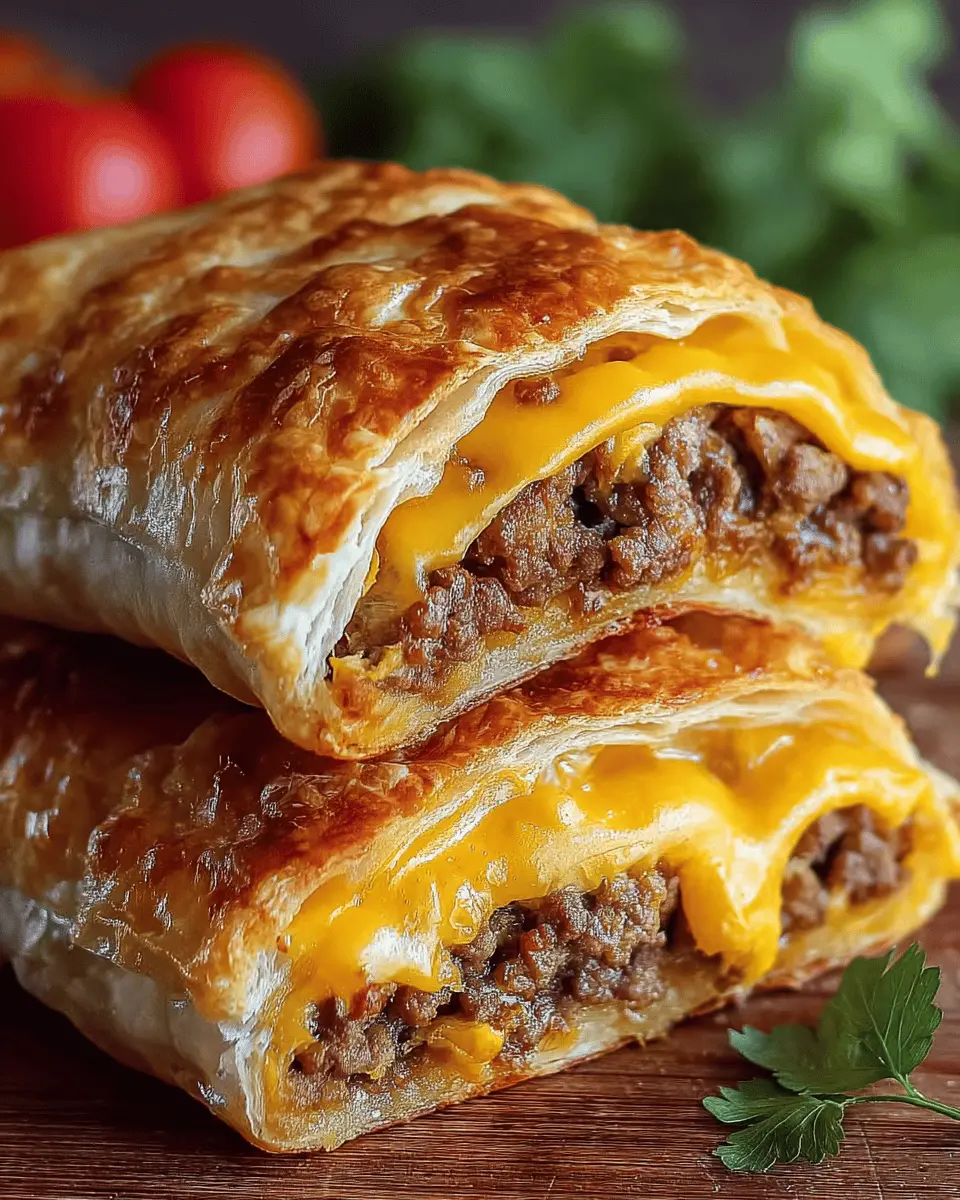
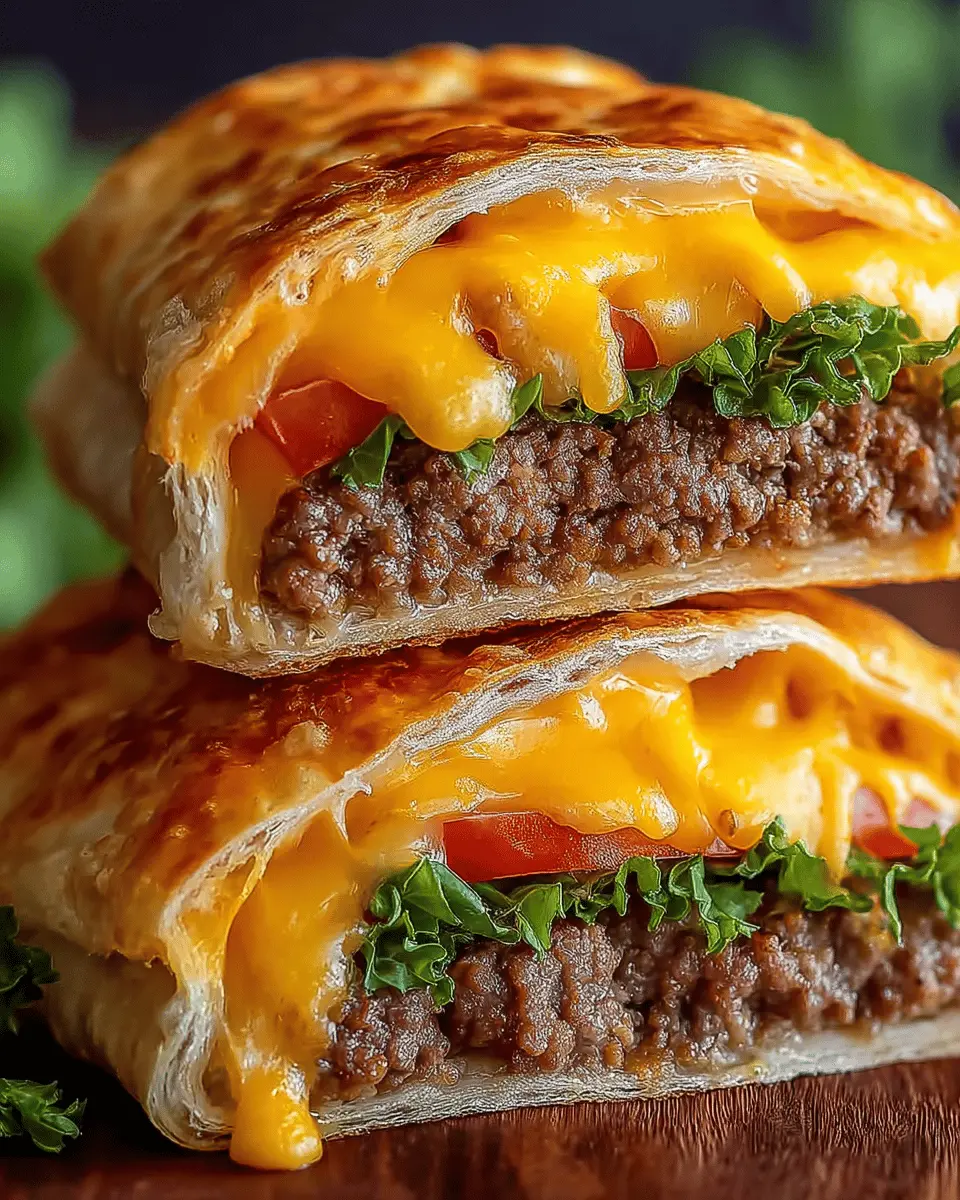
If you’re in search of a fun and tasty twist on a classic meal, then cheeseburger pockets are the answer you’ve been looking for. This beloved dish takes all the succulent, savory flavors of a cheeseburger and wraps them snugly in a golden, flaky pastry. Imagine biting into a delicious pocket filled with seasoned ground beef, melty cheese, and a hint of mustard, all enclosed in a delightful crust. It’s comfort food reimagined!
Not only are they an absolute joy to eat, but cheeseburger pockets are also incredibly versatile. Want to throw in some sautéed onions or a bit of chopped pickles? Go for it! Are you feeling adventurous and thinking about adding turkey bacon or chicken ham? Why not! The beauty of this recipe lies in its adaptability, making it perfect for busy weeknights or lazy weekends.
Speaking of versatility, did you know that meal prep is a trending topic among young professionals? According to a study by the International Food Information Council, nearly 76% of adults engage in some form of meal preparation. By making cheeseburger pockets in bulk, you can easily keep your meals exciting while ensuring that you have something delicious ready to go in your fridge.
Why You Should Try Making Them
So, are you still on the fence about giving these a try? If you love enjoying classic flavors in a portable fashion, cheeseburger pockets are a must. They are great for game day, gatherings, or a quick lunch option. You can make them in advance, freeze them, and pop them in the oven when hunger strikes. Whether you’re sharing with friends or treating yourself to a delicious snack, you’ll find they’re a hit every time.
For additional inspiration, consider exploring recipes on trusted culinary sites like Serious Eats or Bon Appétit for tips on how to craft the perfect filling and dough.
In conclusion, cheeseburger pockets should be at the top of your to-try list. With their delightful flavors, easy preparation, and endless customization possibilities, they just might become your new go-to dish! So grab your ingredients and let’s get cooking!
Ingredients for Cheeseburger Pockets
Essential ingredients for the meat filling
To create mouthwatering cheeseburger pockets, you’ll need a hearty meat filling. Start with ground beef, the star of your show, bringing rich flavor and texture. Brown it in a skillet with diced onions for sweetness and a touch of garlic for aroma. Don’t forget Cheddar cheese—its melty goodness ties everything together perfectly. For an extra kick, consider adding some chopped pickles or even a dollop of mustard.
Dough options: Store-bought vs. homemade
Now, let’s talk dough! You have options here. Store-bought puff pastry is a quick and convenient choice, perfect for busy weeknights. Alternatively, if you'd like to impress, crafting homemade dough can elevate your cheeseburger pockets experience. There are tons of homemade bread recipes online that can guide you through making a soft, fluffy dough.
Optional toppings to elevate your pockets
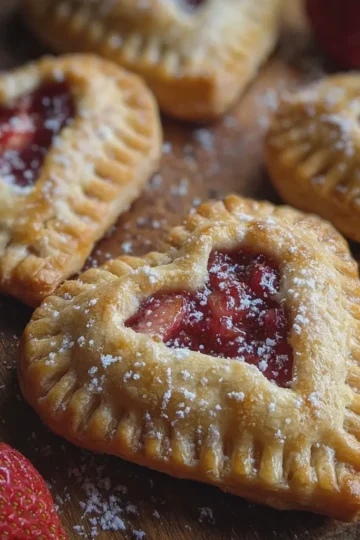
Want to take your pockets to the next level? Think about adding some optional toppings like sliced tomatoes, turkey bacon, or even a touch of chicken ham inside to surprise your palate. A sprinkle of fresh herbs, like cilantro or parsley, can add a delightful freshness. Consider serving them with some dipping sauces, too—ketchup or a homemade garlic aioli can be wonderful companions.
These simple yet flavorful ingredients will ensure your cheeseburger pockets are a hit at your next gathering!
Step-by-step Preparation of Cheeseburger Pockets
Making cheeseburger pockets at home can be a fun and rewarding experience. Whether you’re preparing for a casual weeknight dinner or a gathering with friends, this hand-held delight is sure to impress. Let's dive into the steps to get you there!
Preheat and Prepare Your Work Area
Before you jump into cooking, it's important to get your kitchen ready for action. Start by preheating your oven to 400°F (200°C). This will ensure that your cheeseburger pockets bake evenly and achieve that perfect golden-brown color.
While the oven is warming up, tidy up your work area. Gather all the necessary ingredients—ground beef, shredded cheese, turkey bacon, onions, and your choice of herbs and spices. You’ll also need some dough (store-bought or homemade), a cutting board, and a baking sheet lined with parchment paper.
Here’s a quick tip: Have everything at hand to avoid the last-minute scramble! This article offers great insight into kitchen organization here.
Cook the Beef Mixture
Now that you've got a clean workspace, it’s time to cook the beef mixture. Heat a skillet over medium heat and add about a pound of ground beef. Add diced onions and sauté until they're translucent. This should take about 5 minutes. You can also throw in some diced turkey bacon for added flavor.
Season the meat generously with salt, pepper, garlic powder, and a hint of your favorite seasoning blend. Once the beef is browned and cooked through (which you can check by breaking it apart with a spoon), let it cool for a few minutes. Use a slotted spoon to drain any excess fat—nobody enjoys greasy cheeseburger pockets.
Roll Out the Dough and Cut It Into Shapes
While the beef mixture cools, it’s time to prepare the dough. If you’re using store-bought dough, roll it out on a lightly floured surface until it's about ¼ inch thick. If you're going for homemade dough, ensure your recipe yields a pliable consistency.
Using a round cutter or a bowl, cut the rolled-out dough into circles, about 4-5 inches in diameter. Remember, the size of the circles will determine how stuffed your cheeseburger pockets will be! You should aim for about 8-10 rounds, depending on how much mixture you have.
Assemble the Cheeseburger Pockets
Now for the fun part! Take a circle of dough and place a generous tablespoon of the beef mixture in the center. Top it with a sprinkle of shredded cheese. Don’t go overboard, or it might spill out during baking!
Next, fold the dough over to create a half-moon shape, pressing the edges together firmly to seal. You can use a fork to crimp the edges for a decorative touch, or simply pinch them with your fingers. For a little extra flavor, brush the tops with a bit of egg wash or melted butter, which gives them that beautiful gloss as they bake.
Bake to Golden Perfection
Place your cheeseburger pockets on the prepared baking sheet and pop them in the preheated oven. Bake for about 15–20 minutes, or until they’re golden brown and puffed up. The aroma will drive you wild; it’s what cooking is all about, right?
Once baked, let them cool for a few moments before serving. These pockets are delightful on their own but pair beautifully with a side of your favorite dipping sauce or salad. If you want to elevate this meal, consider serving it with a refreshing beverage, like a sparkling soda or flavored iced tea.
And there you have it! With these easy steps, you’ll be enjoying delicious homemade cheeseburger pockets that are sure to become a favorite in your household. Happy cooking!

Variations on Cheeseburger Pockets
Vegetarian Cheeseburger Pockets
If you're looking to satisfy your cravings without meat, vegetarian cheeseburger pockets are the perfect alternative! You can use a mix of black beans, lentils, or even store-bought veggie burgers as your filling. Just mash or chop them up and mix with your favorite cheeseburger seasonings, like garlic powder and onion powder. Load up with cheese (go for a blend of cheddar and mozzarella for extra gooeyness) and wrap them up in pastry dough. They’re an easy way to enjoy the deliciousness of cheeseburgers while keeping it plant-based.
For some great veggie burger inspirations, you might want to check out this comprehensive guide for veggie burger recipes.
Cheeseburger Pockets with Turkey Bacon
Craving that savory kick of bacon? Enter cheeseburger pockets with turkey bacon! Swap out traditional bacon for turkey bacon to keep things a bit lighter. Simply chop up the turkey bacon, fry it until it's crispy, then mix it into your cheeseburger filling. Adding a layer of sautéed onions can really elevate the flavor. Pro tip: brush the pockets with a little butter before baking for a golden, flaky crust. You'll get all the satisfaction of classic cheeseburgers but with a modern twist!
Chicken Ham and Cheese Pockets
If you're a fan of a little variety, consider chicken ham and cheese pockets. This option brings a different flavor profile while retaining that comforting cheeseburger essence. Use finely chopped chicken ham combined with your choice of cheese—Swiss or provolone can be delightful here. Sprinkle in some herbs like oregano or basil for a fresh touch. These pockets are perfect for a quick lunch or an easy dinner, ensuring you've got a diverse menu for your weeknight meals.
With these variations on cheeseburger pockets, you can keep your meals exciting and tailored to everyone's tastes! What variations will you try?
Cooking Tips and Notes for Cheeseburger Pockets
When making cheeseburger pockets, a few expert tips can elevate your dish from ordinary to extraordinary.
Best practices for sealing the edges
The seal is crucial for keeping all those delicious flavors locked inside. Here’s how to master the sealing process:
- Use Egg Wash: Brush the edges with a little beaten egg before sealing. This acts like glue!
- Pinch to Seal: After folding over the dough, pinch the edges firmly. You can even use a fork to crimp for a nice finish.
- Don’t Overfill: It’s tempting to pack in the filling, but leave some space to ensure a good seal and prevent leaks.
How to achieve the perfect golden crust
A beautiful golden crust is the icing on the cake—or in this case, the cheeseburger pocket. Consider these tips:
- Preheat Your Oven: Always preheat your oven to ensure even cooking.
- Baking Sheet Preparation: Line your baking sheet with parchment paper. This helps with browning and prevents sticking.
- Brush with Butter or Oil: Just before baking, brush the tops of each pocket with melted butter or oil for that gorgeous golden hue.
By following these simple yet effective tips, your cheeseburger pockets will not only taste fantastic but also look irresistible!
For more cooking tips and techniques, check out Serious Eats for fantastic recipes and advice from culinary experts!
Serving Suggestions for Cheeseburger Pockets
When you're serving up cheeseburger pockets, it's all about creating a well-rounded experience that delights the palate. Here are some delicious ideas to elevate your meal.
Dipping Sauces That Pair Well
No cheeseburger pockets are complete without some zesty dipping sauces! Here are a few that perfectly complement the rich flavors:
- Classic Ketchup: Always a favorite, its sweetness is a perfect contrast to savory fillings.
- Spicy Mustard: For those who enjoy a little kick, this adds that extra zing.
- Creamy Ranch: This cool dip balances the heat and richness, making every bite enjoyable.
- Garlic Aioli: For a gourmet touch, homemade garlic aioli brings a savory richness that's simply irresistible.
Side Dishes to Complement Your Meal
To make your cheeseburger pockets a hit, consider pairing them with delightful sides. A few crowd-pleasing options include:
- Sweet Potato Fries: Their natural sweetness enhances the savory flavors of the pockets.
- Coleslaw: The crunch offers a refreshing contrast, plus it's a great way to get in some veggies.
- Mixed Green Salad: Light and zesty, a simple salad can balance the meal without overpowering it.
So, what are you waiting for? Dive into these suggestions, and elevate your cheeseburger pockets from a simple meal to a delightful dining experience!
Time Breakdown for Cheeseburger Pockets
Preparation time
Getting started with your cheeseburger pockets takes about 15 minutes. This includes gathering all your ingredients, chopping up veggies, and browning your ground beef. Remember, this step sets the foundation for those delicious pockets!
Cooking time
Cooking will take around 20 minutes. You’ll be heating up your mixture, stuffing the pockets, and baking them to golden perfection. Keep an eye on the oven—smelling the aroma will only intensify your anticipation!
Total time to enjoy your cheeseburger pockets
In total, you’re looking at about 35 minutes from start to finish. That’s just enough time to set the table and grab your favorite dipping sauce (maybe a zesty ranch or garlic aioli?) before diving into these delightful bites!
For tips on ingredient preparation, check out this helpful guide on meal prepping. Enjoy your cooking!
Nutritional Facts for Cheeseburger Pockets
When you're on the go, cheeseburger pockets are a delicious and convenient option that packs a flavorful punch! Here’s a quick look at the nutritional profile to help you make an informed choice.
Calories per serving
Each serving of cheeseburger pockets typically contains around 300-350 calories. This makes them a satisfying option without going overboard on your daily intake.
Protein content
You're in for a treat with approximately 15-20 grams of protein per serving. This is perfect for fueling your busy lifestyle, especially after a workout or a long day at the office.
Sodium level
While delicious, these pockets do have a sodium level of about 600-800 mg. It's wise to keep an eye on your overall intake, particularly if you're watching your salt consumption.
For more detailed health insights, consider checking out reputable sources like Healthline or Nutrition Data. They offer extensive breakdowns of nutritional facts to help you stay informed. Enjoy your cheeseburger pockets guilt-free!
FAQ about Cheeseburger Pockets
Can I freeze cheeseburger pockets?
Absolutely, cheeseburger pockets freeze beautifully! After cooking, allow them to cool completely. Then, wrap each pocket in plastic wrap or aluminum foil, and place them in a freezer-safe bag or container. They’ll keep for about three months in the freezer. When you’re ready to enjoy one, you can either bake them directly from frozen or thaw them in the fridge overnight and bake until heated through. This makes for a quick and delicious meal option on busy days!
What are some alternative fillings for cheeseburger pockets?
While traditional cheeseburger pockets are always a hit, experimenting with alternative fillings can bring some excitement to your meal prep! Consider these options:
- Turkey Bacon and Spinach: For a lighter option, swap in turkey bacon and add some fresh spinach.
- Chicken Ham and Cheese: Layer in chicken ham and your favorite cheese for a savory twist.
- Vegetable Medley: For a vegetarian version, fill them with sautéed bell peppers, onions, and mushrooms.
Feel free to mix and match according to your taste preferences! The beauty of these pockets is in their versatility.
How do I store leftovers?
To keep your cheeseburger pockets fresh, store any leftovers in an airtight container in the refrigerator. They should stay good for about 3–4 days. For a meal that feels fresh again, simply reheat them in the oven or air fryer for a few minutes until crispy. You might also find some great tips for storage and reheating on sites like Food Network or Serious Eats.
There's something truly comforting about biting into a warm, cheesy pocket, and with these tips, you'll enjoy every delightful bite!
Conclusion on Cheeseburger Pockets
Why Cheeseburger Pockets Are Your New Favorite Homemade Meal
If you’re in search of a quick, satisfying dinner that brings joy to your taste buds, look no further than cheeseburger pockets. These delectable snacks combine the best of both worlds—juicy beef, melted cheese, and flaky dough—making them perfect for busy weeknights or a fun weekend treat.
Imagine biting into a warm pocket, fragrant with familiar flavors. They’re easily customizable, so you can swap ingredients according to your cravings, like adding Turkey Bacon or Chicken Ham. Plus, they’re perfect for meal prep! Explore more about versatile weeknight meals here. So, gather your ingredients and make cheeseburger pockets your next culinary adventure!
Print
Cheeseburger Pockets: Easy Indulgence for Homemade Comfort Food
Indulge in these delicious cheeseburger pockets, perfect for a quick and satisfying comfort food meal!
- Total Time: 25 minutes
- Yield: 8 servings
Ingredients
- 1 pound ground beef
- 1 cup shredded cheddar cheese
- 1 teaspoon garlic powder
- 1 teaspoon onion powder
- 1 teaspoon salt
- ½ teaspoon black pepper
- 1 package refrigerated crescent roll dough
Instructions
- Preheat the oven to 375°F (190°C).
- In a skillet, cook the ground beef over medium heat until browned. Drain any excess fat.
- Add garlic powder, onion powder, salt, and pepper to the beef and mix well.
- Take the crescent roll dough and unroll it on a baking sheet.
- Cut the dough into triangles and place a spoonful of the beef mixture and cheese at the wide end of each triangle.
- Roll up the triangles starting from the wide end and place them seam side down on the baking sheet.
- Bake for about 12-15 minutes or until golden brown.
- Let them cool slightly and serve warm.
Notes
- For extra flavor, add some diced pickles to the meat mixture.
- Serve with your favorite dipping sauce.
- Prep Time: 10 minutes
- Cook Time: 15 minutes
- Category: Lunch
- Method: Baking
- Cuisine: American
- Diet: None
Nutrition
- Serving Size: 1 pocket
- Calories: 250
- Sugar: 2g
- Sodium: 450mg
- Fat: 15g
- Saturated Fat: 6g
- Unsaturated Fat: 8g
- Trans Fat: 0g
- Carbohydrates: 20g
- Fiber: 1g
- Protein: 12g
- Cholesterol: 40mg