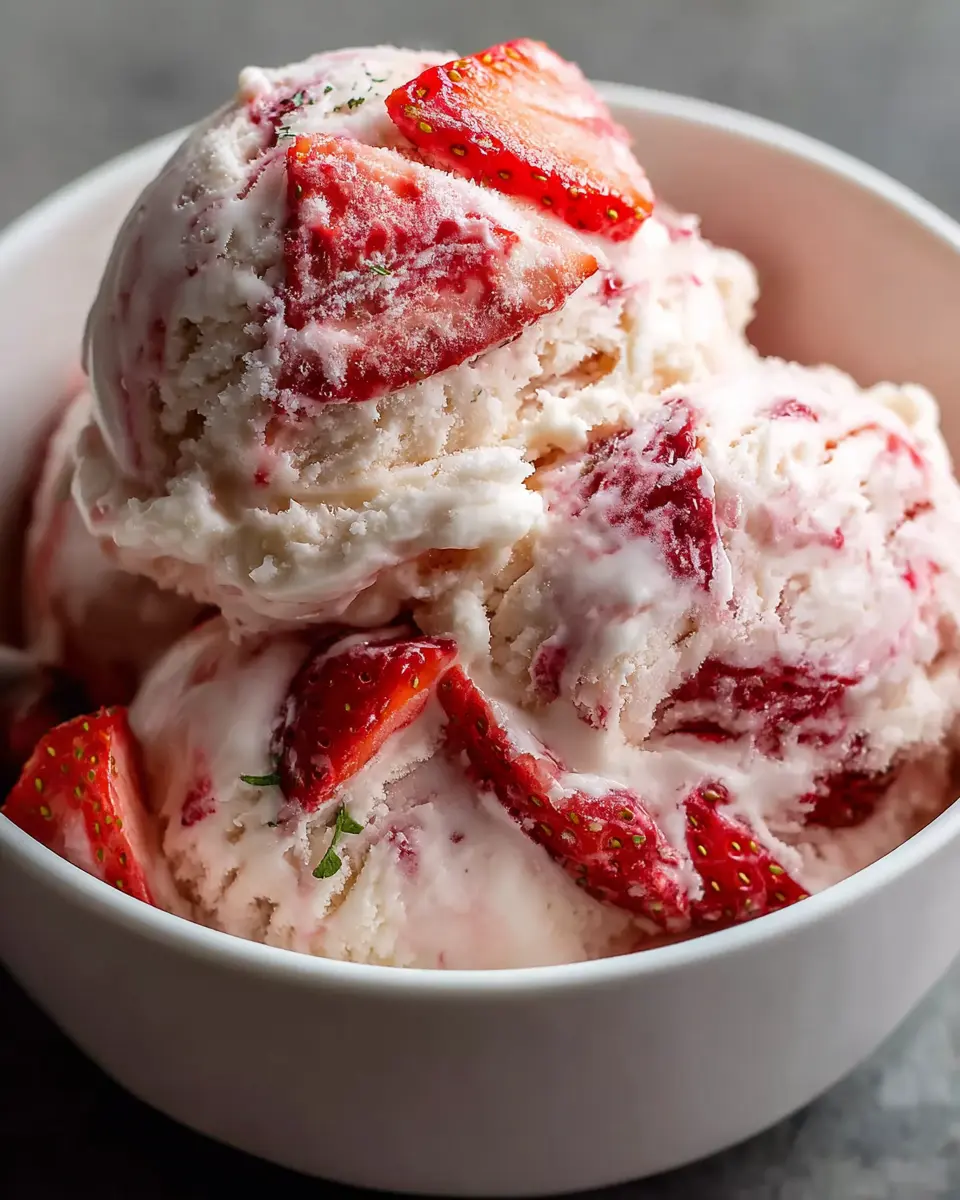
Introduction to Homemade Strawberry Vanilla Bean Ice Cream
There's something truly special about making your own ice cream. When you whip up a batch of homemade strawberry vanilla bean ice cream, you’re not just creating a dessert; you’re crafting a delightful experience. The joy of knowing exactly what goes into your treat—fresh strawberries, creamy vanilla bean, and perhaps a splash of homemade vanilla extract—cannot be overstated.
Why Homemade Ice Cream is Worth It
Let’s face it; store-bought ice cream can’t compete with the sheer pleasure of creating your own. Here are a few reasons why you should grab your ice cream maker and get started:
-
Quality Ingredients: When you make your own ice cream, you have complete control over what goes in. This means no artificial flavors or preservatives—just pure, delicious ingredients. With ripe strawberries and real vanilla bean, you can elevate the flavors to a level you can't easily find in a store.
-
Tailored Flavors: Feeling adventurous? The world is your oyster. You can mix in your favorite flavors, such as adding a dash of lemon zest or swirling in ribbons of chocolate. Get creative and make your homemade strawberry vanilla bean ice cream uniquely yours!
-
Fun and Engaging Process: The process of making ice cream is rewarding. It’s a chance to unwind, experiment, and even involve family or friends. Picture this: you and your friends gathered around, mashing strawberries and sharing laughs as you create delicious memories.
-
Healthier Option: Nutrition can be a concern, especially for young professionals keeping track of their dietary choices. Homemade ice cream allows you to control the sugar content and use healthier alternatives, if desired. According to experts, you can substitute ingredients to reduce calorie counts without sacrificing flavor.
If you’re ready to dive into the sweet, creamy world of homemade ice cream, you can find expert tips on sources like Serious Eats or The Kitchn. With just a few ingredients and some patience, you'll soon savor your very own homemade strawberry vanilla bean ice cream, a treat that promises to cool you off and brighten your day. Get your ice cream maker ready; it's time for a sweet adventure!
Ingredients for Homemade Strawberry Vanilla Bean Ice Cream
Fresh Ingredients for Maximum Flavor
When making homemade strawberry vanilla bean ice cream, the quality of your ingredients can make all the difference. Start with ripe strawberries—look for vibrant, fragrant ones from your local farmers' market or grocery store. Sweet, juicy strawberries not only enhance the flavor but also bring a delightful color to your ice cream. Trust me, when you taste fresh strawberries, you’ll understand why it’s worth it to choose quality over convenience.
Additionally, consider using organic ingredients whenever possible; this can elevate the creaminess and overall taste. You might also want to check out resources like California Strawberries for tips on selecting the best strawberries in season.
Essentials for the Ice Cream Base
The base of your homemade strawberry vanilla bean ice cream requires a few staple ingredients:
- Heavy cream: This is essential for that rich and creamy texture.
- Whole milk: A perfect complement to heavy cream that balances out the richness.
- Granulated sugar: This sweetener brings out the natural flavors of the strawberries.
- Vanilla bean: For a sophisticated touch; the real stuff is worth it for those little flecks of flavor.
- A pinch of salt: Enhances the sweetness and rounds out the flavor profile.
Make sure you measure carefully and, if you have time, let the base chill in the refrigerator before churning for optimal results. Enjoy the process, and soon enough, you’ll be savoring a splendid batch of homemade ice cream!
Step-by-step Preparation of Homemade Strawberry Vanilla Bean Ice Cream
Creating your own homemade strawberry vanilla bean ice cream not only delights the taste buds but also gives you that satisfying feeling of making something special from scratch. Get ready to impress your friends and family with this creamy, rich treat. Let’s dive into the step-by-step process.
Prepare the strawberry mixture
To kick things off, gather about two cups of ripe strawberries. You’ll want them to be fresh, juicy, and bursting with flavor. Here’s how to prepare them:
- Wash and hull the strawberries: Remove the stems and any green parts.
- Chop the strawberries: Cut them into small pieces to help with puréeing later.
- Sugar it up: Sprinkle around a quarter cup of granulated sugar over the chopped strawberries and let them sit for about 15-20 minutes. This will allow the juices to release, creating a deliciously sweet mixture.
While the strawberries are macerating, you can think about alternatives to sugar, like using honey or agave syrup if you’re looking for something a bit healthier. For tips on creating fresh fruit desserts, check out this article.
Make the vanilla bean ice cream base
Next, it’s time to create a rich vanilla ice cream base. You’ll need:
- 2 cups whole milk
- 1 cup heavy cream
- ¾ cup granulated sugar
- 1 tablespoon vanilla bean paste or the seeds scraped from one vanilla bean
- A pinch of salt
In a medium saucepan, combine the milk, cream, sugar, and salt. Cook over medium heat until the sugar dissolves and the mixture is hot but not boiling. If you’re using vanilla bean seeds, add them now—just know that they’ll provide gorgeous flecks throughout your ice cream. If you're using vanilla bean paste, stir that in afterward.
After removing the mixture from the heat, let it cool for about 30 minutes. Trust me, this base is what will make your homemade strawberry vanilla bean ice cream to die for.
Combine the strawberry purée and ice cream base
Once the strawberry mixture has cooled, purée the strawberries in a blender until smooth. For a bit of texture, you could leave some small chunks. Now, here comes the fun part!
- Mix it up: Stir the strawberry purée into your cooled ice cream base. Make sure it’s well combined, but you can leave a few swirls for visual appeal. This combo not only looks beautiful but also maximizes the strawberry flavor in each bite!
Churn the ice cream
Now it’s time to turn that mix into ice cream.
- Prepare your ice cream maker: Make sure it’s been frozen according to the manufacturer’s instructions.
- Pour in the mixture: Turn on your ice cream maker and slowly pour the combined mix into the freezing bowl. Churn for about 20-25 minutes, or until the ice cream reaches a soft-serve consistency.
If you don’t have an ice cream maker, don’t worry! You can place the mixture in a shallow dish and stir it every 30 minutes for 3-4 hours for a similar texture.
Freeze for a perfect texture
Here comes the hardest part—waiting! Transfer the churned ice cream into an airtight container and smooth the top. Cover with plastic wrap or wax paper before sealing with a lid. This will prevent ice crystals from forming, keeping your homemade strawberry vanilla bean ice cream velvety smooth.
- Freeze: Let it freeze for at least 4-6 hours, though overnight is even better.
Once frozen, scoop a bowlful and watch it disappear—because there's nothing quite like homemade ice cream on a warm day!
Now that you have your own delicious homemade strawberry vanilla bean ice cream, why not experiment with different toppings? Fresh strawberries, crushed nuts, or a drizzle of chocolate syrup can all take your creation to the next level! Enjoy making and sharing this delectable treat.
Variations of Homemade Strawberry Vanilla Bean Ice Cream
Adding chocolate chunks for extra indulgence
If you’re looking to elevate your homemade strawberry vanilla bean ice cream, consider tossing in some chocolate chunks. The combination of sweet strawberries and rich chocolate creates a delightful contrast that satisfies every craving. You can use dark chocolate for a slightly bitter flavor or opt for milk chocolate if you prefer something sweeter. Just chop your choice of chocolate into bite-sized pieces and fold them in right before the ice cream goes into the freezer. You’ll find that each scoop is like a little celebration of flavors!
Not only does chocolate add texture, but it also amps up the indulgence factor. If you're keen on trying deeper flavors, you might explore adding bittersweet chocolate or even a sprinkle of sea salt to enhance the chocolate's richness. Check out this guide on chocolate to find the perfect match for your tastes.
Swapping strawberries for other fruits
While strawberries are a classic, why not experiment by swapping them for other fruits? Think seasonal options like ripe peaches, juicy mangoes, or even tart blueberries. Each fruit brings a unique flavor profile that can transform your homemade strawberry vanilla bean ice cream into a completely new dessert.
Start by substituting an equal amount of pureed fruit for strawberries. If you're using a fruit that's a bit firmer, consider lightly cooking or roasting it to soften and deepen the flavor. For a touch of fun, mix in a swirl of your favorite fruit jam for unexpected bursts of flavor. Remember, the only limit is your imagination—don’t be afraid to get creative!
Cooking Tips and Notes for Homemade Strawberry Vanilla Bean Ice Cream
Importance of Chilling Ingredients
When crafting your homemade strawberry vanilla bean ice cream, one of the most critical steps is ensuring that your ingredients are chilled. This simple trick helps create a creamier texture by preventing the formation of large ice crystals. If you're feeling adventurous, pop your mixing bowl, heavy cream, and milk in the fridge for at least an hour before you start. This small step allows you to achieve that luxurious, velvety finish that makes every bite a delight.
Using High-Quality Vanilla
The flavor of your homemade strawberry vanilla bean ice cream largely hinges on the quality of the vanilla you choose. Opt for pure vanilla extract or, even better, whole vanilla beans. You can find options that are sustainably sourced, which not only elevate your ice cream's taste but also make a positive environmental impact. A recent study highlighted that high-quality ingredients can enhance the overall sensory experience of desserts, making them more enjoyable. Trust me when I say the extra effort is worth it!
For more on selecting the best vanilla, check out this guide on vanilla types. Happy mixing!
Serving Suggestions for Homemade Strawberry Vanilla Bean Ice Cream
Presentation Ideas for Ice Cream Bowls
When it comes to scooping up your homemade strawberry vanilla bean ice cream, presentation matters! Choose elegant glass dishes to showcase those delightful colors, and consider layering the ice cream with fresh strawberries or a sprinkle of crushed graham crackers for an appealing texture contrast. You can also garnish with a mint leaf for that extra pop of color. Want to kick it up a notch? Serve it in a waffle bowl or cone for a fun, handheld treat!
Pairing with Desserts and Snacks
This luscious ice cream pairs beautifully with a variety of desserts and snacks:
- Cookies: Think warm chocolate chip or snickerdoodles for a delightful contrast.
- Pies: A slice of warm apple pie with a scoop on top? Dreamy!
- Fruits: Fresh berries or banana slices complement the flavors perfectly.
Craving more inspiration? Explore recipes on sites like BBC Good Food for complementary desserts, or get creative with your own unique combinations! It's all about what excites your taste buds.
Time Breakdown for Homemade Strawberry Vanilla Bean Ice Cream
Creating your own homemade strawberry vanilla bean ice cream is a delightful endeavor that’s well worth the time investment. Here’s a handy breakdown to help you plan your ice cream-making adventure.
Preparation Time
Expect to spend about 15-20 minutes prepping your ingredients. This includes washing, hulling, and blending the strawberries until they create a gorgeous puree. Adding the vanilla bean and other elements typically takes just a few more moments. It's that simple!
Churning Time
The churning process typically takes around 20-30 minutes. If you have an ice cream maker, you’ll love how the mixture transforms into a creamy delight right before your eyes.
Freezing Time
Finally, letting your homemade strawberry vanilla bean ice cream set in the freezer will take anywhere from 4-6 hours. For optimum texture—and let’s be real, maximum yumminess—overnight is often the best bet.
Now that you're armed with a timeline, you can dive into this sweet creation without any hiccups! For more tips on perfecting your ice cream texture, check out resources from The Ice Cream Rapture or Serious Eats.
Nutritional Facts for Homemade Strawberry Vanilla Bean Ice Cream
Calories per Serving
Indulging in homemade strawberry vanilla bean ice cream doesn’t have to be guilt-inducing! Each serving contains about 150-200 calories, depending on your specific ingredients and portion size. That’s a reasonable treat for satisfying your sweet tooth while keeping an eye on your overall calorie intake.
Key Nutrients
What makes this delicious dessert even better? It’s packed with some key nutrients that can add a nutritional boost:
- Calcium: Essential for strong bones and teeth, with homemade ice cream typically supplying a good dose thanks to its dairy content.
- Vitamin C: Strawberries are rich in this vitamin, which not only supports your immune system but also adds a splash of color and flavor.
- Antioxidants: The strawberries and vanilla bean provide a host of antioxidants, helping fight oxidative stress.
For those curious about nutritional breakdowns, check out NutritionData for more in-depth insights. Enjoy your ice cream knowing it’s not just a tasty treat, but a delightful way to incorporate some healthy elements into your dessert.
FAQ about Homemade Strawberry Vanilla Bean Ice Cream
Can I make this without an ice cream maker?
Absolutely! If you’re keen on homemade strawberry vanilla bean ice cream but lack an ice cream maker, don’t fret. You can achieve that creamy, dreamy texture using a simple method:
- Whisk it: Combine all your ingredients and place them in a large bowl. Whisk them together until smooth.
- Freeze and Stir: Pour the mixture into a shallow dish and freeze for about 45 minutes. When the edges begin to freeze, stir vigorously with a fork. Repeat this every 30 minutes for about 3-4 hours. This manual churning mimics the ice cream maker's action, breaking down ice crystals for smooth ice cream.
For more tips, check out this guide on homemade ice cream techniques that explores various methods!
How do I store homemade ice cream?
To keep your homemade strawberry vanilla bean ice cream fresh and flavorful:
- Airtight Container: Store it in a clean, airtight container to prevent freezer burn.
- Layer it: Consider placing a piece of wax paper or plastic wrap directly on the surface before sealing. This will minimize air exposure.
- Temperature: Set your freezer to a consistent temperature of 0°F (-18°C) for the best quality.
Homemade ice cream can typically last 2-3 weeks in the freezer, but it’s best enjoyed within the first week for optimal freshness.
What alternatives can I use for sweeteners?
If you want to adjust the sweetness of your homemade strawberry vanilla bean ice cream, consider these alternatives:
- Honey or Maple Syrup: Both add a lovely flavor and can be used in place of sugar.
- Stevia or Erythritol: These sugar substitutes are great for a low-calorie option.
- Agave Nectar: This sweetener has a lower glycemic index compared to regular sugar.
When substituting, remember that these alternatives might alter the final texture slightly, so feel free to experiment until you find what suits your palate! Delve deeper into sweetener choices with this informative article on natural sweeteners.
Crafting your own ice cream not only brings joy but also lets you personalize flavors to your heart’s content. Enjoy every scoop!
Conclusion on Homemade Strawberry Vanilla Bean Ice Cream
Creating homemade strawberry vanilla bean ice cream isn't just a delightful culinary project; it's a wonderful way to savor fresh summer flavors. If you're looking for an indulgent treat that combines the sweetness of strawberries with the rich depth of vanilla beans, this recipe is absolutely a must-try. It’s straightforward, requires minimal ingredients, and offers a chance to impress friends or family with your culinary skills.
Remember, making ice cream at home allows for customization; feel free to experiment with different mix-ins or base flavors! For more tips on making ice cream, consider checking out this comprehensive guide on Serious Eats. So, grab your strawberries and let the fun begin!
Print
Homemade Strawberry Vanilla Bean Ice Cream: Easy and Irresistibly Creamy
Indulge in this delicious homemade strawberry vanilla bean ice cream that's easy to make and irresistibly creamy.
- Total Time: 4 hours 15 minutes
- Yield: 6 servings
Ingredients
- 1 pound fresh strawberries, hulled and sliced
- 1 cup granulated sugar
- 2 cups heavy cream
- 1 cup whole milk
- 1 vanilla bean, split and scraped
- ½ teaspoon salt
- 1 tablespoon lemon juice
Instructions
- In a bowl, combine the sliced strawberries and ½ cup of sugar. Let it sit for about 30 minutes to macerate.
- In another bowl, whisk together the heavy cream, whole milk, remaining sugar, salt, and vanilla bean seeds.
- Blend the macerated strawberries with the cream mixture until smooth.
- Pour the mixture into an ice cream maker and churn according to the manufacturer's instructions.
- Once churned, transfer to a container and freeze for at least 4 hours.
Notes
- For a chunkier texture, reserve some chopped strawberries to fold in after blending.
- You can substitute half of the sugar with honey for a different flavor.
- Prep Time: 15 minutes
- Cook Time: 0 minutes
- Category: Dessert
- Method: No-Cook
- Cuisine: American
- Diet: Vegetarian
Nutrition
- Serving Size: 1 cup
- Calories: 250
- Sugar: 20g
- Sodium: 50mg
- Fat: 15g
- Saturated Fat: 10g
- Unsaturated Fat: 5g
- Trans Fat: 0g
- Carbohydrates: 30g
- Fiber: 1g
- Protein: 2g
- Cholesterol: 70mg