Introduction to Cherries in the Snow
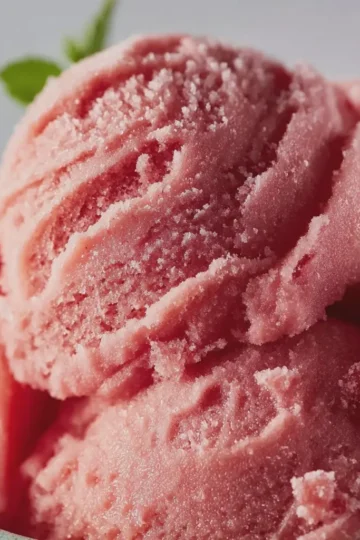
If you're on the hunt for a dessert that’s as delightful to eat as it is to look at, Cherries in the Snow should be at the top of your list. This stunning dish blends the tangy sweetness of cherries with the dreamy, fluffy texture of a creamy topping, creating a perfect harmony of flavors. But what’s the story behind this delightful dessert?
The Story Behind Cherries in the Snow Dessert
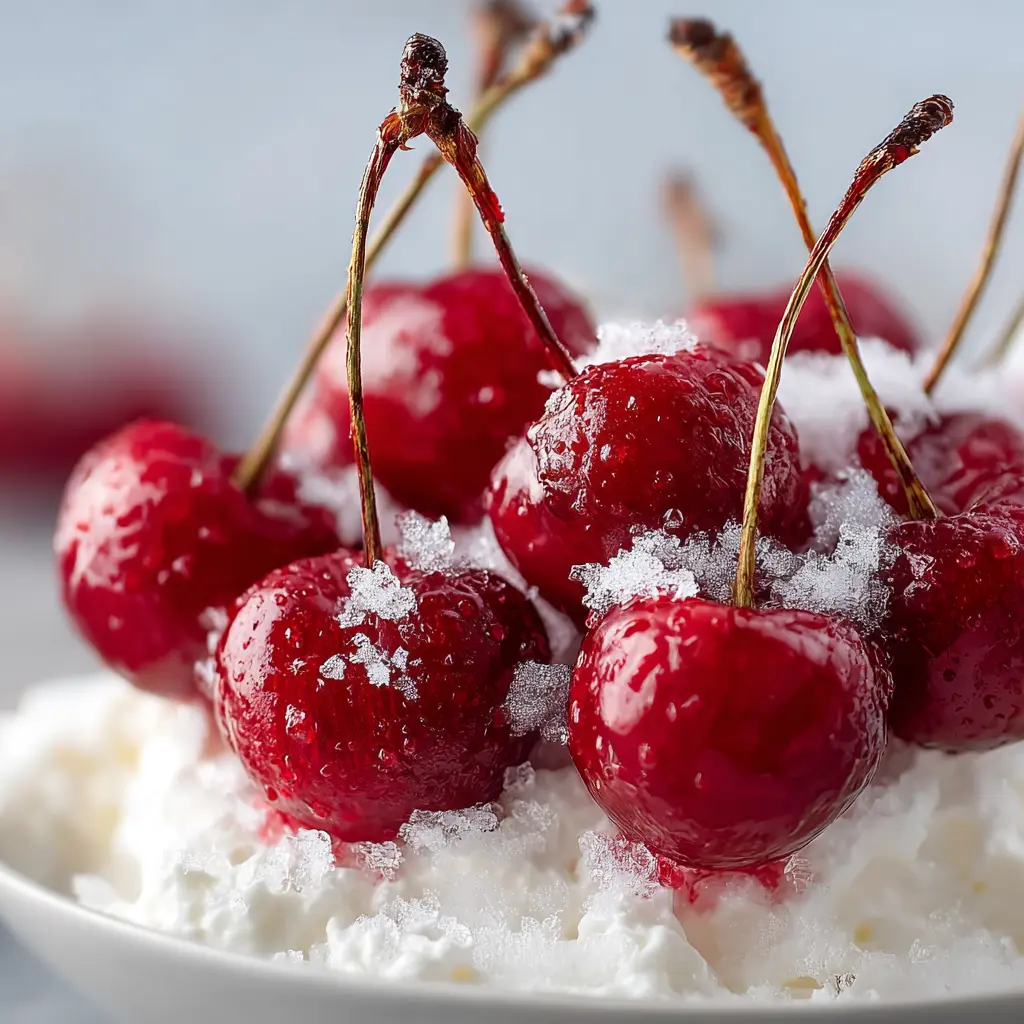
Cherries in the Snow has roots that trace back through American culinary history, often served at gatherings and festive occasions. This dessert gets its name from the picturesque presentation of vibrant cherries nestled atop a whipped, snowy layer of sweet cream. It’s a little like a winter wonderland, but in dessert form!
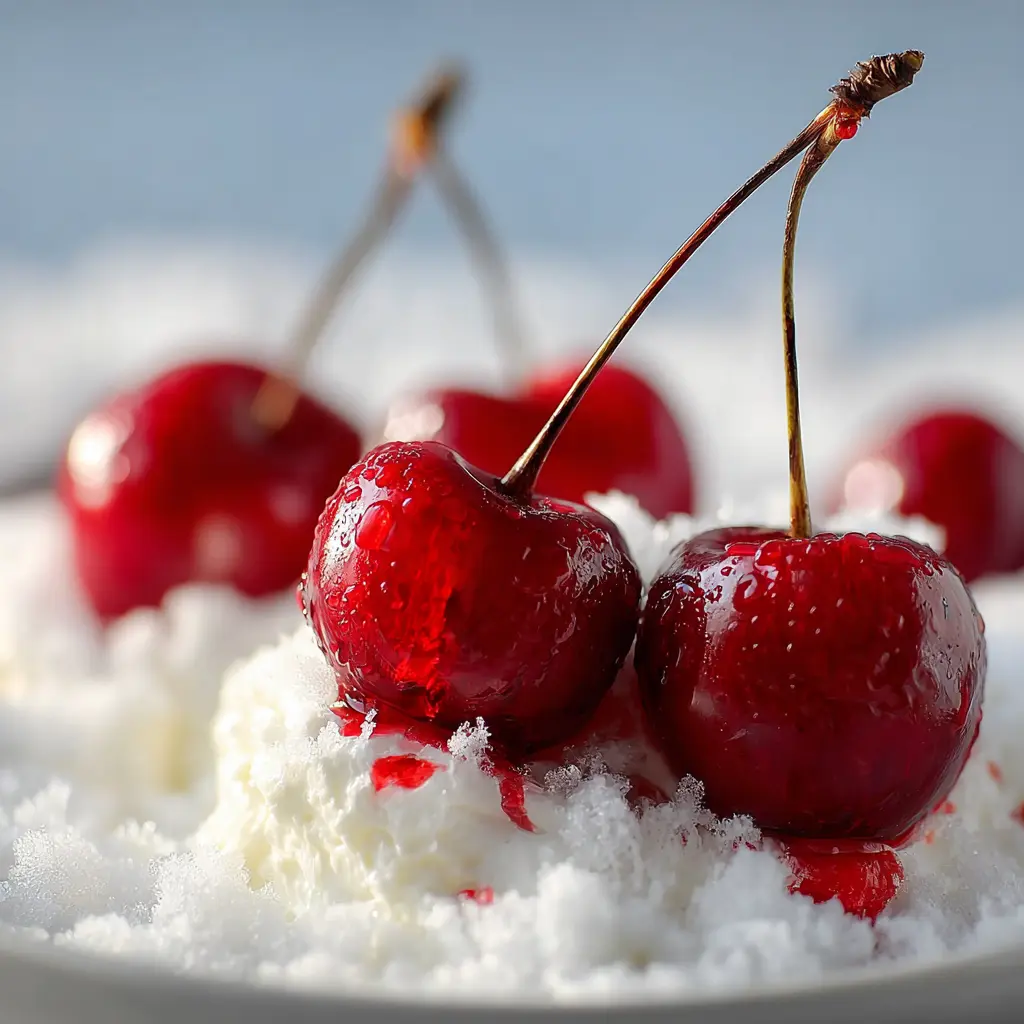
Traditionally, the cherries symbolize a burst of flavor against a backdrop of purity, which is reflected in the fluffy, white topping—often made of cream cheese or whipped cream. This combination makes it a popular choice for potlucks, holiday dinners, or casual get-togethers with friends. The dessert is not only visually stunning but also incredibly easy to whip up, making it perfect for those who want to impress without spending all day in the kitchen.
Interestingly, this dish has evolved over the years, adapting to various taste trends and dietary preferences. Some versions incorporate elements like cream cheese for richness, while others may opt for healthier alternatives, like Greek yogurt. If you're interested in the evolution of American desserts, you might check out sources like the James Beard Foundation for more insights.
Creating Cherries in the Snow is all about balance. The tartness of the cherries cuts through the sweetness of the cream, offering a refreshing bite that keeps you coming back for more. It invites creativity as well—consider adding a sprinkle of nuts for crunch or a dash of vanilla for extra depth.
So, whether you’re preparing for a special occasion or just treating yourself, embarking on this dessert journey is sure to delight your taste buds and those of your loved ones. Get ready to discover how to make this exquisite dessert shine in your kitchen!
Ingredients for Cherries in the Snow
Making Cherries in the Snow is as delightful as enjoying it. Here's what you'll need to create this indulgent dessert that impresses with both flavor and presentation.
Fresh Ingredients
-
Cherries: You’ll want about 2 cups of fresh, pitted cherries. Choose plump ones for the best taste.
-
Cream Cheese: 8 ounces of softened cream cheese serves as the delightful base for your filling.
-
Sugar: A half cup of granulated sugar will sweeten things up just right.
-
Whipped Cream: Approximately 1 cup of fresh whipped cream will add that luscious texture.
-
Vanilla Extract: A splash of 1 teaspoon enhances the cream cheese flavor beautifully.
Tasteful Additions
-
Turkey Bacon: If you’re feeling adventurous, consider crumbling some crispy turkey bacon on top for a surprisingly delicious contrast.
-
Chicken Ham: For a savory touch, finely diced chicken ham can elevate the dish.
-
Beef Flavorings: While traditional Cherries in the Snow leans sweet, a hint of beef seasoning in your base can provide an unexpected depth.
These ingredients come together to create a whimsical dessert that's perfect for gatherings. If you're interested in more dessert ideas, check out Serious Eats for inspiration!
Preparing Cherries in the Snow
Creating Cherries in the Snow is not just about whipping up a dessert; it's about crafting a delightful experience that you'll relish and share with your loved ones. This spectacular treat is perfect for gatherings, parties, or simply satisfying that sweet craving after a long day. Let’s guide you through this simple yet delectable process step by step.
Gather Your Ingredients
First things first, you'll want to ensure you have everything ready before diving into the preparation. Here’s what you need:
- Cream cheese: 8 oz, softened
- Powdered sugar: 1 cup
- Milk: 1 cup
- Vanilla extract: 1 tsp
- Whipped topping: 8 oz (thawed)
- Angel food cake: 1 pre-made cake, crumbled
- Cherry pie filling: 1 can (21 oz)
It’s always a good idea to grab high-quality ingredients where possible. For instance, organic cream cheese can elevate the dish, making your Cherries in the Snow taste even better.
Beat the Cream Cheese Mixture
Now that you have everything assembled, let’s start by beating the cream cheese. In a mixing bowl, combine the softened cream cheese and powdered sugar. Using an electric mixer, whip these together until the mixture is smooth and creamy. It should have a lovely soft texture, not too thick, and definitely lump-free.
Incorporate the Milk and Vanilla
Next, it’s time to add a splash of richness. Slowly pour in the milk and add the vanilla extract to your cream cheese mixture. Continue mixing until fully incorporated. The goal here is to create a silky base that’s bursting with flavor. Need a tip? Always use real vanilla extract for more depth and aroma—and your friends will thank you later!
Fold in the Whipped Topping
This is where the treat starts to take its delightful turn. Gently fold in the 8 oz of whipped topping. You want to maintain that light, airy consistency, so be gentle as you mix. Think of it like cradling a precious dessert!
Mix in the Angel Food Cake
Ready for some texture? It’s time to integrate the crumbled angel food cake into the fluffy mixture. Stir it in until everything is well combined, ensuring every bite will have that delightful cloud-like softness. The angel food cake adds a lightweight aspect that balances perfectly with the creaminess.
Layer in the Baking Dish
Now, grab your favorite baking dish—something that showcases all those beautiful layers. Start by spooning half of your creamy Cherries in the Snow mixture into the dish. Use a spatula to spread it evenly. Then, layer half of the crumbled angel food cake over the top. This process creates stunning layers that not only look beautiful but perform harmoniously in flavor.
Top with Cherry Pie Filling
Here comes the star of the show—the cherry pie filling! Evenly distribute the filling over your layered creation. The vibrant red cherries will pop against the creamy white, and that fruitiness is a refreshing contrast to the rich layers below.
Chill Before Serving
The final step is crucial. Cover your dish with plastic wrap and pop it in the refrigerator for at least 4 hours, or overnight if you can wait! Chilling helps the flavors meld beautifully and allows the dessert to firm up, making each slice a perfect serving.
Enjoying Cherries in the Snow is like indulging in a sweet, snowy paradise. Follow these easy steps, and you’ll have a dish sure to impress friends and family alike. Happy cooking!
Variations on Cherries in the Snow
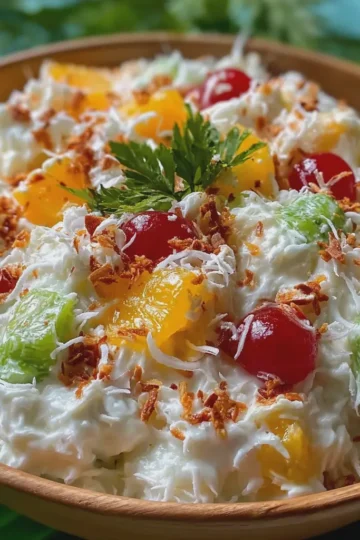
Delicious Cherries in the Snow with Different Fruit Toppings
The classic Cherries in the Snow dish is delightful on its own, but why not get creative? Experimenting with different fruit toppings can elevate this simple dessert to new heights. Consider these fruity alternatives:
- Fresh Berries: Strawberries, blueberries, and raspberries not only look gorgeous but also provide a refreshing tartness.
- Citrus Segments: Adding segments of oranges or grapefruits gives a zesty kick that contrasts beautifully with the creamy base.
- Tropical Twist: Top your Cherries in the Snow with diced mango or pineapple for a fun, tropical vibe.
Feel free to mix and match! You can even blend fruits for a custom topping that reflects your personal taste.
Festive Cherries in the Snow During the Holidays
When the holiday season approaches, consider sprucing up your Cherries in the Snow for festive gatherings. Here are some fun ideas to make your dessert a crowd-pleaser:
- Colorful Garnishes: Dust the top with crushed peppermint or festive red and green sprinkles to add a merry touch.
- Nutty Crunch: Sprinkle chopped nuts like walnuts or almonds over the top for a satisfying crunch and nutty flavor.
- Cinnamon-Spiced Cream: Whip your cream with a hint of cinnamon or nutmeg to infuse holiday warmth into this already delightful dessert.
These variations not only bring holiday cheer but are also great conversation starters at any gathering. The adaptability of Cherries in the Snow truly makes it a perfect canvas for your culinary creativity.
For more recipes and tips on holiday entertaining, check out Taste of Home or Food Network. Happy cooking!
Cooking tips and notes for Cherries in the Snow
Tips for achieving the perfect cream cheese texture
Getting that luscious cream cheese texture in your Cherries in the Snow is all about the technique. Here are some tips:
- Room Temperature: Make sure your cream cheese is at room temperature. This step is essential to blend it smoothly without lumps.
- Use a Mixer: A stand or hand mixer works wonders to achieve that fluffy consistency. Don't rush it—mix until it’s light and airy.
- Add Powdered Sugar Gradually: Incorporate the sugar slowly to avoid gritty texture, creating a velvety finish for your dessert.
For more guidance on cream cheese perfection, check out this cheesecake tips guide.
Notes on angel food cake types
When choosing the right angel food cake for your Cherries in the Snow, consider the following:
- Homemade vs. Store-Bought: Homemade cakes typically deliver a fresher taste, but store-bought options simplify your prep time.
- Flavored Varieties: Some angel food cakes may come infused with lemon or almond, adding a delightful twist to your dessert.
- Texture Considerations: Ensure your cake is airy and light for the perfect base to hold those lush cherries and cream cheese mixture.
Whether you go the homemade or store-bought route, the right choice will set your dessert apart!
Serving suggestions for Cherries in the Snow
Creative plating ideas
When it comes to serving your Cherries in the Snow, presentation elevates the experience. Consider layering the cherries and cream in a glass for a delightful parfait. You can sprinkle crushed nuts or toasted coconut flakes on top for added texture. A drizzle of chocolate sauce can create an elegant touch, making your dessert not just a treat but a feast for the eyes. Want to impress your guests? Use a ring mold to stack neatly, or even create whimsical shapes with cookie cutters.
Pairings that complement the dessert
To enhance the flavors of your Cherries in the Snow, think about complementary pairings that create a balanced meal. Here are a few suggestions:
- Serve alongside a light, tangy yogurt for a refreshing contrast.
- Pair it with a scoop of vanilla or almond ice cream; the creaminess will harmonize beautifully.
- Consider a side of homemade ginger snaps or buttery shortbread cookies to add a bit of crunch.
For beverages, a chilled sparkling water with a hint of lemon can cleanse the palate wonderfully. Interested in more flavor pairings? Check out resources like FoodPairing for inspiration!
With these creative serving suggestions, your Cherries in the Snow will undoubtedly shine at any gathering!
Time breakdown for Cherries in the Snow
Preparation Time
Getting started with your Cherries in the Snow recipe takes about 20 minutes. This is your time to gather all those fresh ingredients and whip them into a delicious mixture. Make sure to have your cherries pitted and chopped, as well as any whipped cream or other toppings prepped to ensure a seamless cooking experience.
Chilling Time
The magic happens during the chilling phase, which typically lasts for at least 3 hours. This step is crucial for letting the flavors meld beautifully. While you wait, why not catch up on an episode of your favorite series? You'll thank yourself later when you dive into your delightful dessert!
Total Time
All in, you’re looking at around 3 hours and 20 minutes for Cherries in the Snow. With a little patience, you’ll create a sweet treat that impresses. Plus, the wait is totally worth it when you serve a dish that tastes as good as it looks! If you want some tips on achieving the best results, check out this guide on making perfect desserts here. Happy cooking!
Nutritional Facts for Cherries in the Snow
Calories
When indulging in a delightful serving of Cherries in the Snow, you can expect a refreshingly light dessert experience. One generous portion typically contains around 150 calories. This makes it a guilt-free treat for those looking to satisfy their sweet cravings without diving deep into excess calories.
Sugar Content
Speaking of sweetness, this dessert showcases the inherent natural sugars from cherries. A typical serving has approximately 25 grams of sugar, which comes from the delicious fruits themselves. While it's definitely sweet, the antioxidants in cherries can provide health benefits, which you can learn more about here.
Protein
In terms of protein, Cherries in the Snow isn't a powerhouse, providing about 2 grams per serving. While cherries are not a significant source of this macro, pairing them with an ingredient like Greek yogurt can boost the protein content, making it even more satisfying and nutritious. Discover more about healthy protein sources here.
So, the next time you're dishing out Cherries in the Snow, remember that it's not just about flavor—it's also packed with wholesome goodness!
FAQs about Cherries in the Snow
Can I make Cherries in the Snow ahead of time?
Absolutely! One of the best things about Cherries in the Snow is that it can be prepared a day in advance. Simply assemble the dessert as directed and then cover it tightly with plastic wrap. Store it in the refrigerator until you're ready to serve. This not only saves you time but also allows the flavors to meld together beautifully. Just remember that if your dessert has a layered structure, it might slightly change in texture after sitting.
What is a good substitute for cream cheese?
Running out of cream cheese doesn’t have to halt your delicious dessert plans! You can swap it out for several alternatives. A great choice is Greek yogurt, which provides a similar creamy texture with added tang. Silken tofu is another excellent vegan-friendly option; just blend it until smooth. If you prefer a sweeter profile, mascarpone cheese works beautifully too. Each of these substitutes will give your Cherries in the Snow a unique twist while keeping that luscious flavor intact.
How can I adjust the sweetness?
Finding that perfect balance of sweetness for Cherries in the Snow can be key to its appeal. If you find your cherries are more tart than expected, consider adding a little powdered sugar or honey to the cream mixture. For those who prefer a less sweet dessert, you can reduce the sugar content or even opt for a sugar alternative like stevia. Taste as you go, and adjust according to your preferences—there's no wrong choice here!
For more insights on dessert tips, check out this expert guide for adjusting sweetness in recipes or this post on creative cream cheese alternatives.
Conclusion on Cherries in the Snow
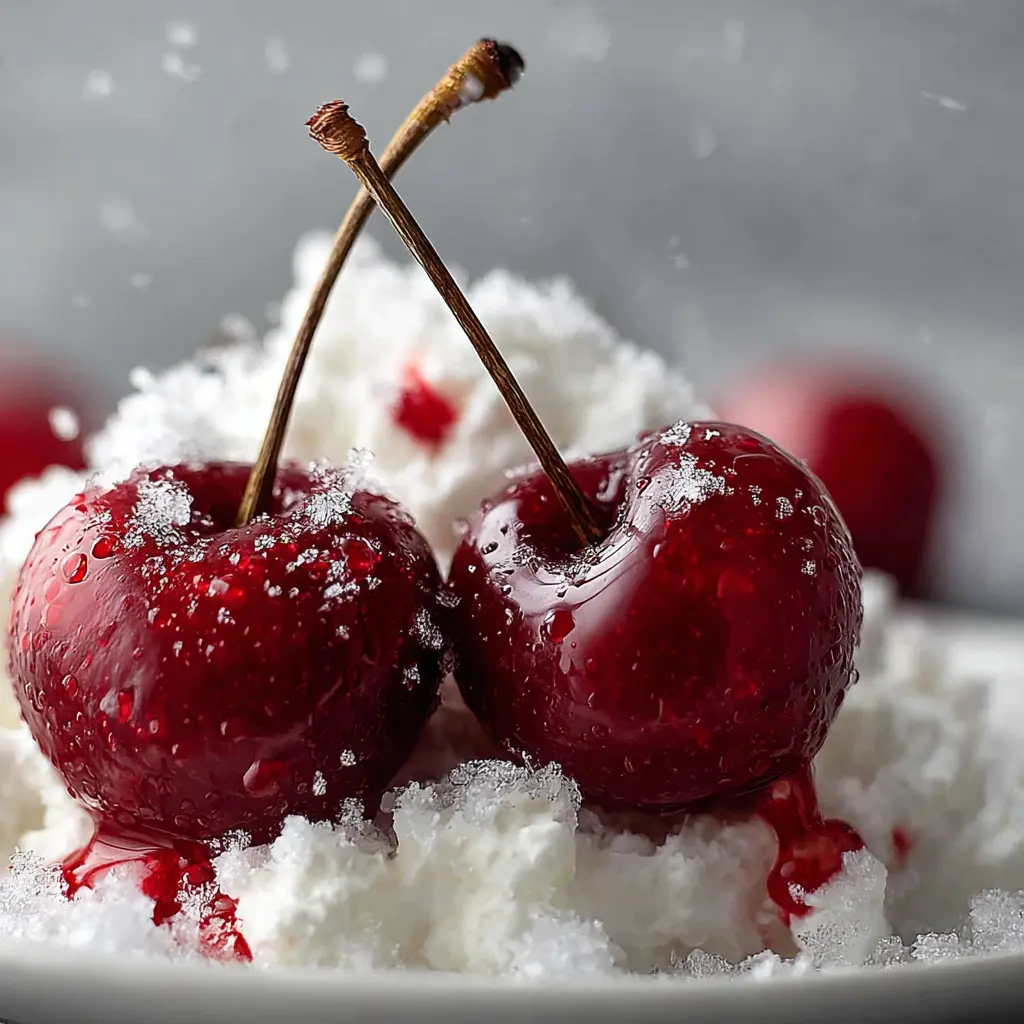
In wrapping up our experience with Cherries in the Snow, it’s clear this dish is more than just a delightful treat; it's a celebration of flavors that creates lasting memories. The sweet and tart cherries paired with fluffy whipped cream offers a delightful contrast that's not only easy to prepare but sure to impress your friends and family.
To truly elevate your experience, consider serving it alongside other flavorful additions like Turkey Bacon or Chicken Ham. You can even find inspiration in similar fruity dishes through resources like Fruit Recipes. So, whether hosting a gathering or simply indulging on a cozy night in, Cherries in the Snow is a fantastic go-to dessert that everyone will love.
Print
Cherries in the Snow: A Juicy Dessert to Delight Your Taste Buds
This delightful dessert combines the tartness of cherries with a creamy, snowy topping, creating a treat that is perfect for any occasion.
- Total Time: 2 hours 15 minutes
- Yield: 6 servings
Ingredients
- 2 cups fresh or frozen cherries
- 1 cup heavy cream
- ½ cup powdered sugar
- 1 teaspoon vanilla extract
- ¼ cup chopped nuts (optional)
Instructions
- In a mixing bowl, whip the heavy cream with the powdered sugar and vanilla extract until soft peaks form.
- In a serving dish, layer the cherries on the bottom.
- Spread the whipped cream over the cherries evenly.
- If using, sprinkle chopped nuts on top for extra crunch.
- Chill in the refrigerator for at least 2 hours before serving.
Notes
- For a sweeter dessert, add more powdered sugar to taste.
- This dessert can be made a day ahead for convenience.
- Prep Time: 15 minutes
- Cook Time: 0 minutes
- Category: Dessert
- Method: No-bake
- Cuisine: American
- Diet: Vegetarian
Nutrition
- Serving Size: 1 serving
- Calories: 250
- Sugar: 20g
- Sodium: 50mg
- Fat: 18g
- Saturated Fat: 10g
- Unsaturated Fat: 8g
- Trans Fat: 0g
- Carbohydrates: 20g
- Fiber: 1g
- Protein: 2g
- Cholesterol: 60mg