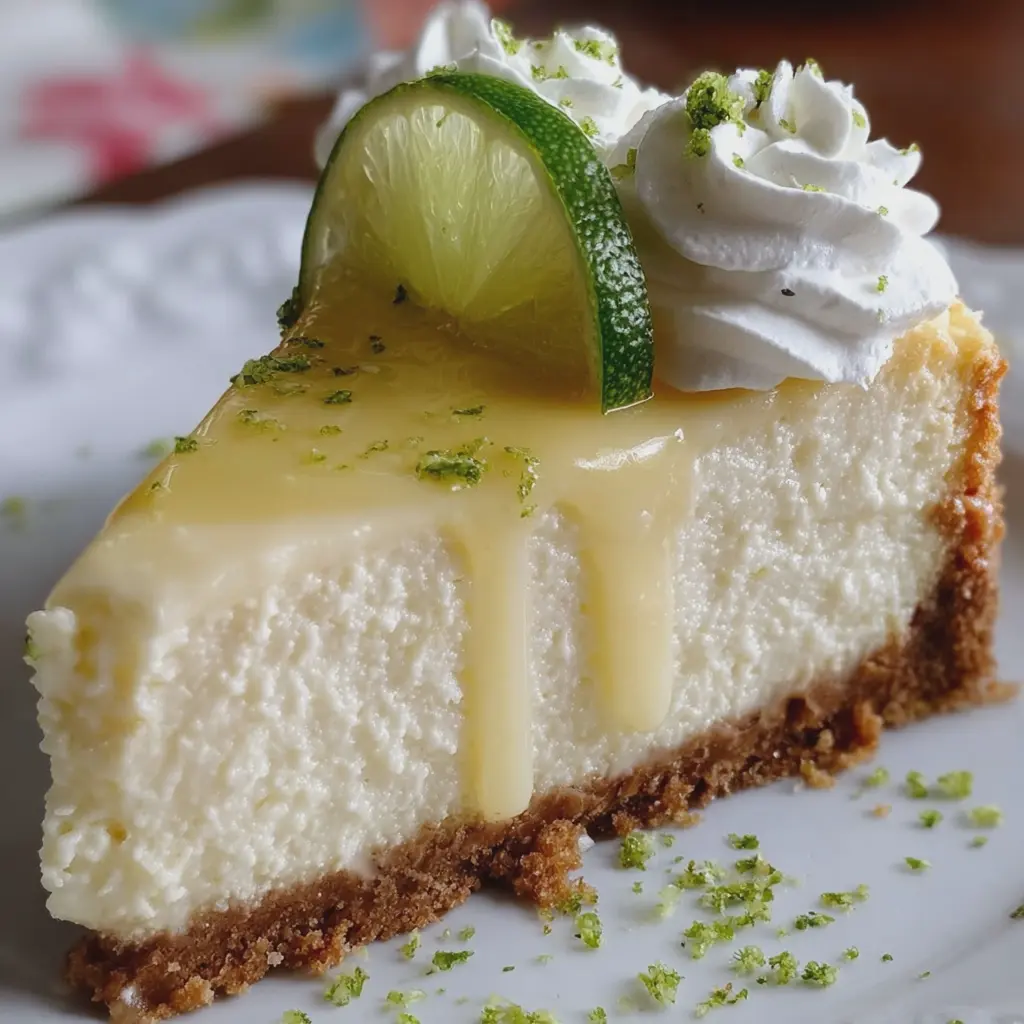
Introduction to Key Lime Cheesecake
When it comes to homemade desserts, few can compete with the refreshing taste of key lime cheesecake. This delectable treat brings together the tartness of key limes and the creaminess of cheesecake, resulting in an indulgence that’s as delightful as it is satisfying. Whether you’re planning a summer gathering, celebration, or simply a weekend treat, key lime cheesecake should be at the top of your list!
Why Key Lime Cheesecake is the Ultimate Homemade Treat
There’s something special about the combination of flavors in key lime cheesecake. The yin and yang of zesty lime and rich cream cheese create a perfect balance that appeals to a wide audience. It's not overly sweet, making it an excellent choice for those who prefer desserts with a bit of zing. Imagine serving this luscious cheesecake after a flavorful meal; it’s the kind of dish that earns you "wow" comments from friends and family alike.
Making a key lime cheesecake at home can also be easier than you think. You don’t need to be a pastry chef to whip up this delight. With just a handful of ingredients like graham crackers, cream cheese, and, of course, key limes, you can create a stunning dessert from the comfort of your own kitchen. Need some guidance? Check out reliable resources like the American Farm Bureau for tips on sourcing fresh limes.
Not only is making key lime cheesecake rewarding, but it’s also a fun culinary adventure. As you squeeze the limes and prepare your crust, you may find yourself reminiscing about sun-soaked beaches and carefree vacations. In fact, one study indicated that cooking can boost your mood and overall well-being, so why not combine your love for baking with a dose of happiness?
If you’re looking for a dessert that not only satisfies a sweet tooth but also allows you to enjoy the process of making it, key lime cheesecake is your perfect match. So, roll up your sleeves and get ready to impress yourself and others with this refreshing dessert. You’ll have everyone asking for the recipe—so be prepared to share!
Ingredients for Key Lime Cheesecake
Essential ingredients for a rich cheesecake
To whip up a delectable key lime cheesecake, you'll need a handful of essential ingredients that marry together beautifully. Here’s what you’ll want to gather:
- Cream Cheese: This is the star ingredient that gives your cheesecake its rich and creamy texture.
- Sugar: Granulated sugar will sweeten the mix, balancing the tartness of key limes.
- Sour Cream: Not just for dips! It adds a lovely tang and creamy consistency.
- Eggs: Helps to bind everything together, creating that perfect cheesecake structure.
- Graham Cracker Crust: A buttery graham cracker crust pairs deliciously with the smooth filling.
Having these staples on hand will set you up for cheesecake success!
The importance of fresh key limes
When it comes to the key lime cheesecake, the flavor profile is heavily influenced by the freshness of your key limes. Freshly squeezed juice is essential, as it delivers a zesty kick that brightens the entire dessert. Unlike bottled lime juice, fresh key limes offer a more vibrant and aromatic flavor. Plus, juicy limes are just fun to squeeze! If you’re wondering where to find them, specialty grocery stores or local farmers’ markets often have the best selection. Check out sources like The Spruce Eats for tips on selecting the ripest limes. So, make sure to pick up some fresh key limes for that irresistible zing!
Step-by-Step Preparation of Key Lime Cheesecake
Making a key lime cheesecake is an adventure that combines creamy goodness with a zesty kick. Follow these simple steps to create a delightful dessert that will leave your friends and family begging for seconds. Let’s dive right in!
Preheat the oven and prepare the springform pan
To kick things off, you’ll want to preheat your oven to 325°F (163°C). This will ensure that your key lime cheesecake bakes evenly, making it smooth and luscious. While the oven warms up, grab a 9-inch springform pan. This type of pan is perfect for cheesecakes as it allows for easy removal of the dessert once it’s baked.
- Grease the bottom and sides of the springform pan lightly with butter or non-stick spray. This helps prevent any sticking, making your final presentation look flawless.
- If you want an extra layer of protection against leaks, consider wrapping the exterior of the pan with aluminum foil.
Make the graham cracker crust
Now, let’s whip up that delicious graham cracker crust that will perfectly balance the creamy filling. Here’s what you need:
- 1 ½ cups of crushed graham crackers
- ⅓ cup of granulated sugar
- ½ cup of melted butter
Mix these together in a bowl until fully combined. The texture should resemble wet sand. You can use a food processor for a finer texture, or just crush the crackers in a plastic bag. Press the mixture firmly into the bottom of your prepared springform pan. If you like a thicker crust, feel free to push some of the mixture up the sides of the pan as well.
Bake the crust and let it cool
Place the crust in your preheated oven and bake for about 10-12 minutes, or until it’s lightly golden. This step is crucial; it adds a toasty flavor that perfectly complements the tangy filling.
Once baked, remove it from the oven and let it cool on a wire rack. This cooling period is essential for avoiding a soggy crust, making sure your key lime cheesecake has that perfect bite.
Create the cheesecake filling
While your crust cools, it’s time to make the filling. Gather the following ingredients:
- 16 oz (2 packages) of cream cheese, softened
- 1 cup of granulated sugar
- 2 large eggs
- 1 cup of sour cream
- ¾ cup of freshly squeezed key lime juice (about 5-6 limes)
- Zest of 2 key limes
In a large mixing bowl, beat the cream cheese until smooth and creamy. Gradually add in the sugar and mix until well combined. You want a silky texture without lumps. Add the eggs one at a time, ensuring each is fully incorporated. Finally, mix in the sour cream, lime juice, and zest. This is where the magic happens—the tartness of the key limes sings through the rich cream cheese.
Pour and bake the cheesecake
Pour the filling onto your cooled crust. Use a spatula to spread it evenly. Place the springform pan on the middle rack of your oven and bake for about 50-60 minutes. You’ll know it’s ready when the edges are set but the center has a slight jiggle. This indicates that your key lime cheesecake will remain creamy and not dry out.
Cooling and chilling for perfection
Once done, turn off the oven and crack the door open, leaving the cheesecake inside for about one hour. This slow cooling process helps prevent cracking. After that, remove it from the oven and let it cool to room temperature before transferring it to the refrigerator. Chill for at least 4 hours, or even overnight if you can wait! The flavor of the key lime cheesecake deepens and improves with time.
And there you have it—a step-by-step guide to crafting the ultimate key lime cheesecake. I promise, your efforts will pay off when you get to savor each luscious bite. Ready to impress your guests at your next gathering? Get those ingredients ready, and happy baking! For more delectable recipes, check out this site for inspiration.
Variations on Key Lime Cheesecake
Key lime cheesecake is a delightful treat that can be tailored to fit any occasion, whether you’re hosting a dinner party or just craving something sweet at home. Here are a couple of variations that will surely impress your friends and family.
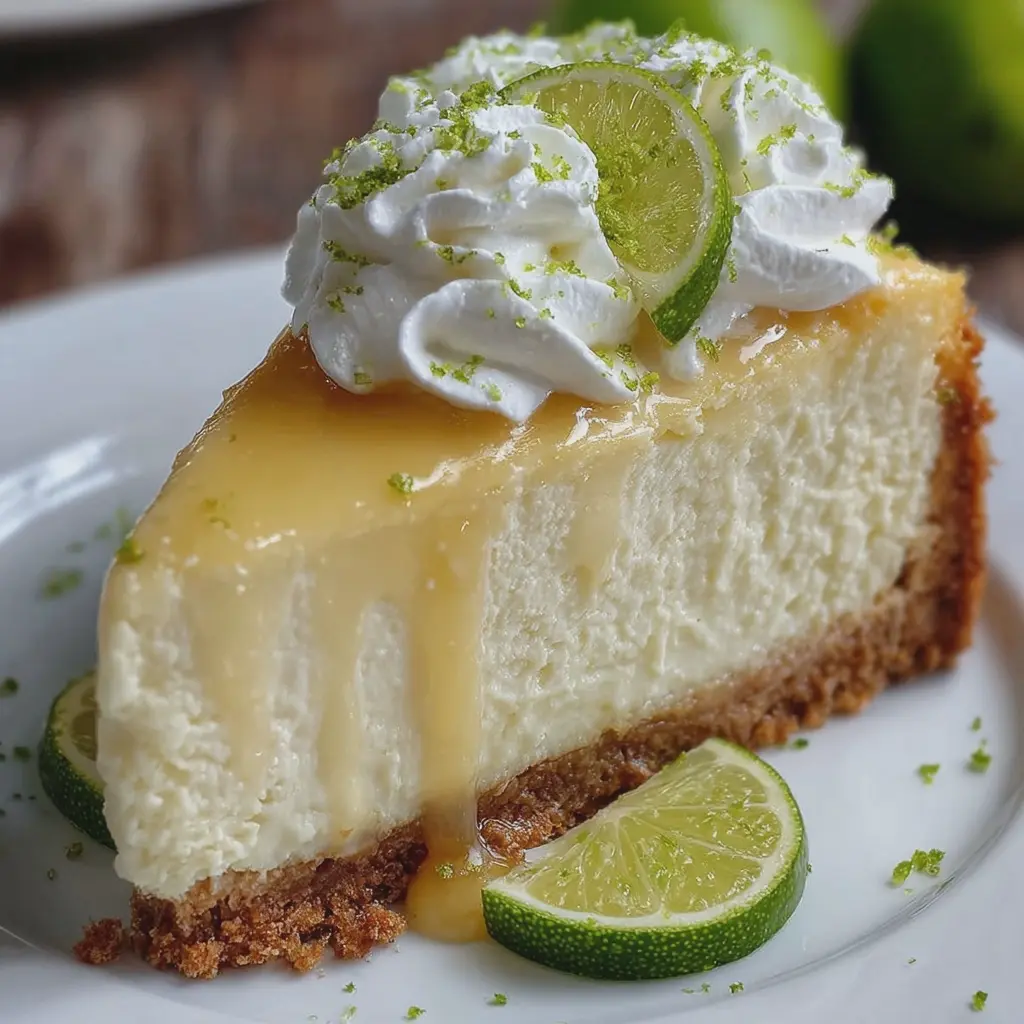
Classic Key Lime Cheesecake with Whipped Cream
The traditional version of key lime cheesecake is hard to beat. Made with a creamy filling that features the iconic tartness of key limes, it pairs beautifully with a buttery graham cracker crust. To take it over the top, serve your cheesecake with freshly whipped cream. This classic pairing adds a fluffy texture and balances out the tangy flavors.
- Tip: For added flair, consider adding lime zest to the whipped cream for an extra citrusy zip.
- Serve chilled to allow all the flavors to meld, enhancing the overall experience.
If you’re a fan of experimenting with flavors, check out the American Institute for Cancer Research for more citrus-based dessert recipes.
No-Bake Key Lime Cheesecake for a Quick Fix
Pressed for time but still want to indulge? A no-bake key lime cheesecake might just be your new best friend! This version skips the oven altogether, making it perfect for those last-minute dessert cravings. The filling typically consists of cream cheese, sweetened condensed milk, and key lime juice, all mixed until smooth and creamy.
- Advantages of no-bake: It requires less active cooking time and can be prepped in under 30 minutes!
- Chill time is crucial: Make sure to let it set in the fridge for at least four hours to achieve that perfect slice.
Whichever version you choose, both bring the signature zest of key lime to your dessert table. Don’t forget to share your creations and tips with your friends!
Cooking Tips and Notes for Key Lime Cheesecake
Preventing cracks in your cheesecake
Cracked key lime cheesecake can be disheartening, but a few simple techniques can help you achieve that smooth top. Start by baking your cheesecake in a water bath; this will regulate the temperature and moisture, preventing cracks. Additionally, avoid overmixing the batter and make sure to room temperature cream cheese - it will blend better and reduce the incorporation of air.
Ensuring the perfect texture
Achieving the ideal velvety texture in your key lime cheesecake comes down to careful mixing and baking. Cream cheese should be combined slowly until just blended. The cheesecake should be creamy but not overly aerated. After baking, allow it to cool gradually in the oven with the door ajar; this gradual temperature drop prevents sudden shifts that can lead to cracks.
For more expert tips, check out resources from culinary professionals like the American Institute of Baking. With these tips in hand, you're well on your way to impressing your friends and family with a perfectly crafted key lime cheesecake!
Serving Suggestions for Key Lime Cheesecake
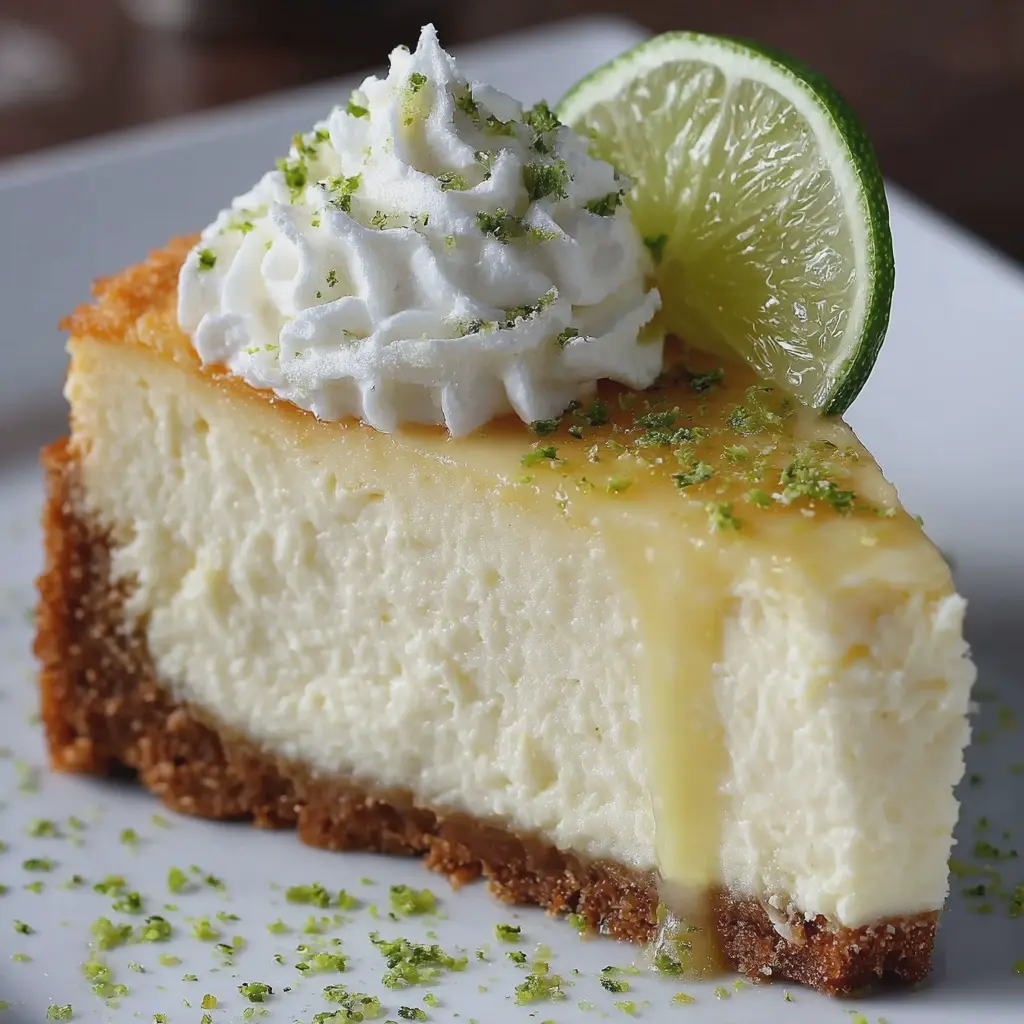
Elevate Your Key Lime Cheesecake with Creative Toppings
When it comes to serving your key lime cheesecake, adding unique toppings can transform it into a gourmet experience. Consider these options to elevate its presentation and flavor:
- Fresh Berries: A mix of strawberries, blueberries, and raspberries not only adds color but also a delightful tartness that complements the creamy cheesecake.
- Whipped Coconut Cream: Swap traditional whipped cream for a light coconut variation. This adds a tropical flair that pairs beautifully with the key lime.
- Key Lime Zest: A sprinkle of fresh zest on top enhances the citrusy notes and makes it visually appealing.
Refreshing Beverage Pairings
Pairing the right drink with your key lime cheesecake can enhance the overall experience. Here are some non-alcoholic suggestions:
- Iced Tea: Opt for a lightly sweetened, citrus-infused iced tea. The refreshing flavors will cleanse your palate between bites.
- Sparkling Water with Citrus: Consider bubbly water infused with lime or lemon slices for a refreshing, effervescent contrast.
- Lemonade: A classic choice, but why not mix it up with a twist of mint or basil for an unexpected kick?
These simple additions can boost your dessert game, turning a delightful treat into a stunning showcase. For more inspiration on dessert pairings, check out Epicurious.
Time Breakdown for Key Lime Cheesecake
When you're diving into the delightful world of key lime cheesecake, knowing how to manage your time is essential for a successful baking experience. Here's a helpful breakdown to guide you:
Preparation Time
Getting started usually takes about 20 to 30 minutes. This is when you'll gather all your ingredients, crush those graham crackers for the crust, and mix up the cheesecake filling. A quick tip: having everything pre-measured will streamline the process and keep you organized!
Cooking Time
The baking process typically requires around 60 to 70 minutes. Your key lime cheesecake will need to bake gently in a warm oven to achieve that perfect creamy texture. Be sure to keep an eye on it; every oven is a bit different!
Chilling Time
After the baking, you’ll want to let your cheesecake chill for at least 4 hours—ideally overnight. This allows the flavors to deepen and the texture to set, making each bite irresistibly smooth. Trust me, the wait will be worth it!
With these time estimates in mind, you’re all set to whip up a fantastic key lime cheesecake. And remember, the joy of baking is not just in the finished product but the process itself! For more insights, check out the American Institute of Baking for tips on perfecting your baking skills.
Nutritional Facts for Key Lime Cheesecake
Calories per serving
A delectable slice of key lime cheesecake typically contains around 350 calories. While it’s a rich dessert, it’s perfect for occasional treats rather than everyday indulgences.
Key nutrients and their benefits
This luscious dessert boasts several key nutrients:
- Calcium: Essential for bone health, a slice provides a good source due to cream cheese and sour cream.
- Vitamin C: Thanks to the key lime juice, you’re also getting a boost of vitamin C, which supports your immune system.
- Protein: The cream cheese base offers a decent amount of protein, aiding in muscle repair and growth.
Remember, while key lime cheesecake is a delightful guilty pleasure, moderation is key to enjoying its benefits without compromising your health goals. For more on the benefits of balanced desserts, check out Nutrition.org.
FAQs about Key Lime Cheesecake
How do I know when my cheesecake is done?
One of the biggest concerns when making a key lime cheesecake is knowing when it’s perfectly baked. A great rule of thumb is to look for a slight jiggle in the center when you gently shake the pan. It should be set around the edges but still a bit wobbly in the middle. Remember, the cheesecake will continue to firm up as it cools, so don’t fret if it's not completely solid out of the oven. For the best results, use a toothpick to check the edges; if it comes out clean, you’re in good shape!
Can I use regular limes instead of key limes?
While key limes have a distinct tart flavor that gives this cheesecake its signature taste, you can absolutely use regular limes if you need to. Just keep in mind that the flavor will differ slightly, as key limes are zestier and more aromatic. If you go this route, try adjusting the amount of sugar to balance the tartness. For a deeper dive into the differences between these limes, check out this informative article that explains it all.
How should I store leftovers?
If you’re lucky enough to have leftovers (though it’s tough to resist a second slice!), store your key lime cheesecake in an airtight container in the refrigerator. It should be good for about 5-7 days. For extended storage, you can freeze it! Just wrap individual slices tightly in plastic wrap and then place them in a freezer-safe bag. This way, you can pull out a slice whenever the craving hits—perfect for those late-night snack attacks!
Conclusion on Key Lime Cheesecake
Final thoughts on making this delicious dessert
As you wrap up your adventure in creating key lime cheesecake, take a moment to savor the journey rather than just the destination. This dessert epitomizes balance—tangy yet creamy, simple yet sophisticated. Whether you're hosting a dinner party or simply want a sweet treat to enjoy at home, this key lime cheesecake caters to all occasions.
Consider experimenting with the crust by using gingersnap cookies or even an almond flour base for a gluten-free option. And never shy away from personal touches, like topping it with a dollop of fresh whipped cream or zesting extra lime for that vibrant pop.
If you're interested in more dessert inspiration, check out this resource on unique cheesecake variations. Remember, every slice is an opportunity to share joy, so slice generously and enjoy!
Print
Key Lime Cheesecake: Easy Recipe for the Best Homemade Treat
Indulge in the creamy and tangy delight of Key Lime Cheesecake, a perfect homemade treat for any occasion.
- Total Time: 4 hours 50 minutes
- Yield: 8 servings
Ingredients
- 1 ½ cups graham cracker crumbs
- ½ cup granulated sugar
- ½ cup unsalted butter, melted
- 1 cup cream cheese, softened
- 1 can (14 ounces) sweetened condensed milk
- ½ cup key lime juice
- 1 teaspoon vanilla extract
- 2 large eggs
Instructions
- Preheat oven to 325°F (160°C).
- In a bowl, mix graham cracker crumbs, sugar, and melted butter. Press into the bottom of a 9-inch springform pan.
- In a large bowl, beat cream cheese until smooth. Add sweetened condensed milk, key lime juice, and vanilla extract, mixing well.
- Add eggs, one at a time, mixing just until incorporated.
- Pour filling into the crust and smooth the top.
- Bake for 30-35 minutes or until set.
- Cool at room temperature, then refrigerate for at least 4 hours before serving.
Notes
- For a richer flavor, use fresh key limes if available.
- Top with whipped cream and lime zest for garnish.
- Prep Time: 15 minutes
- Cook Time: 35 minutes
- Category: Dessert
- Method: Baking
- Cuisine: American
- Diet: Vegetarian
Nutrition
- Serving Size: 1 slice
- Calories: 300
- Sugar: 25g
- Sodium: 250mg
- Fat: 18g
- Saturated Fat: 10g
- Unsaturated Fat: 8g
- Trans Fat: 0g
- Carbohydrates: 32g
- Fiber: 1g
- Protein: 4g
- Cholesterol: 90mg