Introduction to Chocolate Ice Candy
Chocolate ice candy is more than just a delightful treat; it's a nostalgic bite of childhood wrapped in creamy goodness. For young professionals juggling busy schedules, this frozen indulgence offers a simple escape from the daily grind. Whether you’re heading to a picnic in the park or just craving an afternoon pick-me-up, chocolate ice candy is the perfect way to satisfy your sweet tooth without the guilt.
Why Chocolate Ice Candy is Perfect for Young Professionals
Let’s face it; life can be hectic, right? Between rushing to meetings, gym sessions, and social events, finding a moment to unwind is crucial. Chocolate ice candy caters to this need for relaxation while delivering a burst of flavors that will transport you back to carefree summer days. No complicated recipes or elaborate preparation here; just the joy of blending a few ingredients and freezing them to create a refreshing treat.
Time-Saving Convenience
Imagine coming home after a long day and realizing you can whip up a batch of chocolate ice candy in just minutes. It takes minimal effort and lets you customize flavors to your liking—all you need is chocolate, milk, and a few additional ingredients like peanut butter or fruits. Plus, you can easily make a batch in advance and store them for busy days ahead.
Healthier Than Other Sweets
Unlike many store-bought frozen treats loaded with preservatives, making your own chocolate ice candy allows you to control the ingredients. Opt for dark chocolate for a healthier alternative, or try using almond milk as a base for a creamy texture without the calories. You’re not just treating yourself; you’re making smart choices too.
An Instant Mood Boost
Speaking of treating yourself, take a moment to think about how good it feels to savor a piece of chocolate. According to Healthline, dark chocolate has been linked to improved mood and reduced stress levels thanks to its rich antioxidant content. So, the next time you're feeling overwhelmed, just reach for your homemade chocolate ice candy for a quick pick-me-up.
Chocolate ice candy isn't just a dessert; it’s a delightful fusion of fun, flavor, and a bit of nostalgia. As you embrace your culinary creativity and make this treat your own, you might just find that those busy days become a tad sweeter.
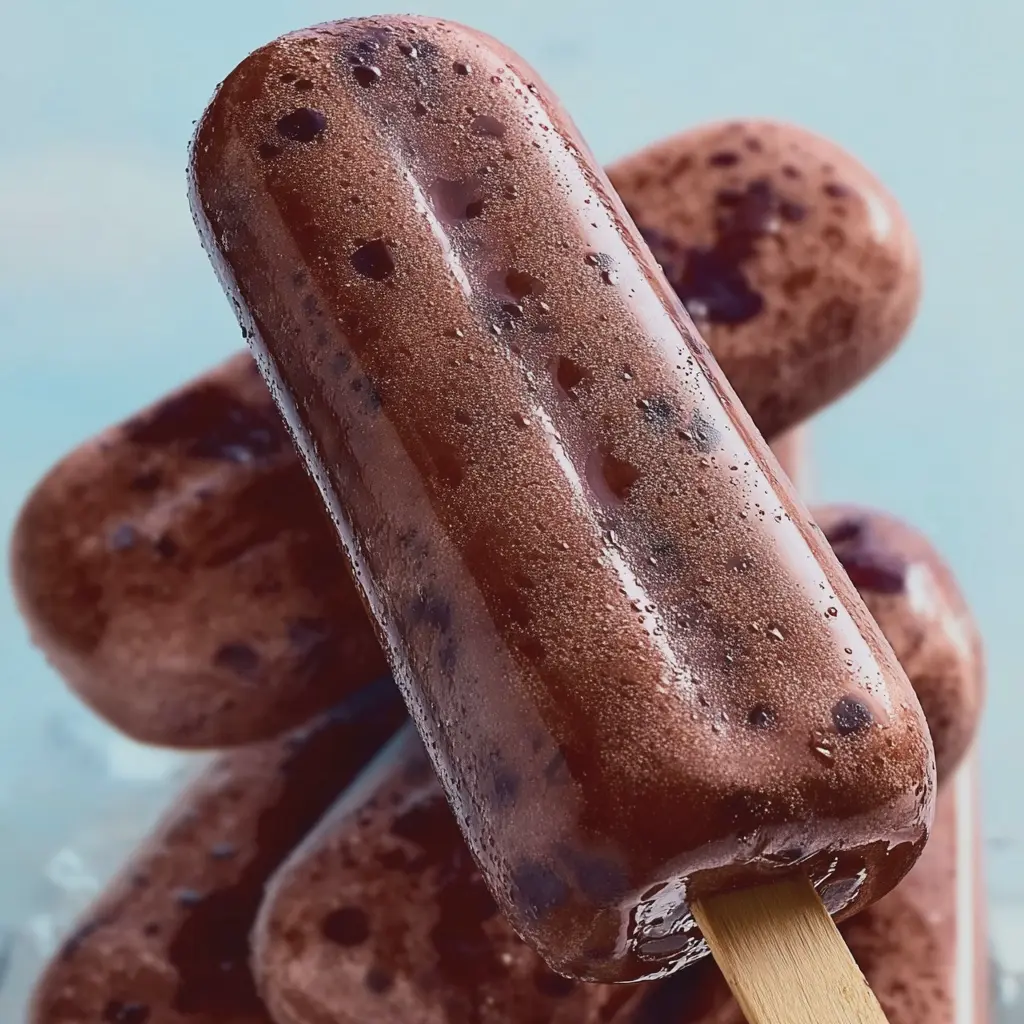
Ingredients for Chocolate Ice Candy
Essential ingredients for a creamy treat
Creating delightful chocolate ice candy starts with some essential ingredients that ensure a rich and creamy texture. Here’s what you’ll need:
- Coconut milk: This adds a velvety consistency and a hint of tropical flavor.
- Chocolate: Use high-quality chocolate, whether dark or milk, to elevate the taste. Melt it for that irresistible, smooth consistency.
- Sugar: Granulated sugar is perfect for sweetness. You can adjust the amount based on your taste.
- Vanilla extract: A splash of this enhances the chocolatey goodness.
- Pinch of salt: Just a tiny bit can amplify the flavors beautifully.
Optional add-ins to customize your ice candy
Want to put your own spin on your chocolate ice candy? Consider these fun add-ins:
- Nuts: Chopped almonds or hazelnuts add crunch and texture.
- Dried fruit: Raisins or chopped apricots can introduce a delightful chewiness.
- Marshmallows: For a nostalgic twist, integrate mini marshmallows for extra sweetness.
Feel free to experiment with ingredients you love! With these basics and options, you’re well on your way to making a fantastic treat. Ready to get started? Check out this chocolate ice candy recipe for more detailed instructions!
Step-by-Step Preparation of Chocolate Ice Candy
Making your own chocolate ice candy at home can be incredibly rewarding, and the delightful indulgence it offers makes every step worthwhile. Whether you're looking for a refreshing treat on a hot summer day or something sweet to impress your friends, this classic dessert hits the spot. Below, I’ll walk you through a detailed, easy-to-follow guide so you can whip up a batch of mouthwatering chocolate ice candy in no time.
Gather Your Ingredients
Before diving into the fun part, it's essential to ensure you have everything you need. Here's your shopping list for an incredible chocolate ice candy:
- 1 cup of cocoa powder (unsweetened for the best flavor)
- 1 cup of sugar
- 3 cups of milk (whole milk works best for creaminess)
- ½ cup of cornstarch
- ¼ cup of water (for the cornstarch slurry)
- A pinch of salt
- Optional flavorings like vanilla extract or a pinch of cinnamon
- Your favorite mix-ins such as nuts, chocolate chips, or fruits
These ingredients are generally convenient to find at any grocery store. For organic options, check out stores like Whole Foods or your local farmer's market.
Whisk and Heat the Mixture
Once your ingredients are gathered, it’s time to combine them. In a medium saucepan, whisk together the cocoa powder, sugar, and salt. This is where you infuse your chocolate magic into the base! Gradually add the milk while stirring continuously to ensure there are no lumps.
Heat the mixture over medium heat, constantly stirring. You want to warm it enough for the sugar to dissolve but avoid bringing it to a boil. As you whisk, take a moment to appreciate the rich chocolate aroma filling your kitchen—it’s hard to beat that scent!
Create the Cornstarch Slurry
Now, let's get a little science-y! In a small bowl, combine the cornstarch with the water to create a smooth slurry. This mixture will act as a thickening agent, giving your chocolate ice candy that perfectly creamy texture. Be sure to whisk it well to eliminate any clumps, as they can cause a lumpy ice candy later on.
Combine and Thicken the Mixture
Slowly incorporate the cornstarch slurry into the chocolate mixture on the stovetop. Keep the heat at a medium level and continue stirring. You’ll notice it thickening after a few minutes; trust your instincts here, as you want it to be thicker than a sauce but not too thick. This might take around 5–10 minutes.
Once you achieve the desired consistency, remove it from the heat and let it cool for a bit. Don’t rush; letting it cool slightly will allow the flavors to meld beautifully.
Cool and Add Your Favorite Mix-Ins
Now, the fun part begins! Once your mixture has cooled, get creative by adding your favorite mix-ins. Consider some chopped nuts, mini chocolate chips, or even fresh fruits like strawberries or bananas for a delightful contrast.
When you add the mix-ins, think about how you want your chocolate ice candy to taste. The goal here is to find that perfect balance of chocolatey goodness and delightful textures.
Pour Into Molds and Freeze
Finally, pour your mixture into ice candy molds. If you don’t have molds on hand, you can use small plastic cups with sticks or even ice cube trays for bite-sized treats.
Once filled, place them in the freezer and let them sit for at least 6 hours, or until completely solid. Resist the urge to taste them until they’re fully frozen—after all, good things come to those who wait!
Before you know it, you'll be enjoying your homemade chocolate ice candy, free from preservatives or artificial ingredients. Make sure to save this recipe; your friends will be asking for it again and again!
For more variations on icy treats, check out sources like Serious Eats or Bon Appétit for some unique flavor ideas. Happy creating!
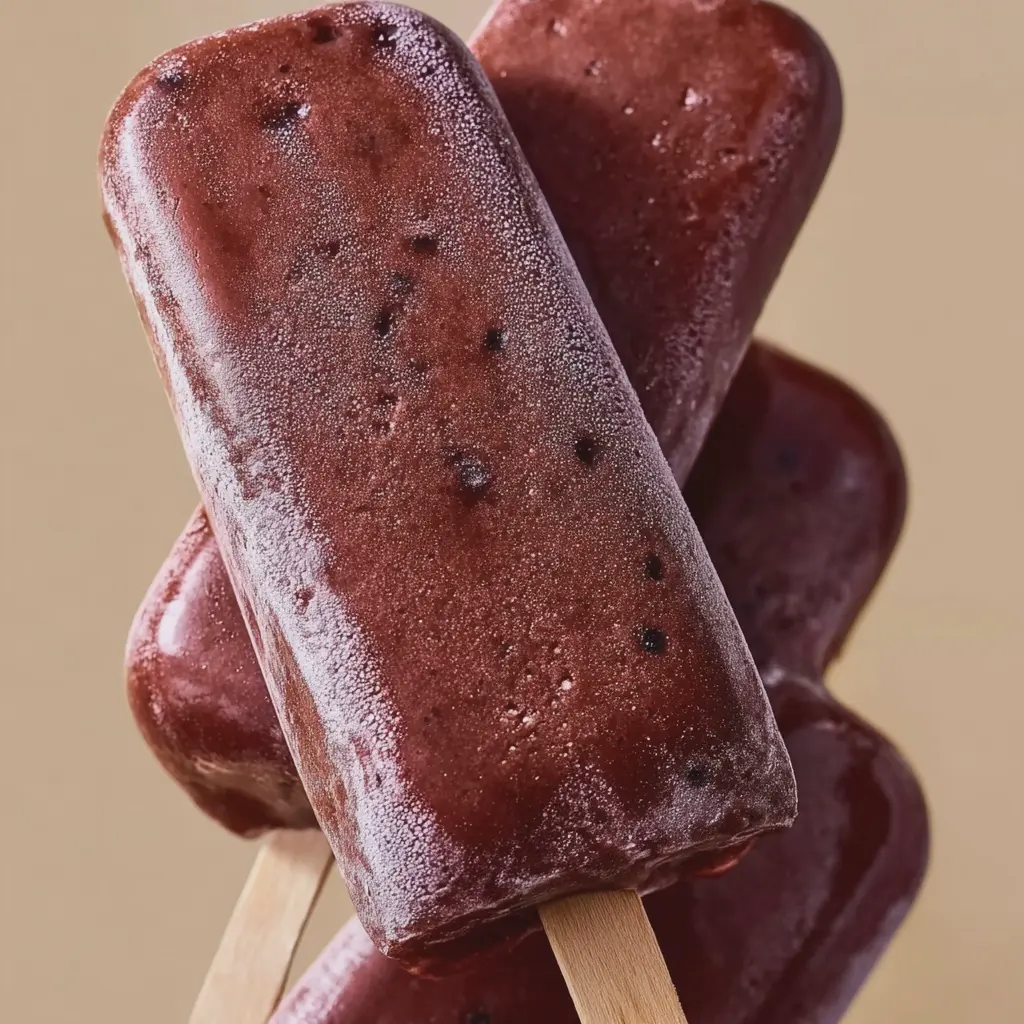
Variations of Chocolate Ice Candy
When it comes to chocolate ice candy, the fun truly begins when you start experimenting with unique flavor combinations that tantalize your taste buds.
Unique Flavor Combinations
Why stick with basic chocolate when you can create a flavor explosion? Here are a few ideas to get your creative juices flowing:
- Mint Chocolate: Infuse your chocolate mixture with peppermint extract for a refreshing twist.
- Coffee Bliss: Stir in espresso powder to give your ice candy a rich, caffeinated kick.
- Spicy Delight: For the adventurous, add a pinch of cayenne pepper or chili powder to create a warming, spicy profile.
These combinations not only elevate the taste but also appeal to those who appreciate a twist on the traditional. If you're curious about more flavor mixing tips, check out resources like Serious Eats, which delve deeper into flavor science.
Fun Add-Ins and Toppings
Don't just stop at flavor; the texture can make your chocolate ice candy memorable. Consider these playful add-ins:
- Chunky Mix-Ins: Incorporate crushed nuts, cookie crumbles, or even pieces of turkey bacon for an unexpected crunch.
- Layered Goodness: Pour in layers of your chocolate mixture with alternating fillings like fruit purees or yogurt for a stunning visual.
- Creamy Toppings: Whipped cream or a drizzle of caramel sauce on top can elevate each bite.
Let your imagination take the lead here! After all, ice candy is as much about creativity as it is about flavor. So, what are you waiting for? Dive into the delightful world of chocolate ice candy variations and find your personal favorite!
Cooking Tips and Notes for Chocolate Ice Candy
Tips for Achieving the Perfect Texture
To create the ultimate chocolate ice candy, focus on your mixture's creaminess. Using a combination of whole milk and heavy cream can help achieve that rich, velvety texture you desire. Another essential tip is to blend your ingredients thoroughly. This ensures an even consistency and prevents icy chunks. If you're adventurous, consider adding a hint of espresso powder to intensify the chocolate flavor without overpowering it.
Common Pitfalls to Avoid
Be mindful of adding too much sweetener, as this can lead to an overly sugary treat that masks the chocolate's rich taste. Additionally, freezing the mixture without stirring can result in a hard, icy texture instead of the soft, smooth bite you're aiming for. Stirring your chocolate ice candy every 30 minutes during the first couple of hours of freezing can help maintain creaminess while it sets.
Curious about the science behind freezing? Check out Serious Eats for some fascinating insights!
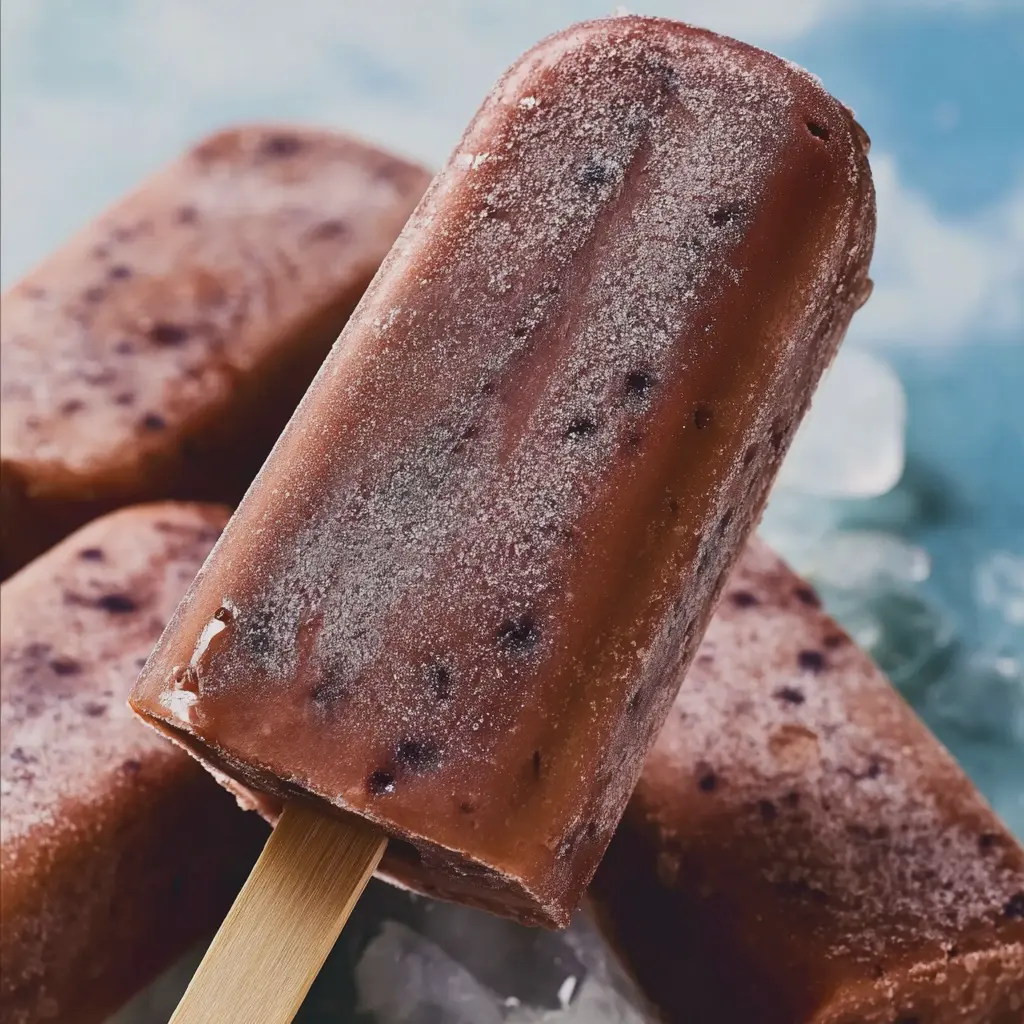
Serving Suggestions for Chocolate Ice Candy
Creative Ways to Present Your Treats
When it comes to serving chocolate ice candy, presentation is key. Consider placing these delightful treats in elegant paper cups or small mason jars for a rustic touch. You can even sprinkle some colorful sprinkles or crushed nuts on top for added visual flair. Want to elevate your game? How about stacking them on a tiered dessert stand? Instant wow-factor!
Pairings That Take It to the Next Level
To truly enhance the experience of your chocolate ice candy, think about pairing it with complementary flavors. A scoop of fresh berries—like strawberries or raspberries—can add a refreshing contrast to the rich chocolate. You might also consider serving your ice candy alongside creamy vanilla ice cream or a light whipped cream. For a fun twist, drizzle some caramel or chocolate sauce on top.
Looking for more ideas? Check out this how-to guide on flavor pairings that can spark your creativity further. Your guests will love the thoughtful additions, and you'll feel like a dessert pro!
Time Breakdown for Chocolate Ice Candy
When making your delightful chocolate ice candy, understanding the time commitment is key. Here's a simple breakdown to help you plan your sweet adventure!
Preparation time
Getting started with your chocolate ice candy takes about 15 minutes. You'll need this time to gather your ingredients, whether you're going for a rich chocolate base or adding flavors like vanilla or coconut. It’s all about what inspires you!
Cooking time
The cooking phase is pretty quick, usually around 5 to 10 minutes. You'll want to melt your chocolate and mix in your chosen add-ins over low heat until everything melds beautifully. For some reliable melting tips, check out this helpful guide on chocolate melting.
Freezing time
The most patient part? Freezing! This typically requires around 4 to 6 hours to set fully in the freezer. If you're like me, you might check back frequently to see if it's ready. But trust the process—this is where the magic happens!
Before you know it, you'll be savoring your homemade chocolate ice candy. Enjoy every chilly, chocolaty bite!
Nutritional Facts for Chocolate Ice Candy
Calories per serving
When you indulge in chocolate ice candy, you're treating yourself to a delightful experience that packs a flavor punch without an overwhelming calorie count. Each serving typically ranges around 120-150 calories, depending on the recipe and ingredients you choose. It’s a sweet escape that lets you enjoy dessert guilt-free!
Key nutritional highlights
Let’s break down what makes chocolate ice candy a fun treat:
- Fat Content: Generally low, especially when you opt for lighter ingredients like almond milk instead of heavy cream.
- Sugar Levels: You can control the sweetness by adjusting the amount of sugar, making it customizable for everyone’s taste buds.
- Vitamins and Minerals: Depending on your recipe, incorporating dark chocolate can add antioxidants and minerals like magnesium and iron.
- Dairy-Free and Vegan Options: With coconut or nut milk, your chocolate ice candy can cater to various dietary needs.
For those interested in healthier dessert choices, consider using unsweetened cocoa powder and natural sweeteners. According to a study by the Harvard T.H. Chan School of Public Health, dark chocolate, in moderation, has health benefits associated with heart health. So, why not enjoy a scoop while feeling good about your choice?
Check out this resource for more information on chocolate's nutritional profile for more ideas!
FAQ about Chocolate Ice Candy
Can I make chocolate ice candy vegan-friendly?
Absolutely! Making chocolate ice candy vegan-friendly is easier than you might think. Instead of using whole milk, you can opt for plant-based alternatives like almond milk, coconut milk, or oat milk. These not only provide a rich taste but also cater to those who prefer a vegan lifestyle. You can also use a dairy-free chocolate option to complete the experience. Some brands offer a variety of dairy-free chocolates that melt beautifully!
What can I substitute for whole milk?
If you're in a pinch and don’t have whole milk on hand, you can use several substitutes in your chocolate ice candy recipe:
- Coconut Cream: This adds a creamy texture along with a subtle coconut flavor.
- Almond Milk: While a bit thinner than whole milk, it's a fantastic low-calorie option.
- Soy Milk: This is another solid choice that closely mimics the creaminess of whole milk.
Doing a little experimenting with these substitutes can yield delicious results that work for your preferences!
How do I store chocolate ice candy?
Storing your chocolate ice candy correctly can ensure it stays fresh and delicious. Here are some quick tips:
- Freezing: Make sure to let the candy set completely before transferring it to an airtight container or zip-lock bag.
- Labeling: If you’re making different flavors, don’t forget to label your containers to avoid confusion!
- Duration: Enjoy your chocolate ice candy within a month for the best taste.
For more tips on storing frozen treats, check out resources like Real Simple which provide great advice on food safety and preservation.
By following these tips and suggestions, you can enjoy your chocolate ice candy with joy and confidence! If you have more questions or need further clarifications, feel free to ask in the comments below.
Conclusion on Chocolate Ice Candy
Recap of the Joy of Homemade Chocolate Ice Candy
Creating chocolate ice candy at home isn’t just about satisfying your sweet tooth; it's a delightful journey that brings joy to all. The simplicity of blending quality ingredients like chocolate, cream, and milk allows you to tailor flavors to your liking.
Imagine enjoying a warm day, tasting the rich, creamy goodness of your own homemade creation, and sharing it with friends or family at your next gathering.
For inspiration, check out resources like The Spruce Eats for more unique recipes. Whether entertaining guests or enjoying a quiet moment alone, your homemade chocolate ice candy is sure to bring smiles and sweet memories.
Print
Chocolate Ice Candy: Easy & Indulgent Treat for Hot Days
Chocolate Ice Candy is a simple and delicious treat perfect for cooling off on hot summer days. This indulgent dessert is easy to make and will satisfy your chocolate cravings.
- Total Time: 4 hours 10 minutes
- Yield: 6 servings
Ingredients
- 2 cups chocolate milk
- 1 cup heavy cream
- ½ cup sugar
- 1 teaspoon vanilla extract
- ½ cup mini chocolate chips
Instructions
- In a mixing bowl, combine chocolate milk, heavy cream, sugar, and vanilla extract. Stir until the sugar is fully dissolved.
- Add the mini chocolate chips and mix well.
- Pour the mixture into ice pop molds.
- Insert sticks and freeze for at least 4 hours or until solid.
- To release the ice candy, run the molds under warm water for a few seconds.
Notes
- For added flavor, consider using different types of chocolate milk.
- This recipe can be adjusted for sweetness by adding more or less sugar.
- Prep Time: 10 minutes
- Category: Dessert
- Method: Freezing
- Cuisine: American
- Diet: Vegetarian
Nutrition
- Serving Size: 1 ice candy
- Calories: 200
- Sugar: 18g
- Sodium: 50mg
- Fat: 12g
- Saturated Fat: 7g
- Unsaturated Fat: 5g
- Trans Fat: 0g
- Carbohydrates: 22g
- Fiber: 1g
- Protein: 3g
- Cholesterol: 30mg