Introduction to Air-Fried Oreos
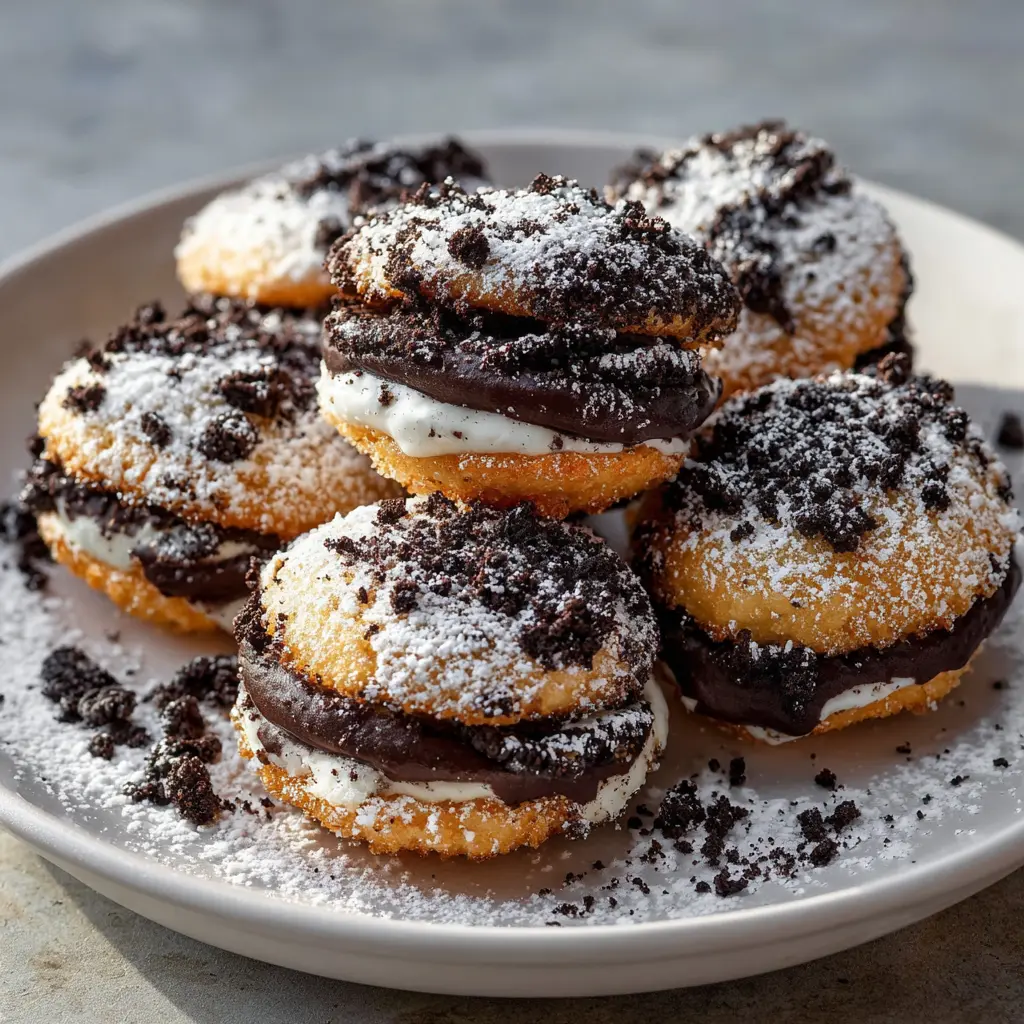
When it comes to delectable treats, few things hit the sweet spot quite like Air-Fried Oreos. These crispy, golden bites of joy combine the familiar indulgence of classic Oreos with a lighter, healthier cooking method that really changes the game. If you’re someone who loves dessert but is also keen on keeping things a bit healthier, this culinary twist is just for you!
What makes Air-Fried Oreos so irresistible?
There are several reasons why air-fried Oreos have quickly become a favorite among dessert lovers:
-
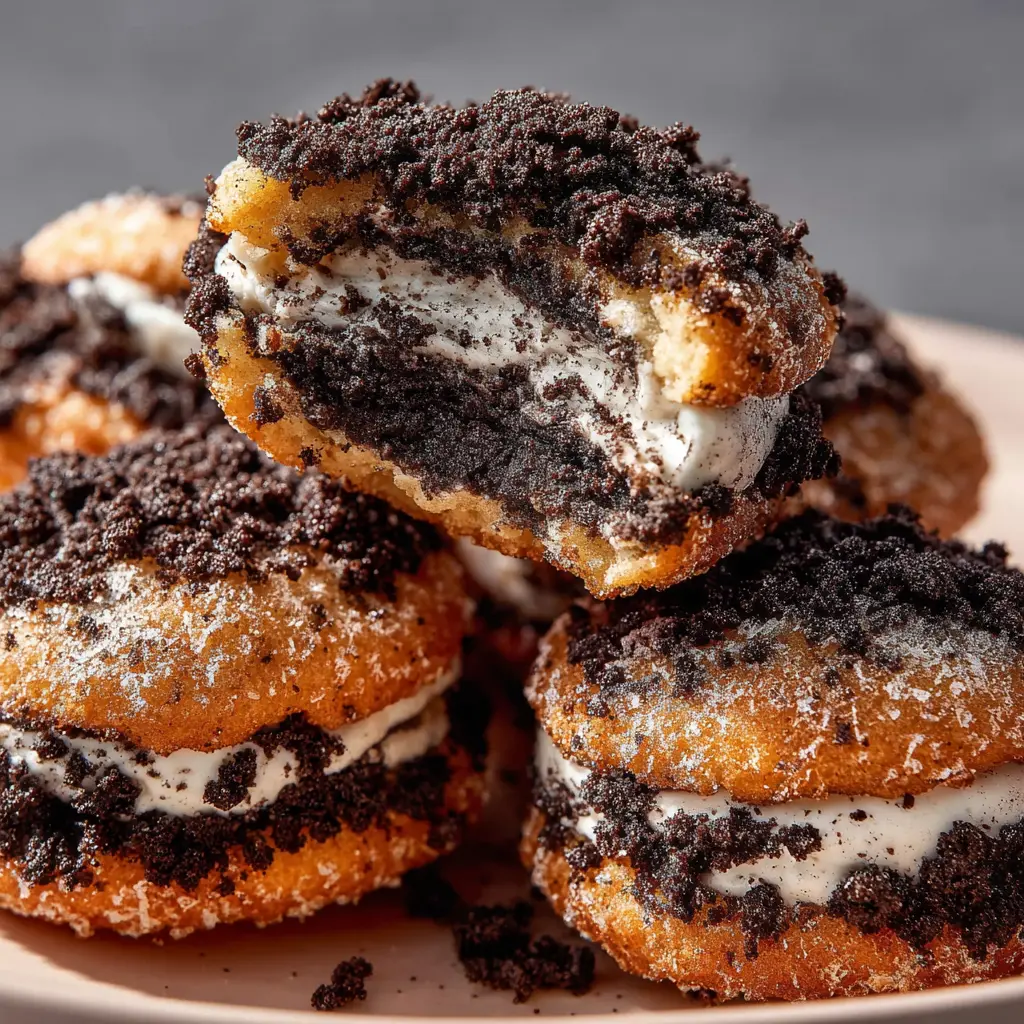
Crispy Exterior, Soft Interior: The air-frying process creates a delightful contrast. The outside remains perfectly crispy while the inside stays warm and gooey, giving you that perfect bite every time. It’s like a mini dessert adventure in your mouth!
-
Guilt-Free Indulgence: One of the best parts about air-frying is that it uses significantly less oil than traditional frying, leading to a lighter feel without sacrificing flavor. According to Healthline, air frying can reduce fat content by up to 70%! For those who enjoy a sweet treat without the heavy aftermath, this is a major win.
-
Convenient and Quick: If you’re short on time but still craving something special, air-fried Oreos can be whipped up in a matter of minutes. All you need are a few ingredients, and you’re ready for dessert that satisfies without the fuss.
-
Versatility: Feel like mixing it up? You aren’t just limited to the classic Oreo. Explore variations using different cookie flavors for your air-frying adventure, or try adding your preferred toppings, such as fruit or drizzled chocolate.
So whether you're winding down after a long day or planning a fun weekend gathering with friends, consider taking your dessert game up a notch with these delightful air-fried Oreos. They’re bound to impress—even the pickiest of eaters! For a step-by-step guide on creating your own, check out this engaging recipe from Serious Eats for inspiration. Enjoy the journey of culinary exploration, and get ready to treat your taste buds!
Ingredients for Air-Fried Oreos
Essential Ingredients for the Batter
Creating those delicious air-fried Oreos starts with a few key ingredients for the batter:
- All-purpose flour: This serves as the base of your batter, keeping it light and crispy.
- Sugar: A little sweetness goes a long way—this balances the richness of the Oreos.
- Baking powder: Essential for that fluffy texture; it helps the batter rise as it cooks.
- Milk: Use your favorite dairy or plant-based alternative for consistency.
- Egg: It binds everything together perfectly.
Necessary Tools and Equipment
To whip up your air-fried Oreos, gather these handy tools:
- Air fryer: The star of the show! Ensure it's preheated for optimal results.
- Mixing bowl: For combining your batter ingredients.
- Whisk or fork: To blend together your batter smoothly.
- Oreo cookies: Use the classic or any fun flavor you love!
- Tongs: For easy handling of your perfectly fried treats.
As you get ready to make these delicious bites, consider checking out resources like Serious Eats or Food Network for additional tips and tricks. Enjoy the process; who knows, you might just become the air-fried treat master among your friends!
Preparing Air-Fried Oreos
Ready to indulge in a slightly healthier twist on a classic guilty pleasure? Air-fried Oreos are not just delicious; they're also remarkably easy to make! Whether you’re throwing a casual get-together or simply craving something sweet, this recipe is perfect for satisfying that sweet tooth. Let’s get cooking!
Preheat the Air Fryer
Before you dive into the batter and Oreos, it’s crucial to preheat your air fryer. Preheating ensures that your air-fried Oreos get that perfectly crunchy texture on the outside while remaining soft and gooey on the inside.
- Set your air fryer to 350°F (180°C).
- Let it preheat for about 5 minutes. This will really make a difference in how evenly your cookies cook.
Prepare the Batter
The batter is a key component that turns ordinary Oreos into an extraordinary dessert. It’s simple and requires just a few ingredients:
- 1 cup of pancake mix (try using a whole-wheat mix for a healthier option)
- ½ cup of milk (dairy or any non-dairy alternative works!)
- 1 tablespoon of vanilla extract (adds a lovely flavor)
Mix these in a bowl until smooth. You want the batter to be thick enough to coat the Oreos but not too thick that it clumps. It should have a consistency similar to traditional pancake batter. If you're looking for tips on choosing the right mix, consider checking out resources like The Kitchn.
Coat the Oreos
Time to coat those delicious cookies! Here’s how:
- Take each Oreo and dip it into the batter, ensuring it’s evenly covered.
- Allow any excess batter to drip off—too much batter can lead to a soggy outcome.
It’s not only fun to do, but kids can help with this step too. Who doesn’t love getting their hands a little messy in the kitchen?
Arrange in the Air Fryer
Once your Oreos are coated, it’s time to arrange them in the air fryer basket. Here's a handy tip:
- Ensure there’s enough space between each Oreo for air to circulate; this will help achieve that crunchy exterior. A good rule of thumb is to place no more than 4-6 in a single batch, depending on the size of your fryer.
Air-Fry the Cookies
With your air-fried Oreos arranged, set your air fryer to cook:
- Time: 5-7 minutes
- Temperature: 350°F (180°C)
Keep an eye on them, especially the first time you make them! You want them to turn a lovely golden brown but not overly crisp. If you’re unsure when they’re done, use a toothpick to test. If it comes out clean, they’re ready!
Cool Slightly and Dust with Powdered Sugar
After air frying, it’s essential to let the air-fried Oreos cool for a few minutes in the basket before moving them. This helps them firm up and makes them easier to handle.
Once they’ve cooled slightly:
- Transfer them to a serving plate.
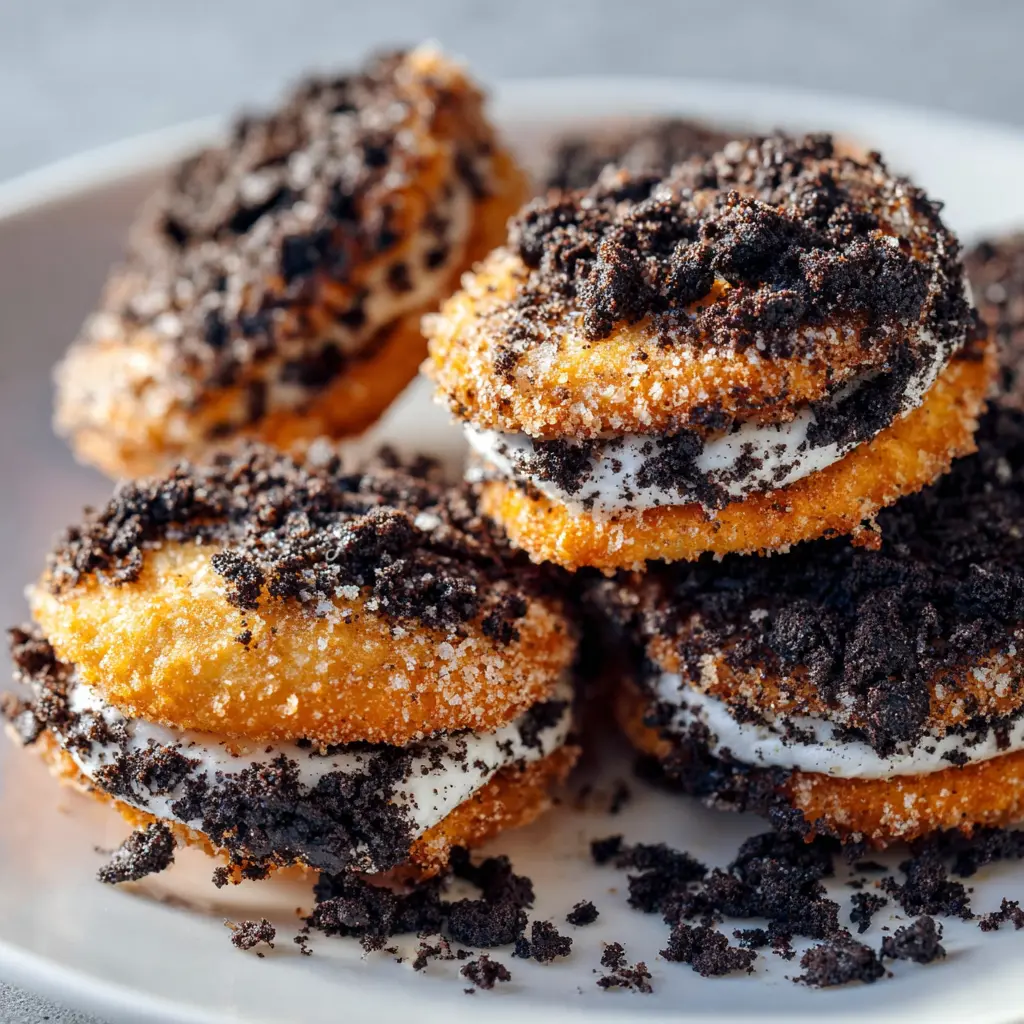
- Dust generously with powdered sugar for that sweet finishing touch.
This little step adds a lovely presentation and a delightful sweetness.
Enjoy Your Sweet Treat!
And there you have it—delicious, guilt-free air-fried Oreos that are ready to impress family and friends! Serve them warm and enjoy the delightful contrast between the crispy outer layer and the soft, creamy filling. Don’t forget to {{add your favorite dipping sauce}} for an extra layer of fun!
With this simple recipe, you can make unforgettable treats that are sure to be a hit. If you're feeling adventurous, why not experiment with different types of cookies next time? Who knows what delicious creations you might come up with!
Variations on Air-Fried Oreos
When it comes to air-fried Oreos, the classics are undeniably delicious, but why stop there? Let's dive into some creative variations that will tantalize your taste buds and elevate your snacking game.
Stuffed Air-Fried Oreos
Ever thought of giving your Oreos a flavorful upgrade? Stuffed air-fried Oreos are where innovation meets indulgence. Here are a few ideas to get you started:
- Nutella Surprise: Before coating your Oreos, add a dollop of Nutella in the center for a rich, chocolatey filling.
- Peanut Butter Bliss: Swap out the cream filling for smooth peanut butter. Trust us, the combo of chocolate and peanut butter is nothing short of heavenly.
- Cheesecake Delight: Add a spoonful of cheesecake filling to your Oreos before battering and cooking. The creamy texture will make these irresistible!
Fun Flavor Twists
Why not explore different flavor profiles with your air-fried Oreos? You can really get creative! Consider these delightful options:
- Coconut Cream: Roll your batter in shredded coconut for a tropical twist.
- Matcha Magic: For a more sophisticated flavor, mix some matcha powder into your batter to give it a beautiful green hue and a hint of earthy taste.
- Spiced Cinnamon: Dust the finished product with cinnamon sugar for a warm, aromatic finish.
Adding these variations not only makes your treat visually appealing but also allows you to experiment with flavors. Have you tried any unique additions to your air-fried Oreos? The possibilities are endless!
For more delicious ideas, check out Food Network's dessert section for inspiration that could take your snacks to the next level!
Cooking Tips and Notes for Air-Fried Oreos
Common mistakes to avoid
When making air-fried Oreos, it’s easy to fall into some common traps. Firstly, don’t skip the dough. Ensure you coat the Oreos thoroughly in pancake mix; otherwise, they won’t achieve that crispy texture. Overcrowding your air fryer is another frequent misstep. Give each cookie some space for even cooking. Lastly, check the temperature; if it’s too high, your Oreos might cook too quickly and burn.
Best practices for air frying
To truly master air-fried Oreos, keep these best practices in mind:
- Use parchment paper: Lining the basket can help prevent sticking and ensures easy cleanup.
- Preheat your air fryer: This step is crucial for achieving the perfect crunch.
- Adjust cooking time as needed: Every air fryer is different. Start with 5-6 minutes, but keep a close eye!
For further tips, explore resources from Food Network or Serious Eats. Happy cooking!
Serving suggestions for Air-Fried Oreos
Pairing with desserts
When it comes to enjoying air-fried Oreos, think beyond just a sprinkle of powdered sugar. These little delights can be perfectly complemented by a variety of desserts. Consider serving them alongside a scoop of vanilla ice cream or a drizzle of chocolate sauce. The creamy texture of ice cream balances the crispy, gooey inside, creating a delightful contrast. For a fruity twist, a side of fresh berries can cut through the richness and add a refreshing note.
Creative serving ideas
Presentation can elevate your air-fried Oreos from simple snacks to impressive treats. Try serving them on a tiered platter for a fun party vibe, or make a festive sandwich by placing two air-fried Oreos with a layer of your favorite frosting or whipped cream in between.
Looking for a unique experience? Consider creating a DIY topping station where guests can drizzle their favorite sauces—like caramel, peanut butter, or even a fruit compote—over the air-fried Oreos. Not only does this approach spark creativity, but it also invites conversation and interaction!
For added inspiration, check out some creative serving ideas on food blogs like Serious Eats. This can help you think outside the box and impress your friends with playful presentations.
Time breakdown for Air-Fried Oreos
Getting your hands on delicious air-fried Oreos doesn’t take much time at all. Here’s a quick breakdown to help you plan your tasty snack treats!
Preparation time
Prepare your ingredients and workspace in about 10 minutes. This includes unwrapping the Oreos and gathering your pancake mix, which can be found in most supermarkets or online.
Cooking time
Cooking is where the magic happens! You’ll spend around 6-8 minutes air-frying your Oreos, turning them halfway for even crispiness.
Total time
In total, you’ll need just about 20 minutes to indulge in these crispy delights. Quick, right? Perfect for those busy weeknights or spontaneous dessert cravings! You can find more tips on air frying techniques here.
So, are you excited to dive into this air-fried adventure? Happy cooking!
Nutritional facts for Air-Fried Oreos
Calories per serving
When indulging in air-fried Oreos, you'll find each serving (two pieces) contains roughly 220 calories. That’s a treat that fits snugly into many snacking occasions without derailing your dietary goals!
Breakdown of macros
These delightful snacks are not just about calories. Each serving has about 10g of fat, 31g of carbohydrates, and 2g of protein. While they’re not a nutritional powerhouse, indulging occasionally can be part of a balanced lifestyle.
Helpful dietary notes
If you're looking for alternatives, consider trying gluten-free or vegan Oreos for a twist! The air-frying method offers a lighter option compared to traditional frying, reducing excess oil without sacrificing flavor. For more detailed nutritional insights, check reputable resources like the USDA FoodData Central.
So, next time you whip up these air-fried Oreos, you can savor each bite with an informed perspective!
FAQs about Air-Fried Oreos
Can I make Air-Fried Oreos gluten-free?
Absolutely! Air-fried Oreos can easily be made gluten-free by opting for gluten-free pancake mix or a homemade flour blend. Just be sure to check the packaging of your ingredients, as some brands contain gluten despite common perceptions. Many people have successfully used almond flour or coconut flour as alternatives, providing a unique taste while still delivering that beloved crunchy exterior!
How do I store leftover Air-Fried Oreos?
If you happen to have any air-fried Oreos leftover (a rare occurrence in my household!), the key to maintaining their deliciousness is in the storage. Place them in an airtight container at room temperature for up to two days. If you're looking to keep them for a bit longer, consider freezing them. Lay them flat in a single layer on a baking sheet until frozen, then transfer them to a freezer-safe bag. When you're ready to indulge, you can reheat them in your air fryer for a couple of minutes—this helps restore that crispy texture!
What should I do if my batter is too thick?
If you find your batter on the thicker side, don’t worry! Simply add a splash of milk or water a little at a time until it reaches your desired consistency. Remember, the perfect batter should be thick enough to coat the Oreo but thin enough to dip easily. If you've added too much liquid, a little more pancake mix can help you strike that perfect balance.
Experimenting in the kitchen can lead to delightful surprises, so don’t shy away from making adjustments. If you're curious about more tips for perfecting your air-fried Oreos, consider checking out recipe blogs or forums where fellow food enthusiasts share their tricks!
Conclusion on Air-Fried Oreos
Final thoughts on making this indulgent treat
Crafting air-fried Oreos is an adventure that balances indulgence with a pinch of creativity. Whether you’re whipping them up for a movie night or simply treating yourself after a long week, the process of making these delightful bites is as enjoyable as biting into them.
Consider experimenting with different batters or dipping sauces to elevate your air-fried Oreos experience. Each variation opens up new flavors and textures. For instance, pairing them with some homemade chocolate sauce enhances their richness.
Need tips? Check out Serious Eats for more creative dessert ideas. Now, go unleash your culinary creativity and enjoy!
Print
Air-Fried Oreos: Irresistibly Easy Dessert for Home Cooks
Indulge in the delightful taste of Air-Fried Oreos, a quick and easy dessert that's perfect for home cooks.
- Total Time: 18 minutes
- Yield: 12 servings
Ingredients
- 1 package Oreo cookies
- 1 cup pancake mix
- 1 cup milk
- 1 teaspoon vanilla extract
- Powdered sugar for dusting
Instructions
- In a bowl, mix the pancake mix, milk, and vanilla extract until smooth.
- Preheat the air fryer to 350°F (175°C).
- Dip each Oreo cookie into the batter, making sure it’s fully coated.
- Place the coated Oreos in the air fryer basket in a single layer.
- Air fry for 6-8 minutes or until golden brown.
- Remove from the fryer and dust with powdered sugar before serving.
Notes
- For extra flavor, add a pinch of cinnamon to the batter.
- Serve with whipped cream or your favorite dipping sauce.
- Prep Time: 10 minutes
- Cook Time: 8 minutes
- Category: Dessert
- Method: Air Frying
- Cuisine: American
- Diet: Vegetarian
Nutrition
- Serving Size: 1 cookie
- Calories: 150
- Sugar: 8g
- Sodium: 200mg
- Fat: 6g
- Saturated Fat: 1g
- Unsaturated Fat: 3g
- Trans Fat: 0g
- Carbohydrates: 22g
- Fiber: 1g
- Protein: 2g
- Cholesterol: 0mg