
Introduction to Cherries in the Snow
When you think of charming desserts that take you back to simpler times, Cherries in the Snow often springs to mind. This delightful treat not only captivates the taste buds but also evokes memories of family gatherings and special occasions. Whether you enjoyed it during a summer picnic or at a winter holiday feast, this dessert has the unique ability to transport you back in time.
One of the reasons Cherries in the Snow remains a beloved classic is its perfect blend of flavors and textures. The sweet, tart cherries atop a creamy cloud of fluffy whipped cream create a tantalizing contrast that is simply irresistible. And let’s not forget about the base—often a crispy layer of buttery graham cracker crust. This combination will have your mouth watering just thinking about it!
Plus, it’s a straightforward recipe that even novice bakers can master. If you're looking for a fun dessert to impress your friends or to simply enjoy by yourself, you can't go wrong with this one. The beauty of Cherries in the Snow lies in its versatility; you can serve it at brunch, as a refreshing after-dinner treat, or for any casual gathering.
Creating this nostalgic dessert is not only about taste; it’s also about the experience. Imagine gathering your loved ones, sharing stories, and making memories while it chills in the fridge. According to a study published by the American Journal of Lifestyle Medicine, sharing meals with family can boost mental well-being and strengthen bonds. So, why not add some joy to those moments with a delightful dish like Cherries in the Snow?
As you journey through this recipe, keep in mind a few tips: Always use ripe cherries for the best flavor, and don’t skimp on the whipped cream! For a twist, consider trying out different crust bases or toppings. The possibilities are endless, and each variation adds its own flair.
Ready to indulge in this delicious, dreamy dessert and create some lovely memories? Let’s dive into the recipe that’s sure to impress! You might also find some inspiring variations and detailed guidance on how to elevate this dish on Serious Eats or Bon Appétit.
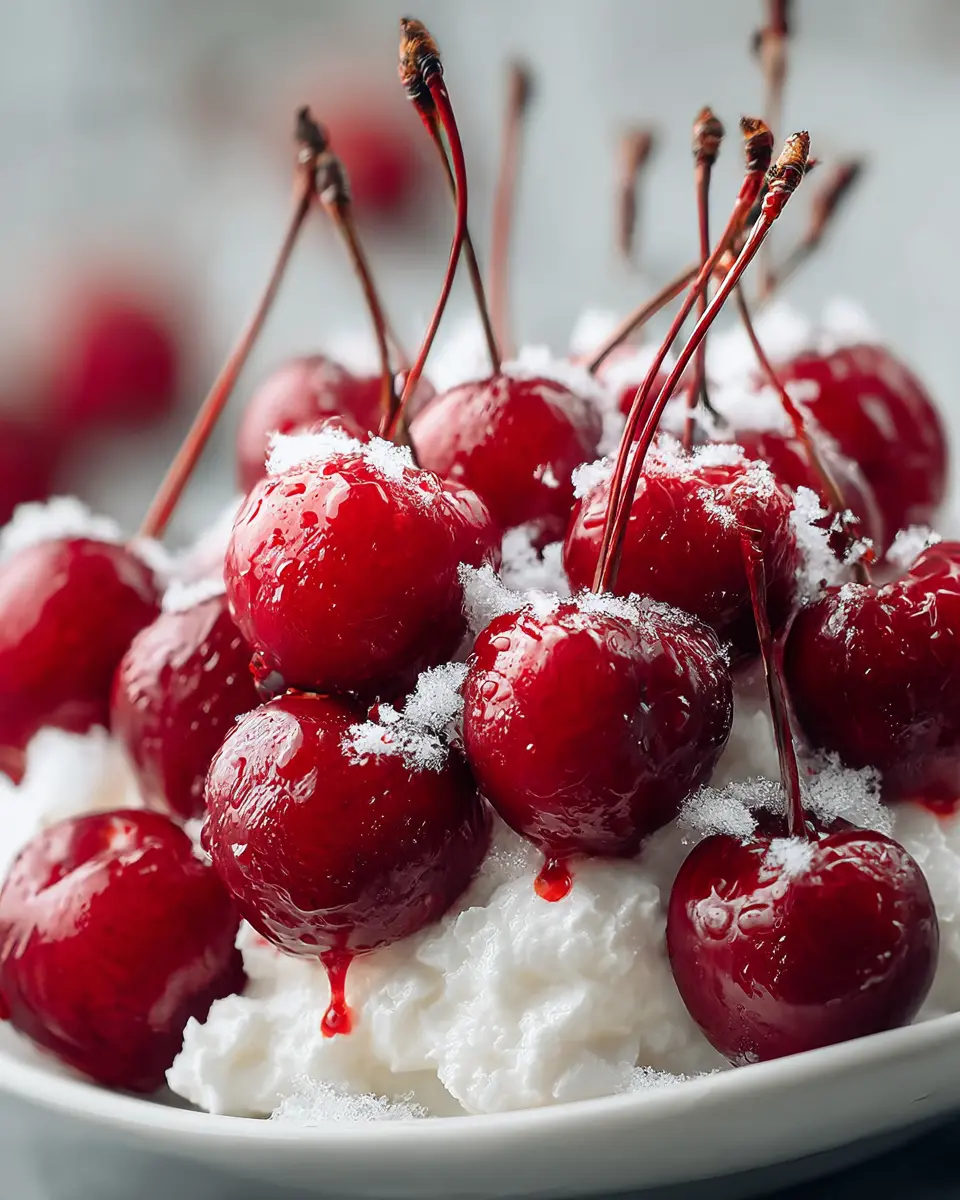
Ingredients for Cherries in the Snow
Essential ingredients for a delightful treat
Creating the perfect Cherries in the Snow dessert is all about selecting the right ingredients. Here's a straightforward list that will help you whip up this dreamy recipe with ease:
-
Fresh Cherries: Choosing vibrant, ripe cherries is essential. They should have a deep red color and be firm to the touch. If you're curious about the health benefits of cherries, check out this health guide on cherries.
-
Cream Cheese: Soften your cream cheese to make it easy to blend into a smooth filling. Look for high-fat varieties for a richer texture.
-
Whipped Cream: Don’t skimp on quality. Heavy whipping cream will elevate your dessert, making it light and airy.
-
Sugar: Granulated sugar balances the tartness of the cherries. If you’re looking to cut sugar, consider using stevia or agave syrup.
-
Vanilla Extract: A splash of good-quality vanilla extract adds warmth and depth to the flavor profile.
-
Optional Toppings: Toasted nuts, crushed cookies, or a dusting of powdered sugar can add an appealing finish.
Use these ingredients to create your Cherries in the Snow, and you'll find they combine beautifully for a refreshing indulgence!
Preparing Cherries in the Snow
Cherries in the Snow is a delightful dessert that captures the essence of comfort mixed with a touch of elegance. Perfect for gatherings or even a cozy night in, this recipe is easy to follow and requires minimal effort. Let’s dive into the preparation!
Gather your ingredients
Before we embark on our culinary adventure, it’s essential to gather all the ingredients. Here’s what you’ll need:
- 1 package (8 oz) cream cheese, softened
- 1 cup powdered sugar
- 2 tablespoons milk
- 1 teaspoon vanilla extract
- 1 (8 oz) container whipped topping (like Cool Whip)
- 1 (10 oz) angel food cake (you can use store-bought or homemade for a personal touch)
- 1 can (21 oz) cherry pie filling
Having everything ready will make your process smoother, so you won't have to scramble around the kitchen. Plus, it’s a great way to ensure you haven’t forgotten any key component for your Cherries in the Snow!
Beat the cream cheese mixture
Begin by placing the softened cream cheese into a mixing bowl. Using an electric mixer on medium speed, beat the cream cheese until it’s smooth and creamy, which should take about 1-2 minutes. Softening the cream cheese beforehand helps avoid those pesky lumps that can sometimes sneak into your mixture. If you forget to soften it, a few seconds in the microwave can do the trick!
Mix in the powdered sugar
Next, gradually add in the powdered sugar while continuing to beat the mixture. This process will sweeten your cream cheese base and create a lovely, creamy foundation. Take your time during this step; you want your mixture to be as fluffy as possible. According to the American Culinary Federation, achieving the right texture can significantly enhance the overall quality of your dish.
Add milk and vanilla extract
Now it’s time to infuse flavor! Add the milk and vanilla extract to your cream cheese mixture. The milk adds creaminess, while the vanilla extract adds warmth and depth—essential elements in making Cherries in the Snow perfectly enchanting. Continue mixing until everything is well-combined.
Fold in the whipped topping
Here’s where the magic happens! Gently fold in the whipped topping with a spatula. Folding helps keep that light, airy texture we love in this dessert. Be gentle, and don’t rush this process; you want those fluffy clouds of goodness to stay intact.
Incorporate the angel food cake
Tear the angel food cake into bite-sized pieces and gently fold them into your whipped cream mixture. Be sure to incorporate it evenly so that every bit has a delicious blend of flavors. The cake adds volume and a delightful contrast to the creamy base.
Transfer to the baking dish
Once fully combined, transfer your mixture to a 9x13 inch baking dish. Spread it evenly, smoothing the top with a spatula. This treat is both a feast for the eyes and palate, so make sure it looks appealing; presentation is key!
Layer with cherry pie filling
Now comes the crowning glory! Gently spread the cherry pie filling over the top of your creamy mixture. The bright red cherries pop against the sheer white base, visually representing the name Cherries in the Snow. Plus, the tartness of the cherries beautifully balances the creaminess.
Chill before serving
Cover the dish with plastic wrap and chill it in the refrigerator for at least 2 hours before serving. This step is crucial as it allows all the flavors to meld beautifully. You can even prepare this the night before for an effortless dessert option.
With these steps, you’re well on your way to creating a delightful Cherries in the Snow dessert that will impress everyone at your next get-together. Enjoy!
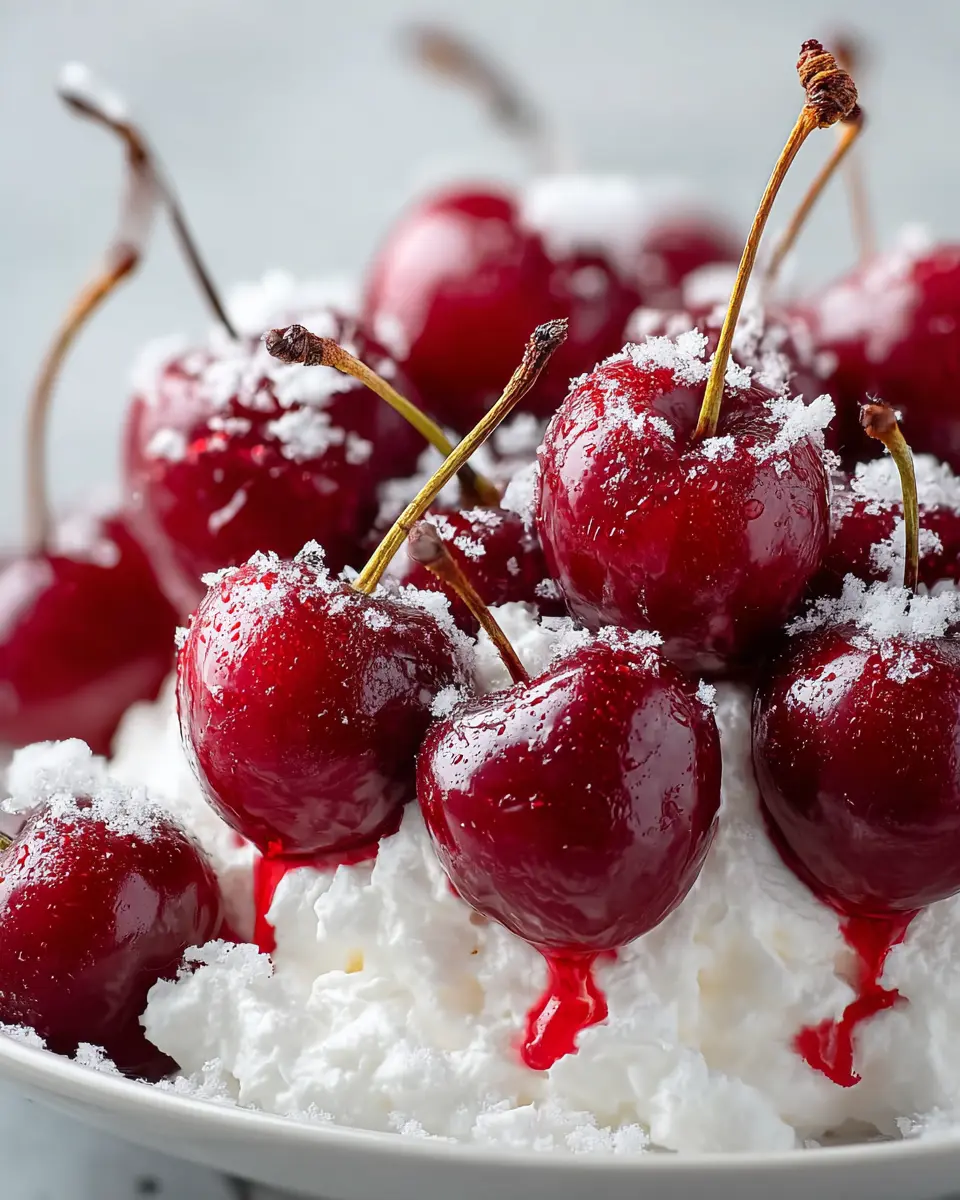
Variations on Cherries in the Snow
Fruit variations: Adding other fruits
Cherries in the Snow is a delightful dessert that can easily adapt to your taste preferences or what you have on hand. While the classic version shines with its beautiful cherries, experimenting with different fruits can introduce exciting flavors and textures. Here are some fruit variations that work beautifully:
- Berries: Raspberries, blueberries, or strawberries can add a fresh twist. Their tartness complements the sweetness of the cream.
- Peaches or Apricots: Sliced peaches or apricots bring a lovely juiciness, perfect for summer variations.
- Citrus: Think lemon or orange zest for a zing! Just a sprinkle can elevate your Cherries in the Snow and brighten up the flavor profile.
Each fruit brings its unique flair, so don’t hesitate to try combinations until you find your favorite.
Gluten-free option: Alternative cakes and toppings
For those of you who are sensitive to gluten, there are plenty of alternatives that allow you to enjoy this mouthwatering treat without compromise. Instead of traditional cake, consider using:
- Almond Flour Cake: This nutty base adds rich flavor and moisture, making it a perfect base for Cherries in the Snow.
- Coconut Flour: If you're looking for a lighter version, coconut flour makes a fluffy cake with a slight sweetness.
For the toppings, you can use:
- Whipped Coconut Cream: Dairy-free and delicious, this option provides a creamy texture that's hard to resist.
- Greek Yogurt: For a tangy twist, Greek yogurt can be a healthy choice, offering a protein boost.
By swapping these ingredients, you can create a scrumptious gluten-free version that everyone will adore, proving that no one has to miss out on the fun!
By experimenting with these variations, your Cherries in the Snow can become a customizable dessert that reflects your personality and culinary creativity. Happy baking! For more tips on dessert customization, check out Serious Eats and BBC Good Food.
Cooking tips and notes for Cherries in the Snow
Common pitfalls to avoid
When making Cherries in the Snow, a few mistakes can lead to a less-than-perfect dessert. First, ensure your cherries are pitted and well-rinsed; any leftover residue can affect the overall taste. It’s also crucial to avoid over-whipping your cream. Aim for soft peaks – this helps maintain a fluffy texture without turning it into butter. Finally, balance is key: if your cherries are too sour, consider adding a bit more sugar to enhance their flavor.
Storing leftovers: How to keep it fresh
If you've made extra Cherries in the Snow, you want to preserve that delightful taste! Store leftovers in an airtight container in the fridge. They'll generally maintain their best quality for about two days. For maximum freshness, consider keeping the cherry topping separate from the cream base if possible. This keeps the textures intact. And if you want to refresh the dessert before serving, a light whip of cream can revitalize its flavor!
For storage tips and tricks, check out resources like The Kitchn or Serious Eats.
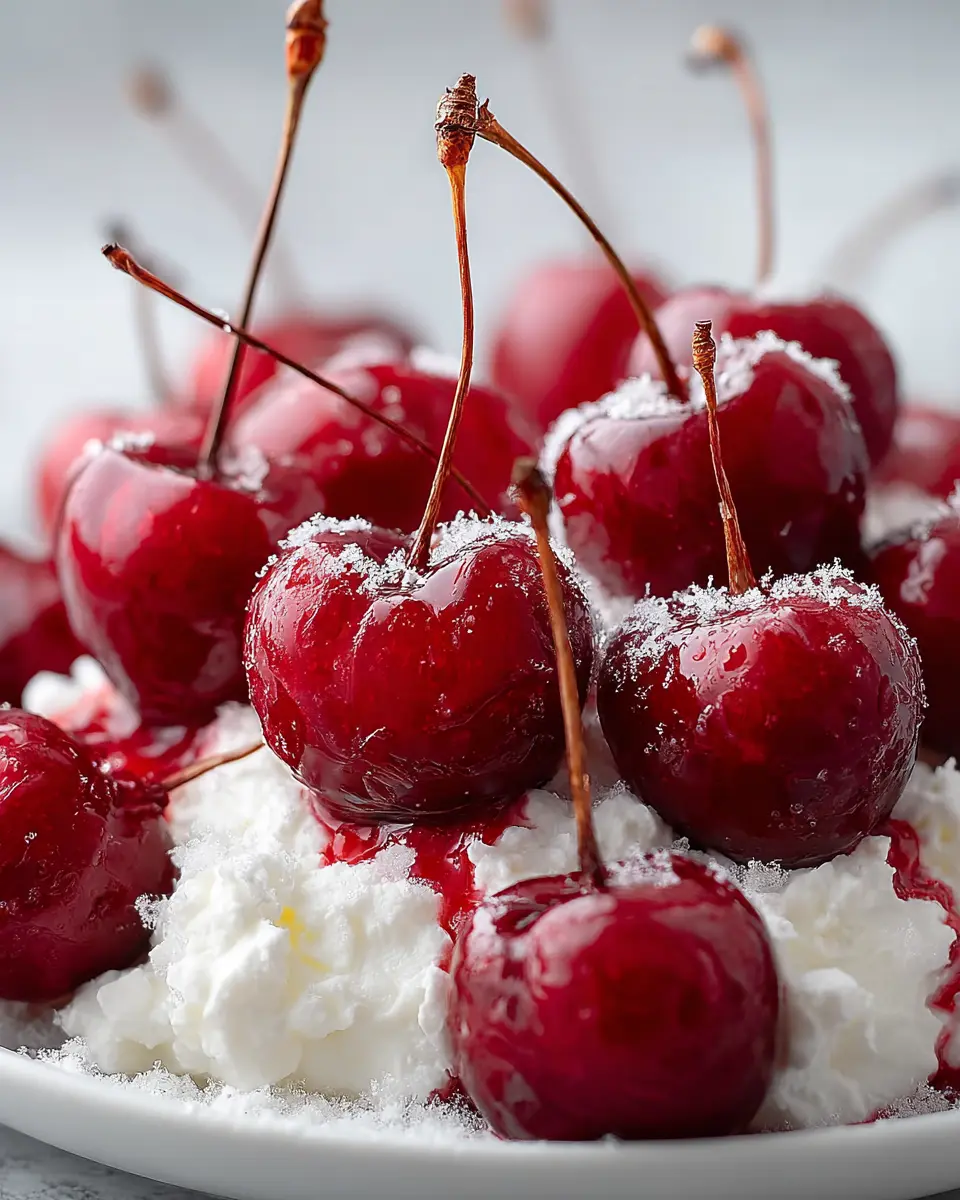
Serving suggestions for Cherries in the Snow
Perfect pairings: What to serve alongside
When enjoying your delightful Cherries in the Snow, consider dishes that beautifully complement this dessert's light, fruity flavor and creamy texture. Here are some thoughtful recommendations:
- Savory Dishes: Pair with savory items like grilled chicken ham or turkey bacon for a delightful contrast. The richness of the meat balances the sweet cherries perfectly.
- Cheese Board: A selection of soft cheeses, like brie or goat cheese, can enhance your dessert. The creaminess of the cheese and the sweetness of the cherries create a fantastic harmony.
- Refreshing Beverages: Opt for sparkling water infused with mint or a zesty lemonade. These drinks can cleanse the palate and keep the meal light and refreshing.
Creative presentation tips
Presentation is key to make your Cherries in the Snow stand out. Here are some quick ideas:
- Layering: Serve in individual glass cups, layering the cherries and cream for a beautiful visual.
- Garnishes: Top with fresh mint leaves or a sprinkle of crushed nuts for texture and color.
- Serving Style: Consider a rustic wooden board for a more homey feel or elegant crystal dishes for formal occasions.
These simple touches elevate your dessert and create an inviting atmosphere for guests! For more on food presentation, check out The Spruce Eats for tips.
Time details for Cherries in the Snow
Preparation time
Making Cherries in the Snow is surprisingly quick and easy! You'll need about 15 minutes to get everything ready. Gather your ingredients—fresh cherries, cream, and a hint of sugar—and let your imagination run wild. While prepping, think about the memories associated with cherries; perhaps some childhood picnics or family gatherings? These moments often make cooking more rewarding.
Total chilling time
Chilling is where the magic happens! Once you've prepared your Cherries in the Snow, pop it into the fridge for at least 2 hours. This chilling time allows the flavors to meld beautifully, creating a dessert experience that’s truly delightful. Pro tip: don’t rush this step! A well-chilled dessert adds an incredible layer of refreshment, especially during warmer months.
For even more cherry inspiration, check out Cherry Marketing Institute, where you can learn about different varieties and perhaps plan your next culinary adventure!
Nutritional Information for Cherries in the Snow
Calories per serving
When it comes to Cherries in the Snow, you might be surprised to learn that this delightful dish is relatively low in calories. Each serving typically contains around 150 to 200 calories. This makes it a fantastic dessert option for those watching their caloric intake while still wanting to indulge.
Key nutrients
Not only are cherries delicious, but they also pack a nutritional punch! Here are some key nutrients you'll find in Cherries in the Snow:
- Vitamins: Rich in vitamin C, which is essential for a healthy immune system.
- Fiber: Cherries are a good source of dietary fiber, promoting digestive health.
- Antioxidants: Packed with antioxidants, cherries can help reduce inflammation and oxidative stress.
Adding a scoop of low-fat yogurt or using a sugar substitute can further boost the health benefits. A serving of Cherries in the Snow is also a great way to satisfy a sweet tooth without the guilt!
If you're curious to learn more, check out Healthline for deeper insights on the nutritional benefits of cherries. Who knew that such a delightful dessert could be so good for you?
FAQs about Cherries in the Snow
Can I make this dessert ahead of time?
Absolutely! Cherries in the Snow is perfect for making ahead. You can prepare it a day or two in advance. Just make sure to keep it in the fridge, covered, until you're ready to serve. This gives the flavors a little time to meld, enhancing the taste. Just a tip: if you’re using fresh cherries, consider adding them right before serving to keep them fresh and vibrant.
What's the best way to serve it?
When it comes to serving Cherries in the Snow, presentation matters! A lovely glass dish works wonders—visual appeal is key, especially for gatherings. You can dollop it in individual bowls or cups for personal servings, topping each with a sprig of mint for that extra touch. If you want a bit more crunch, serve it alongside some cookies or graham crackers. Trust me, your guests will love the contrast!
How can I modify the sweetness level?
Want to adjust the sweetness of your Cherries in the Snow? No problem! Here are some tried-and-true methods:
- Use less sugar: Start with half the amount suggested in the recipe, and taste before adding more.
- Swap sweeteners: Consider agave or maple syrup for a gentler sweetening option.
- Incorporate tart ingredients: Adding a squeeze of lemon juice can balance sweetness beautifully.
Feel free to experiment—after all, cooking is as much about finding your unique flavor as it is about following a recipe. For more insights on adjusting sweetness levels in desserts, check out resources from America’s Test Kitchen.
Remember, it's all about making the dish your own and having fun along the way!
Conclusion on Cherries in the Snow
A sweet ending worth trying at home
Wrapping up our culinary journey, Cherries in the Snow is not just a dessert; it’s a delightful experience that adds a splash of joy to any occasion. The interplay of sweet cherries and creamy layers is sure to impress your guests and ignite nostalgia. Whether it's for a cozy family dinner or a festive gathering, this recipe is approachable for all skill levels.
Try it out with fresh ingredients, perhaps even experimenting with variations like adding a hint of almond extract or serving it with whipped coconut cream for an extra twist. Remember, embracing the process is as rewarding as the final result! If you're curious about the health benefits of cherries, check out this Nutritional Information for more insight. Don’t forget to share your experiences and any personal touches you add to the recipe!
Print
Cherries in the Snow: Indulgent Dessert for Every Home Cook
A deliciously indulgent dessert that highlights the sweetness of cherries.
- Total Time: 4 hours 20 minutes
- Yield: 8 servings
Ingredients
- 2 cups fresh or frozen cherries
- 1 cup heavy cream
- ½ cup powdered sugar
- 1 teaspoon vanilla extract
- 1 cup graham cracker crumbs
- ¼ cup unsalted butter, melted
Instructions
- Preheat your oven to 350°F (175°C).
- In a large bowl, combine the graham cracker crumbs and melted butter. Press the mixture into the bottom of a 9-inch pie dish.
- In another bowl, whip the heavy cream until soft peaks form. Gradually add the powdered sugar and vanilla extract, continuing to whip until stiff peaks form.
- Gently fold in the cherries into the whipped cream mixture.
- Spread the cherry and cream mixture over the crust evenly.
- Chill in the refrigerator for at least 4 hours before serving.
Notes
- Feel free to use other fruits instead of cherries for a different flavor.
- Let the dessert sit overnight for the best flavor.
- Prep Time: 20 minutes
- Cook Time: 0 minutes
- Category: Dessert
- Method: No bake
- Cuisine: American
- Diet: Vegetarian
Nutrition
- Serving Size: 1 slice
- Calories: 250
- Sugar: 15g
- Sodium: 50mg
- Fat: 18g
- Saturated Fat: 10g
- Unsaturated Fat: 6g
- Trans Fat: 0g
- Carbohydrates: 22g
- Fiber: 1g
- Protein: 2g
- Cholesterol: 30mg