Introduction to Homemade Greek Baklava
What is Baklava and Why Make It at Home?
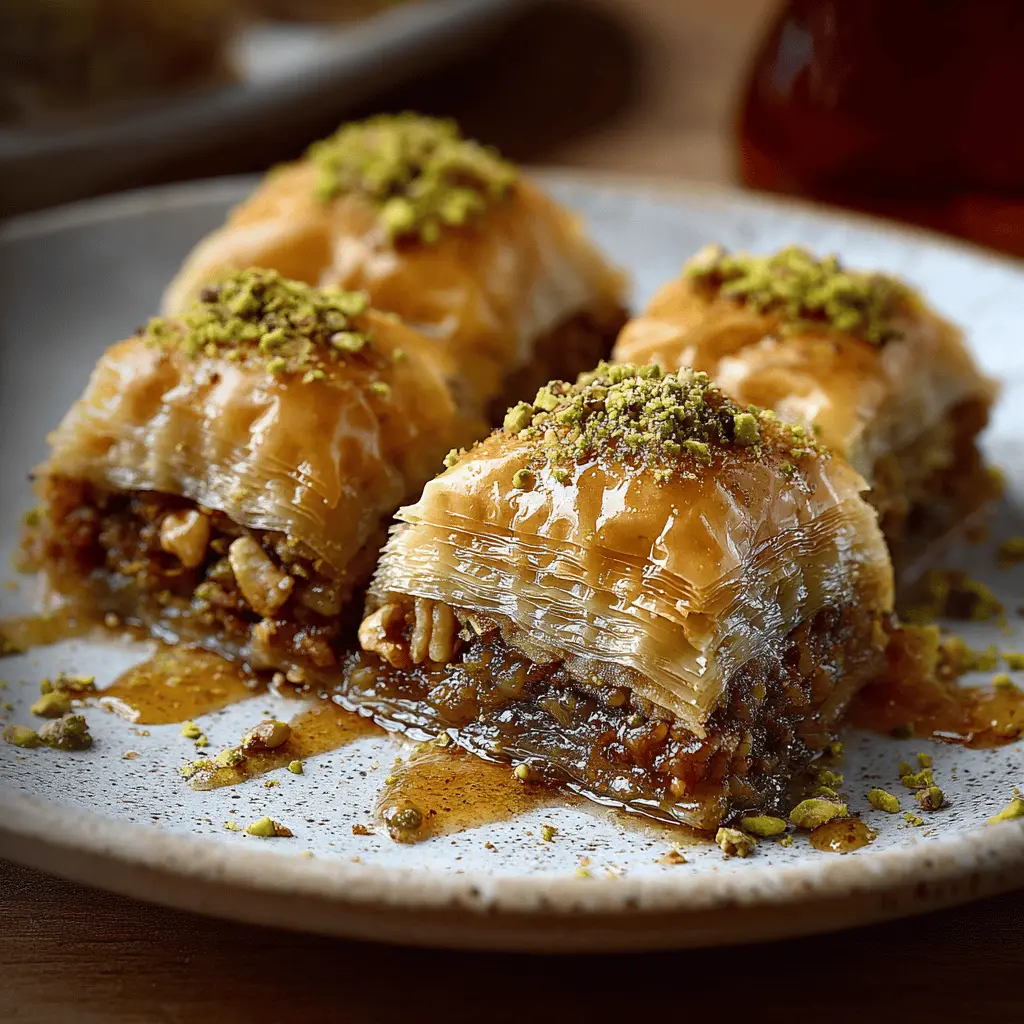
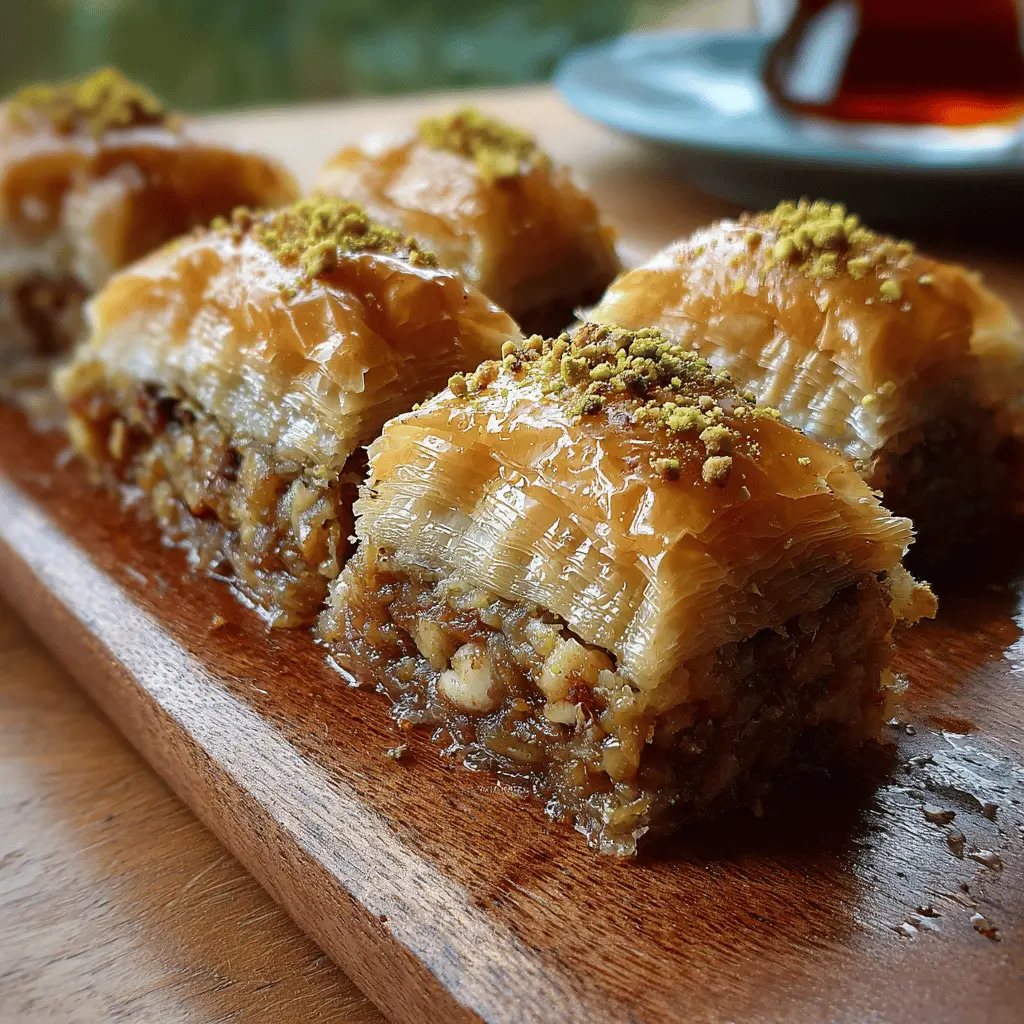
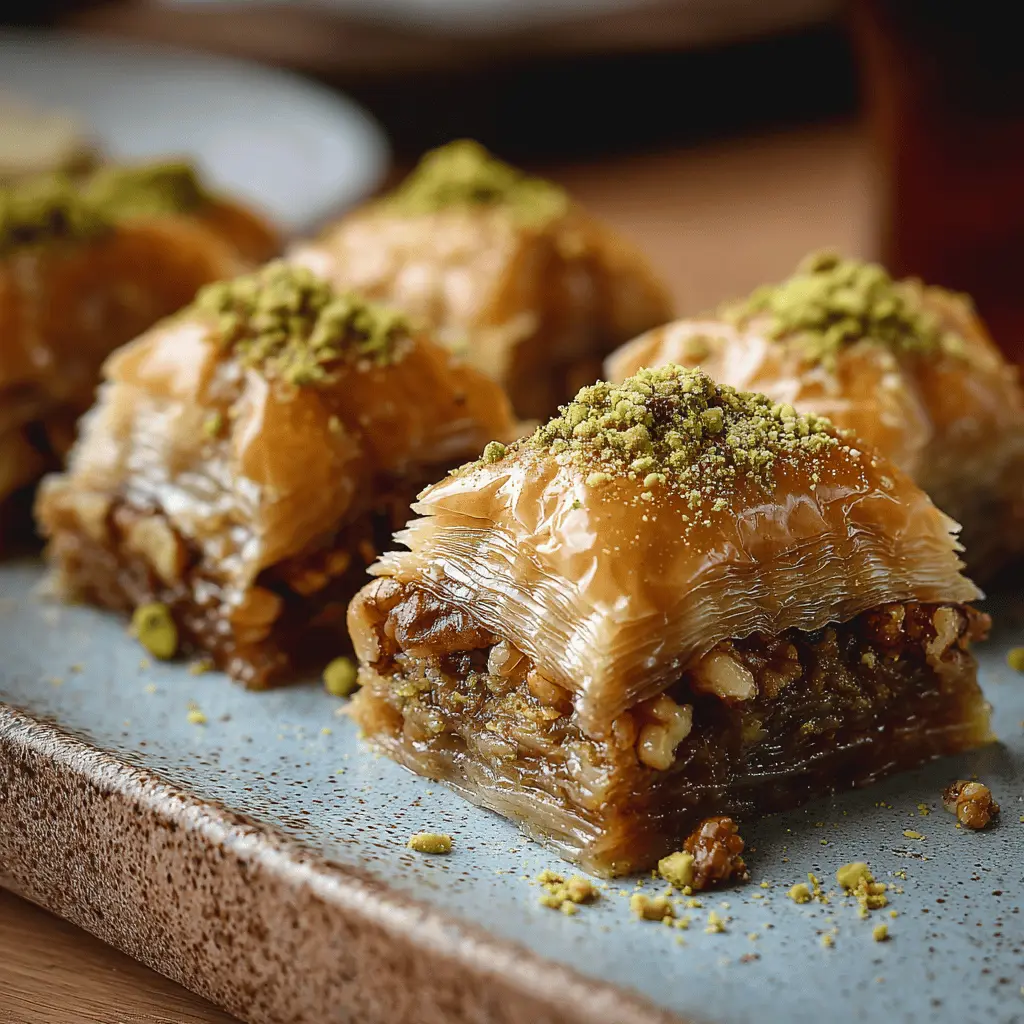
If you've ever indulged in the sweet, flaky layers of baklava, you're likely a fan of this delightful dessert. Traditionally rooted in Greek culture, baklava is a pastry made of rich, crunchy layers of phyllo dough with a luscious filling of crushed nuts, often walnuts and pistachios, soaked in a sweet honey syrup. But why venture into making homemade Greek baklava when you can easily buy it?
First off, making baklava at home allows you to customize every aspect of the recipe. Whether you prefer an extra drizzle of honey, a mix of different nuts, or special spices like cinnamon, the choice is yours! Plus, there’s something incredibly rewarding about baking a dessert that’s not just delicious but also has a rich history spanning centuries. In fact, baklava has been cherished in various cultures, from the Middle East to the Mediterranean, each with its own unique twist.
Creating your own baklava can also be a fun and engaging activity to share with friends or family. Imagine the aroma of baked phyllo wafting through your kitchen and the anticipation as you drizzle warm syrup over the layered pastry. This is not just a dessert; it’s an experience. Plus, homemade versions can be healthier, as you can control the amount of sugar, salt, and fats used. For those interested in nutrition, this can be a great opportunity to incorporate higher-quality ingredients.
Moreover, crafting homemade Greek baklava is a delightful way to impress guests during gatherings, or simply to treat yourself. With the right balance of textures—from the crispy layers to the gooey syrup—you’ll have everyone asking for seconds!
As you embark on this culinary journey, consider referring to these expert sources for tips on perfecting your baklava skills. So, grab your phyllo dough and let’s dive into making this enticing treat that’s perfect for any occasion!
Ingredients for Homemade Greek Baklava
Creating the perfect homemade Greek baklava involves a handful of essential ingredients that come together to make this beloved dessert incredibly irresistible. Here’s what you'll need:
Nut Filling
The heart of your baklava lies in the nut filling. You'll want:
- 2 cups of finely chopped walnuts: Rich in flavor, they provide that delightful crunch.
- 1 cup of chopped pistachios: For a touch of elegance and a pop of color.
- 1 cup of sugar: To balance the nuttiness.
- 1 teaspoon of cinnamon: This aromatic spice adds warmth and depth.
Phyllo Layers
These delicate layers are crucial for that signature flaky texture:
- 1 package of phyllo dough (16 oz): Thaw it ahead of time, as working with chilled dough can be tricky.
Honey Syrup
A luscious syrup is what brings everything together. Gather:
- 1 cup of honey: For natural sweetness.
- 1 cup of water: To balance the syrupy richness.
- 1 teaspoon of vanilla extract: Enhances the flavor.
Optional Topping
Elevate your homemade Greek baklava with a touch of decoration:
- Powdered sugar: A light dusting before serving for that extra sweetness and elegance.
With these ingredients, you're well on your way to creating a delightful batch of baklava! For more tips on perfecting your recipe, check out Serious Eats for expert guidance.
Step-by-Step Preparation of Homemade Greek Baklava
Making homemade Greek baklava is a rewarding culinary experience that connects you to a rich tradition. This delightful pastry, with its flaky layers, nutty filling, and sticky syrup, makes it a go-to dessert for gatherings. This guide will walk you through each step, making it easy and enjoyable!
Prep the Nut Filling
Start your baklava journey by preparing the nut filling. You’ll need a mix of walnuts and pistachios for that authentic flavor. Here’s what you should do:
- Ingredients: 1 cup of walnuts, 1 cup of pistachios, 1 teaspoon of cinnamon, and ¼ cup of sugar.
- Instructions: Chop the nuts finely but avoid turning them into a powder; you want some texture. Mix in the cinnamon and sugar. Set this mixture aside.
This nut mixture is the heart of your baklava, so take your time. If you're interested in different flavor variations, check The Spruce Eats for other nut combinations you can try.
Prepare the Phyllo Dough
Now that your nut filling is ready, it’s time to deal with the phyllo dough. This step can sound intimidating, but it’s easier than you think!
- Defrosting: If using frozen phyllo, allow it to thaw overnight in the fridge.
- Handling: Keep the sheets covered with a damp towel while you work to prevent them from drying out.
Remember, phyllo dough is delicate, so gentle handling is key to preventing tears.
Layer the Base with Phyllo
To build a sturdy base, layer several sheets of phyllo dough in your baking pan.
- Instructions: Brush each layer lightly with melted butter to ensure a golden finish. Start with about 8-10 sheets stacked.
This base acts like a protective layer, allowing the crunchy phyllo to hold up under the weight of those delicious nuts.
Add First Layer of Nuts
Next up, it’s time to add a layer of your nut mixture.
- Instructions: Sprinkle a thin, even layer over your stacked phyllo sheets, covering them completely.
This step is crucial for ensuring that every bite of homemade Greek baklava is bursting with flavor.
Repeat Layers with Phyllo and Nuts
Continue the layering process:
- Instructions: Alternate between brushing phyllo dough with butter and adding more of the nut mixture. Aim for about four or five layers of each, finishing with a top layer of phyllo.
This method will give your baklava its classic, flaky texture. It's all about balance here, so don’t rush!
Cut Before Baking
Once all layers are assembled, cut your baklava into diamond shapes before baking.
- Instructions: Use a sharp knife to make even cuts. This makes it easier to serve later and allows the syrup to soak evenly.
It’s a small detail, but it beautifully showcases the layers once baked.
Bake the Baklava
Now it's time to bake your creation.
- Instructions: Preheat your oven to 350°F (175°C) and bake for approximately 45-50 minutes or until golden brown.
Keep an eye on it; the aroma will start to fill your kitchen, making it hard to resist.
Make the Syrup
While your baklava is baking, you can whip up some syrup.
- Ingredients: 1 cup of water, 1 cup of sugar, and a squeeze of lemon juice.
- Instructions: Boil together for about 10 minutes until slightly thickened.
This sweet syrup is what makes your baklava so irresistibly delicious!
Add Syrup to Baklava
Once your baklava is out of the oven and cooling, it's time for its sweet topping.
- Instructions: Pour the syrup evenly over the hot baklava. Let it soak in completely; this is where the magic happens!
You’ll notice the phyllo layers becoming beautifully saturated, creating that signature sweetness.
Rest Before Serving
Finally, let your baklava rest for at least 4 hours, or overnight if you can wait!
- This allows the flavors to meld and the syrup to fully absorb into the pastry layers.
When ready to serve, prepare for delight. Your homemade Greek baklava is not just a dessert; it's a piece of culinary art that brings everyone together. Enjoy!
Variations on Homemade Greek Baklava
When it comes to homemade Greek baklava, the classic recipe is just the beginning. If you’re feeling adventurous, here are some delightful twists on this timeless dessert that will surprise and please your taste buds.
Chocolate Baklava
Fans of chocolate, rejoice! Combining rich chocolate with the flaky goodness of traditional baklava creates a heavenly treat. Simply melt dark chocolate and mix it with the nut filling before layering it between the phyllo sheets. Drizzle more chocolate over the top after baking for that extra indulgence. This variation is perfect for special occasions or just when you need a little pick-me-up! For a helpful guide on chocolate options, check out this chocolate guide.
Nut-Free Baklava
If you or someone you know has nut allergies, fear not! You can still enjoy baklava by substituting the nuts with crushed oats or even finely shredded coconut. Use a mixture of spices like cinnamon and cardamom to add depth to your filling, so every bite is packed with flavor. This way, you can still savor the delightful layers and sweetness of the dish without any risks.
Baklava Roll-Ups
Looking for a fun twist? Try baklava roll-ups! Instead of traditional layers, you can wrap the nut filling in phyllo dough to create delightful little rolls. These bite-sized treats are perfect for entertaining, allowing guests to enjoy baklava without the mess. They're just as delicious and make serving a breeze! Plus, you can customize the fillings according to your preference, making each batch uniquely yours.
By exploring these variations, you can enjoy homemade Greek baklava in exciting new ways. Whether it’s the richness of chocolate, the creativity of nut-free versions, or the fun of roll-ups, there’s something for everyone to enjoy!
Cooking Tips and Notes for Homemade Greek Baklava
Key Tips for Handling Phyllo Dough
When making homemade Greek baklava, the phyllo dough can be a little daunting. Here are some easy guidelines to ensure you succeed:
- Thaw Properly: Make sure to thaw your phyllo dough overnight in the refrigerator. This prevents it from becoming too fragile and helps maintain its texture.
- Cover it Up: Keep the unused sheets covered with a damp towel as you work. Phyllo dries out quickly, leading to brittle layers that are hard to manage.
Ensuring Perfect Syrup Absorption
The syrup is where the magic happens in baklava! For maximum flavor infusion:
- Cool Syrup, Hot Baklava: Let your syrup cool to room temperature while your baklava is baking. This contrast helps the layers soak up that delicious sweetness without becoming soggy.
- Pour Generously: After taking your baklava out of the oven, pour the syrup evenly across the entire surface. It’s like a sweet bath; the more, the merrier!
Don’t rush the cooling process! Baklava tastes best when you let it sit for a few hours (or even overnight). For more in-depth baklava tips, consider checking out this resource on How to Work with Phyllo Dough for extra insights!
Serving Suggestions for Homemade Greek Baklava
Ideal Accompaniments
When enjoying your homemade Greek baklava, consider pairing it with flavorful accompaniments to elevate the experience. Here are a few suggestions:
- Fresh Greek Yogurt: A dollop of creamy yogurt adds a tangy contrast that complements the sweetness of the baklava beautifully.
- Chopped Nuts: Garnishing with toasted walnuts, pistachios, or almonds can enhance the texture and provide crunch.
- Coffee or Herbal Tea: A strong cup of coffee or a soothing herbal tea can balance the richness of the baklava.
For more traditional serving suggestions, consider checking resources from Culinary Greece.
Presentation Ideas
The presentation of your homemade Greek baklava can make all the difference. Here are some creative ideas:
- Elegant Platter: Arrange the baklava in a decorative pattern on a beautiful platter, garnished with a sprinkle of powdered sugar.
- Individual Portions: Cut the baklava into bite-sized squares or rectangles, perfect for serving at gatherings or parties.
- Mint Leaves: Adding fresh mint leaves not only provides a pop of color but also introduces a refreshing aroma.
By thoughtfully preparing these accompaniments and presentation techniques, you’ll turn your baklava into a standout dessert that your friends and family will rave about!
Time Breakdown for Homemade Greek Baklava
Preparation Time
Getting ready to make homemade Greek baklava is an exciting culinary adventure! Set aside about 30-45 minutes to prepare your ingredients. This includes chopping your walnuts and pistachios, melting the butter, and layering the phyllo dough. It'll feel like a fun puzzle as you arrange everything perfectly.
Baking Time
Now comes the best part—the baking! Allow your baklava to bake for about 45-50 minutes. This is when your kitchen will be filled with the sweet aromas of cinnamon and butter, making the wait worthwhile.
Total Time
In total, you’ll spend around 1.5 to 2 hours from start to finish. While homemade Greek baklava takes some time, the delicious results are absolutely worth the effort. So, roll up your sleeves and get ready to indulge in this delightful treat! For more great tips on making baklava, check out Culinary Schools or Food Network for inspiration!
Nutritional Facts for Homemade Greek Baklava
When it comes to enjoying homemade Greek baklava, understanding its nutritional profile can help you savor each bite with balance in mind. Let’s break down some key nutritional aspects:
Calories
A typical serving of baklava contains approximately 300–350 calories. This indulgent dessert is rich and satisfying, so a little goes a long way.
Sugar
With its delicious layers of honey and syrup, homemade Greek baklava packs in about 20–25 grams of sugar per serving. It's the sweetness that makes baklava a beloved treat, but it's also wise to enjoy it mindfully.
Fats
Thanks to the butter and nuts, a serving has around 18–20 grams of fat. While the fats from the walnuts and pistachios provide beneficial nutrients, moderation is key.
For more on nuts and healthy fats, check out resources like Healthline. If you're watching your intake, consider enjoying a smaller piece with a warm cup of herbal tea for a delightful experience without guilt.
FAQs about Homemade Greek Baklava
How do I store leftover baklava?
Storing your homemade Greek baklava correctly is key to preserving its flaky texture and flavor. After it has cooled completely, cover the baklava with foil or place it in an airtight container. It can be kept at room temperature for up to five days, but if you want to keep it fresher for longer, refrigerate it. Just remember, refrigeration may slightly alter the texture, making it a bit less crisp.
Can I freeze baklava?
Yes, you absolutely can freeze baklava! To do so, first cut it into pieces, then wrap each piece tightly in plastic wrap and place them in a freezer-safe bag or container. Properly stored, your homemade Greek baklava can last in the freezer for up to three months. When you're ready to enjoy it, just thaw at room temperature or reheat gently in the oven for a few minutes to restore its original texture.
What are the best types of nuts for baklava?
While walnuts and pistachios are traditional choices for an exquisite homemade Greek baklava, you can certainly explore other nut options! Almonds, hazelnuts, and pecans can also add unique flavors and textures. According to experts from the Mediterranean Institute, varying nut combinations can elevate the complexity of flavor, so feel free to experiment! Just ensure they are finely chopped for even distribution throughout your bakery masterpiece.
If you're interested in more insights on storage or recipe variations, you might find resources from other cooking experts like the American Institute for Cancer Research helpful. Enjoy your baklava-making journey!
Conclusion on Homemade Greek Baklava
Final thoughts on making baklava at home
Creating homemade Greek baklava is a rewarding culinary adventure that brings the delightful flavors of the Mediterranean right into your kitchen. As you layer the phyllo dough with a rich mixture of nuts like walnuts and pistachios, you're not just making dessert; you're crafting a piece of heritage.
While it may seem intimidating at first, the process can be surprisingly simple. With a little patience, this sweet, syrupy pastry can be the perfect centerpiece for celebrations or just a cozy evening treat. Remember, the best baklava is a labor of love, so don’t rush it!
For more tips on perfecting your baklava—like choosing the ideal syrup consistency—check out resources from culinary experts at Serious Eats or Bon Appétit. Happy baking!
Print
Homemade Greek Baklava: Indulgent Layers of Walnuts and Pistachios
Experience the indulgent layers of homemade Greek baklava, filled with a delightful mix of walnuts and pistachios.
- Total Time: 1 hour 15 minutes
- Yield: 24 pieces
Ingredients
- 2 cups walnuts, chopped
- 1 cup pistachios, chopped
- 1 cup unsalted butter, melted
- 1 package phyllo dough
- 1 cup sugar
- 1 cup water
- 1 teaspoon vanilla extract
- 2 teaspoons ground cinnamon
Instructions
- Preheat the oven to 350°F (175°C).
- Melt the butter in a saucepan.
- Layer a sheet of phyllo dough in a greased baking pan and brush with butter.
- Repeat until you have 8 layers, then sprinkle a mixture of walnuts and pistachios.
- Add another 4 layers of phyllo, then another layer of nuts.
- Continue layering until ingredients are used, finishing with a top layer of phyllo.
- Cut the baklava into diamond shapes.
- Bake for about 45 minutes, until golden brown.
- While baklava is baking, mix sugar, water, vanilla, and cinnamon in a saucepan and boil for 10 minutes.
- Pour syrup over the baklava once baked.
- Let it cool before serving.
Notes
- For best flavor, let baklava sit overnight before serving.
- Store in an airtight container at room temperature.
- Prep Time: 30 minutes
- Cook Time: 45 minutes
- Category: Dessert
- Method: Baking
- Cuisine: Greek
- Diet: Vegetarian
Nutrition
- Serving Size: 1 piece
- Calories: 300
- Sugar: 10g
- Sodium: 25mg
- Fat: 20g
- Saturated Fat: 7g
- Unsaturated Fat: 12g
- Trans Fat: 0g
- Carbohydrates: 30g
- Fiber: 2g
- Protein: 3g
- Cholesterol: 15mg