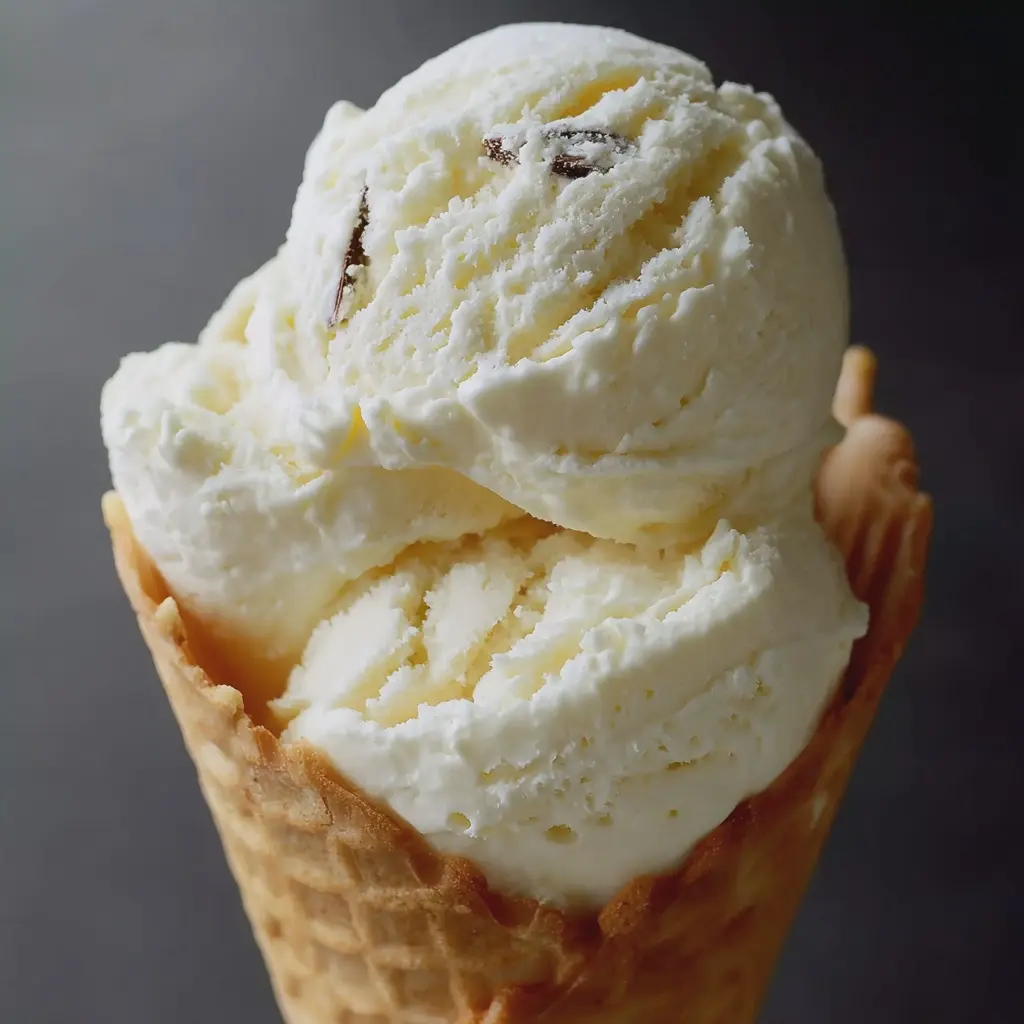
Introduction to Homemade Vanilla Ice Cream
There’s something incredibly rewarding about creating your own Homemade Vanilla Ice Cream. For young professionals navigating the hustle and bustle of city life, crafting ice cream at home isn’t just a delightful treat—it’s a game changer! Imagine finishing a long week at work and treating yourself to a bowl of creamy, delicious vanilla ice cream that you made from scratch.
Why should you consider making your own ice cream? For starters, it’s a fantastic way to unwind. According to a study published in the Psychology of Cooking, engaging in cooking activities can significantly reduce stress levels. Plus, it gives you complete control over the ingredients. You can choose high-quality vanilla beans and organic cream, ensuring that every bite is both rich and satisfying. And let's be honest—there’s nothing quite like the joy of impressing your friends with a flavorful, homemade treat during weekend gatherings.
Why Homemade Ice Cream is a Game Changer for Young Professionals
-
Customization: Love your ice cream extra creamy? Add more yolks! Prefer it sweetened with honey instead of sugar? You got it! The possibilities are endless, allowing you to cater to your taste preferences while avoiding artificial additives often found in store-bought varieties.
-
Cost-Effective: Store-bought gourmet ice cream can burn a hole in your wallet. In contrast, making Homemade Vanilla Ice Cream is surprisingly budget-friendly. With just a few simple ingredients, you can craft multiple batches that rival the finest ice cream parlors, saving you money in the long run.
-
Quality Time: Making ice cream with friends or family can become a fun, interactive experience. Turn up your favorite playlist, gather around the kitchen, and enjoy the laughter and camaraderie that comes with mixing and churning.
-
Healthier Options: Unlike typical commercial ice cream, when you make it yourself, you can control sugar levels and opt for alternative sweeteners making it a healthier choice overall.
If you've yet to discover the delightful world of homemade ice cream, now is the perfect time to dive in. Not only will you enjoy the flavors more intensely, but this experience of making your own Homemade Vanilla Ice Cream can become a cherished part of your culinary routine.
For inspiration and endless ice cream recipes, check out resources like the Ice Cream Maker's Handbook or visit places like Serious Eats for expert advice. Happy churning!
Ingredients for Homemade Vanilla Ice Cream
Creating homemade vanilla ice cream is a delightful way to indulge your sweet tooth. Let’s break down what you need!
Key ingredients you need for the perfect scoop
To whip up a delectable batch of homemade vanilla ice cream, gather the following:
- Heavy Cream: Provides the rich, creamy texture we all crave.
- Whole Milk: Balances the heaviness with a smooth consistency.
- Granulated Sugar: Sweetens your ice cream perfectly.
- Pure Vanilla Extract: The star of the show! Opt for high-quality to really elevate the flavor.
- Egg Yolks (optional): For a custard-style ice cream, adding yolks creates a velvety finish. This step is similar to what many ice cream pros use, enhancing richness.
Optional flavoring ideas to customize your ice cream
Want to make your homemade vanilla ice cream uniquely yours? Consider these fun additions:
- Chocolate chunks: A classic pairing.
- Fresh fruit: Strawberries, blueberries, or even bananas can bring a refreshing twist.
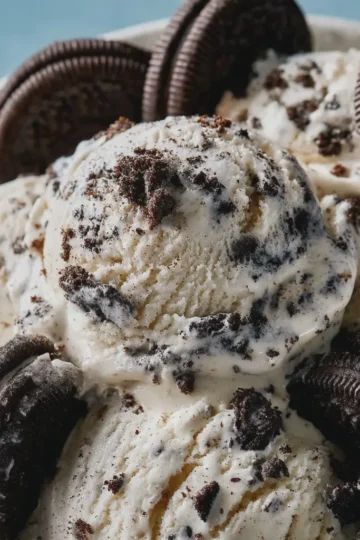
- Cookies: Crushed cookies or even pastries can add interesting textures and flavors.
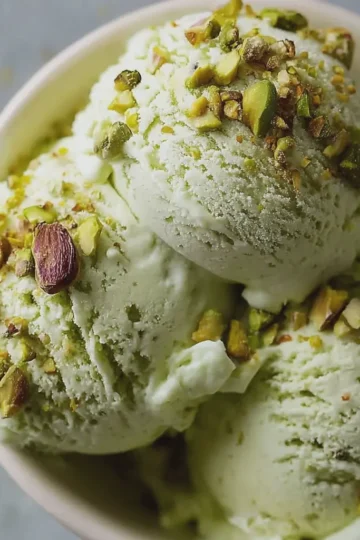
- Nuts: Walnuts or pecans give a satisfying crunch.
Experimenting is half the fun! Which flavors will you try? For some tips on flavor combinations, check out this helpful guide on ice cream crafting techniques from Serious Eats.
Preparing Homemade Vanilla Ice Cream
Who doesn’t love a good scoop of homemade vanilla ice cream? The rich, creamy texture paired with that unmistakable vanilla flavor is the stuff of summer dreams! Today, I’m going to walk you through each step in a simple yet satisfying process. Trust me; once you make your own ice cream, you may never want to buy store-bought again.
Heat the Dairy
To start your homemade vanilla ice cream adventure, it’s important to warm up the dairy. In a medium saucepan, combine:
- 2 cups of heavy cream
- 1 cup of whole milk
- ¾ cup of granulated sugar
- A pinch of salt
Place the saucepan over medium heat. Stir the mixture gently until the sugar dissolves, but take care not to bring it to a boiling point. Warming the dairy infuses it with flavor and makes the next steps even easier. You can also use a mixture of cream and milk from a farm or high-quality grocery store for even richer results.
Temper the Egg Yolks
Egg yolks are the secret ingredient that gives homemade vanilla ice cream its luxurious texture. In a separate bowl, whisk together:
- 5 large egg yolks
Next, you’ll need to temper them, which ensures they won’t scramble when you mix them with the hot dairy. Slowly pour about ½ cup of the warm dairy mixture into the yolks while continuously whisking. This gradual introduction warms the yolks gently.
Combine the Mixtures
Once the yolks are tempered, it’s time to combine everything. Pour the yolk mixture back into the saucepan with the rest of the warm dairy. Stir it all together, and you’re on your way to ice cream success!
Cook the Custard
Now comes the part that creates that creamy base you love. Keep the mixture over medium heat, stirring constantly until it thickens—usually about 5-10 minutes. You’re looking for a consistency that coats the back of a spoon. When you’re happy with it, remove the pan from heat.
Strain and Chill
This step is crucial for a smooth texture. Pour your custard through a fine-mesh strainer into a clean bowl, discarding any curdled bits. Then, stir in:
- 1 tablespoon of pure vanilla extract
To chill, cover the custard with plastic wrap, gently pressing it against the surface to prevent a skin from forming. Refrigerate for at least 4 hours or overnight if possible.
Churn the Ice Cream
Once your custard is chilled, it’s time to churn it into ice cream! If you have an ice cream maker, set it up according to the manufacturer’s instructions. Pour the chilled custard into the machine and churn until it thickens and reaches a soft-serve consistency. This usually takes about 20-30 minutes.
Freeze and Serve
After churning, transfer the ice cream into an airtight container and smooth the top. Freeze it for at least 4 hours to firm up. Once it’s ready, scoop out your homemade vanilla ice cream and serve it up in bowls or cones. You can even add toppings like fresh fruit, chocolate sauce, or a sprinkle of sea salt to take it to the next level.
In a world of pre-packaged treats, there’s something uniquely satisfying about creating something delicious from scratch. Not only does homemade vanilla ice cream hit the spot, but it’s also a fun activity to share with friends or family. So, what are you waiting for? Grab those ingredients and enjoy every delightful bite!
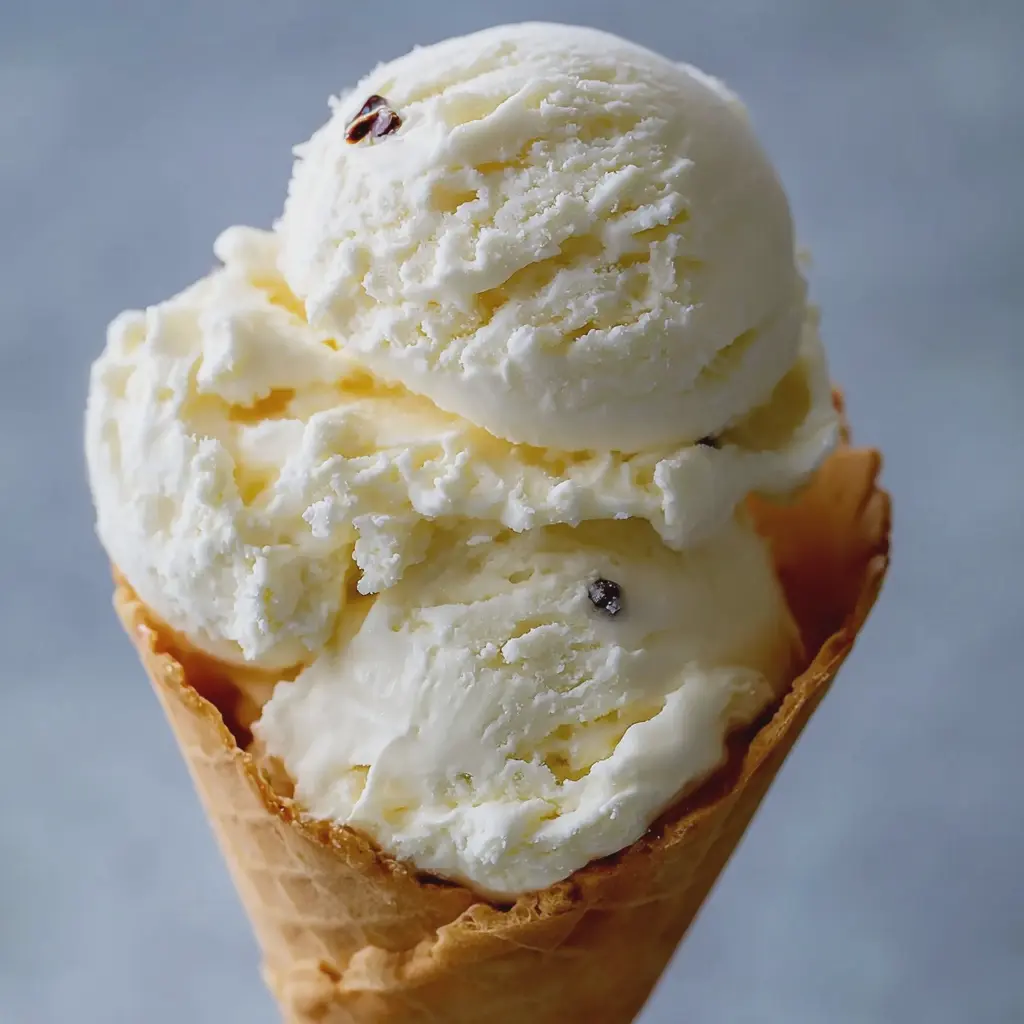
Variations on Homemade Vanilla Ice Cream
When it comes to homemade vanilla ice cream, the classic version is beloved, but there's a whole world of variations waiting to be explored. If you're ready to elevate your ice cream game, let's dive into some exciting flavors!
Classic Vanilla Ice Cream
The traditional homemade vanilla ice cream is creamy, rich, and simply sublime. Using high-quality vanilla beans or extracts will make all the difference. This timeless treat pairs wonderfully with pie or simply enjoyed on its own.
Chocolate-Infused Ice Cream
For chocolate lovers, a chocolate-infused version of homemade vanilla ice cream is a must-try. Just melt some dark chocolate and mix it into your base for a rich, decadent twist. The result is a beautifully marbled treat that melds the best of both worlds.
Fruit-Flavored Ice Creams
Fruits can brighten your ice cream with vibrant colors and refreshing flavors. Consider making a strawberry or mango variant. Simply puree your fruit and fold it into the vanilla base before churning. You’ll savor a delightful blend that’s perfect for summer parties. Check out this guide for more fruity inspiration!
Coffee-Flavored Ice Cream
If you need a pick-me-up, coffee-flavored ice cream is an excellent choice. Brew your favorite strong coffee and let it cool before adding it to your homemade vanilla ice cream mixture. It’s like having your dessert and coffee—all in one!
Mint Chocolate Chip Ice Cream
For a refreshing twist, try mint chocolate chip ice cream. Add a few drops of peppermint extract and some chocolate chips into your vanilla base, and you’ll have the perfect blend of coolness and crunch. It's a nostalgic flavor that many adore!
So, what flavor variation will you try first?
Cooking Tips and Notes for Homemade Vanilla Ice Cream
Tips for Achieving the Creamiest Texture
To achieve the creamiest texture in your Homemade Vanilla Ice Cream, consider these techniques:
- Use High-Quality Ingredients: Start with fresh, organic cream and whole milk. Your ingredients directly affect the flavor and creaminess.
- Chill Everything: Ensure your ice cream mixture is well-chilled before churning. This helps to create smaller ice crystals, resulting in a smoother product.
- Don’t Rush the Churning: Follow manufacturer recommendations for your ice cream maker. Over-churning can lead to icy textures!
Common Pitfalls to Avoid
Homemade Vanilla Ice Cream can be simple, but here are traps you might fall into:
- Skipping the Egg Custard Step: If your recipe calls for it, don’t skip making a custard. It adds richness that’s hard to replicate.
- Not Letting the Ice Cream Firm Up: Patience is key! After churning, let the ice cream sit in the freezer for a few hours to get the right consistency.
- Forgetting to Cover It: Air exposure leads to ice crystals. Store your ice cream in an airtight container to maintain that delicious creaminess.
Need more guidance? Check out this expert guide for an in-depth look at ice cream techniques. Happy churning!

Serving suggestions for Homemade Vanilla Ice Cream
Best toppings to enhance your ice cream experience
The beauty of homemade vanilla ice cream lies in its versatility, and the right toppings can transform it into a delightful masterpiece. Here are some of the best options to consider:
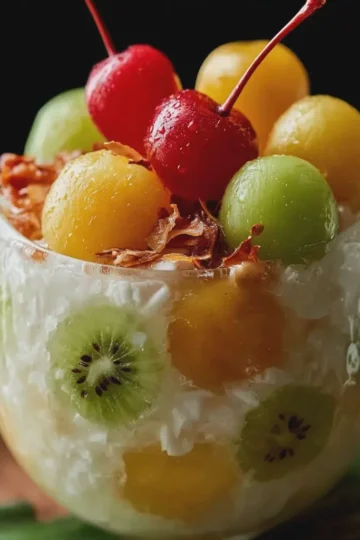
- Fresh Fruit: Think strawberries, blueberries, or slices of ripe peaches. Not only do they add color, but they also bring a burst of freshness.
- Nuts: Try toasted almonds or walnuts for a crunchy texture that complements the creaminess of the ice cream.
- Sauces: Drizzle on some warm chocolate sauce, caramel, or even a fruity coulis for an extra layer of flavor.
- Sprinkles: Add a sprinkle of color with candy sprinkles to make your dessert feel festive.
Creative ways to serve homemade ice cream
Serving homemade vanilla ice cream creatively can make your dessert stand out. Consider these fun ideas:
- Ice Cream Sandwiches: Use cookies, brownies, or even waffles as a base for a delicious ice cream sandwich.
- Banana Splits: Layer scoops of your vanilla ice cream with banana slices, chicken ham, and a drizzle of chocolate for a retro treat.
- Sundaes: Build a classic sundae bar at your next gathering where guests can customize their creations with various toppings.
With these serving suggestions, you’ll elevate your homemade vanilla ice cream to a whole new level—perfect for impressing friends or enjoying on a cozy night in! For more inspiration, check out Joy of Cooking or Serious Eats for expert tips on ice cream preparation and serving.
Time breakdown for Homemade Vanilla Ice Cream
When you're ready to dive into the sweet adventure of making Homemade Vanilla Ice Cream, it helps to know how much time you'll need. Here’s a straightforward breakdown to guide your ice cream journey:
Preparation time
In just 15 minutes, you can gather your ingredients and mix them up. This step includes measuring out your creamy base and adding in the rich, aromatic vanilla extract.
Chilling time
After preparation, let your mixture chill in the refrigerator for at least 2 hours. This step is crucial for achieving that smooth, velvety texture.
Churning time
Once chilled, the fun begins! Churn the mixture in your ice cream maker for about 20-30 minutes until it thickens.
Freezing time
Finally, transfer your ice cream to a container and freeze for an additional 4 hours. This final step will help it firm up beautifully.
Total time
In total, you're looking at around 6 hours and 45 minutes (most of that being passive time), before you can indulge in your delicious homemade vanilla ice cream. Enjoy the process and savor the rewards! For more tips, check out this ice cream-making guide for inspiration.
Nutritional facts for Homemade Vanilla Ice Cream
When indulging in a scoop of homemade vanilla ice cream, it's good to know what you're treating yourself to. Here’s a quick breakdown of its nutritional facts:
Calories
A typical serving of homemade vanilla ice cream contains approximately 200-250 calories. This can vary based on the ingredients and portions used, but it's important to keep in mind that this treat packs a flavorful punch!
Sugar Content
Each serving usually has around 20-30 grams of sugar. While this sweetness makes it delightful, it’s always beneficial to be mindful of sugar intake. Opting for alternatives like pure vanilla extract can enhance flavor without significantly increasing sugar levels.
Fats
You can expect about 10-15 grams of fat per serving. This fat primarily comes from the cream used in the recipe, contributing to that creamy texture we all love. Remember, not all fats are bad! Healthy fats can be a part of a balanced diet, so enjoy without guilt.
For more information on nutritional guidelines, check out the USDA’s recommendations. Making your ice cream at home not only allows for customization but also lets you control the ingredients, making it a delightful—and often healthier—option!
FAQs about Homemade Vanilla Ice Cream
Can I make this recipe dairy-free?
Absolutely! If you're looking for a dairy-free version of homemade vanilla ice cream, consider using coconut milk or almond milk as your base. Full-fat coconut milk offers a rich and creamy texture that mimics traditional ice cream beautifully. Just substitute equal parts in your recipe, and don’t forget to add a little extra vanilla for flavor! For more options, check out this guide on dairy-free ice cream alternatives.
How long does homemade vanilla ice cream last?
Homemade vanilla ice cream can last about 2 to 3 weeks in the freezer. To maintain its texture and flavor, store it in an airtight container. If you notice ice crystals forming, it might be time to whip it up again or enjoy it in a shake!
What can I do if I don’t have an ice cream maker?
No ice cream maker? No problem! You can create a delightful homemade vanilla ice cream without one. Simply pour your mixture into a shallow dish and freeze it. Every 30 minutes, stir it well with a fork until creamy—this process usually takes about 3 to 4 hours. For a detailed no-churn method, check out this helpful no ice cream maker guide.
Can I use different sweeteners instead of sugar?
Certainly! If you're looking to reduce sugar, alternatives like honey, agave syrup, or stevia can work well. Just keep in mind that these might alter the texture and final sweetness slightly. You might need to experiment a bit to get it just right. For a deep dive into sweeteners, refer to this article on different types of sweeteners.
Feel free to explore and enjoy making your perfect homemade vanilla ice cream!
Conclusion on Homemade Vanilla Ice Cream
Why Making Homemade Vanilla Ice Cream is Worth the Effort
Indulging in homemade vanilla ice cream is more than just treating yourself; it's an experience that engages your senses. The creamy texture and rich flavor far surpass anything store-bought. As you craft this delightful dessert, you're not only enjoying the freshest ingredients but also tailoring it to your taste.
Imagine the joy of scooping your creation, knowing it’s crafted with care just for you! Plus, making ice cream at home can be a fun activity to share with friends or family. So, why not dive into this delicious undertaking? For more tips on crafting perfect frozen desserts, check out Food Network.
Elevate your dessert game and enjoy the journey of making homemade vanilla ice cream!
Print
Homemade Vanilla Ice Cream: The Best Indulgent Treat You Can Make
Indulge in the creamy texture and rich flavor of homemade vanilla ice cream, a perfect treat for any occasion.
- Total Time: 4 hours 10 minutes
- Yield: 6 servings
Ingredients
- 2 cups heavy cream
- 1 cup whole milk
- ¾ cup granulated sugar
- 1 tablespoon pure vanilla extract
- ½ teaspoon salt
Instructions
- In a mixing bowl, whisk together the heavy cream, whole milk, sugar, vanilla extract, and salt until the sugar is dissolved.
- Pour the mixture into an ice cream maker and churn according to the manufacturer’s instructions.
- Once it reaches a soft-serve consistency, transfer the ice cream to a container and freeze for at least 4 hours.
- Before serving, allow the ice cream to sit at room temperature for a few minutes to soften.
Notes
- For a richer flavor, use vanilla bean instead of extract.
- Add mix-ins like chocolate chips or nuts during the last few minutes of churning.
- Prep Time: 10 minutes
- Category: Dessert
- Method: Churning
- Cuisine: American
- Diet: Vegetarian
Nutrition
- Serving Size: ½ cup
- Calories: 300
- Sugar: 28g
- Sodium: 50mg
- Fat: 22g
- Saturated Fat: 14g
- Unsaturated Fat: 6g
- Trans Fat: 0g
- Carbohydrates: 30g
- Fiber: 0g
- Protein: 3g
- Cholesterol: 80mg