Introduction to Martha Washington Candy
The history behind Martha Washington Candy
Martha Washington candy boasts a rich history that can whisk you back in time to the 18th century. Legend has it that these delightful confections were named after America's first First Lady, who was known for her culinary skills. While we can't say for certain that Martha herself made these candies, their creation aligns with a time when homemade treats were a sign of hospitality and love.
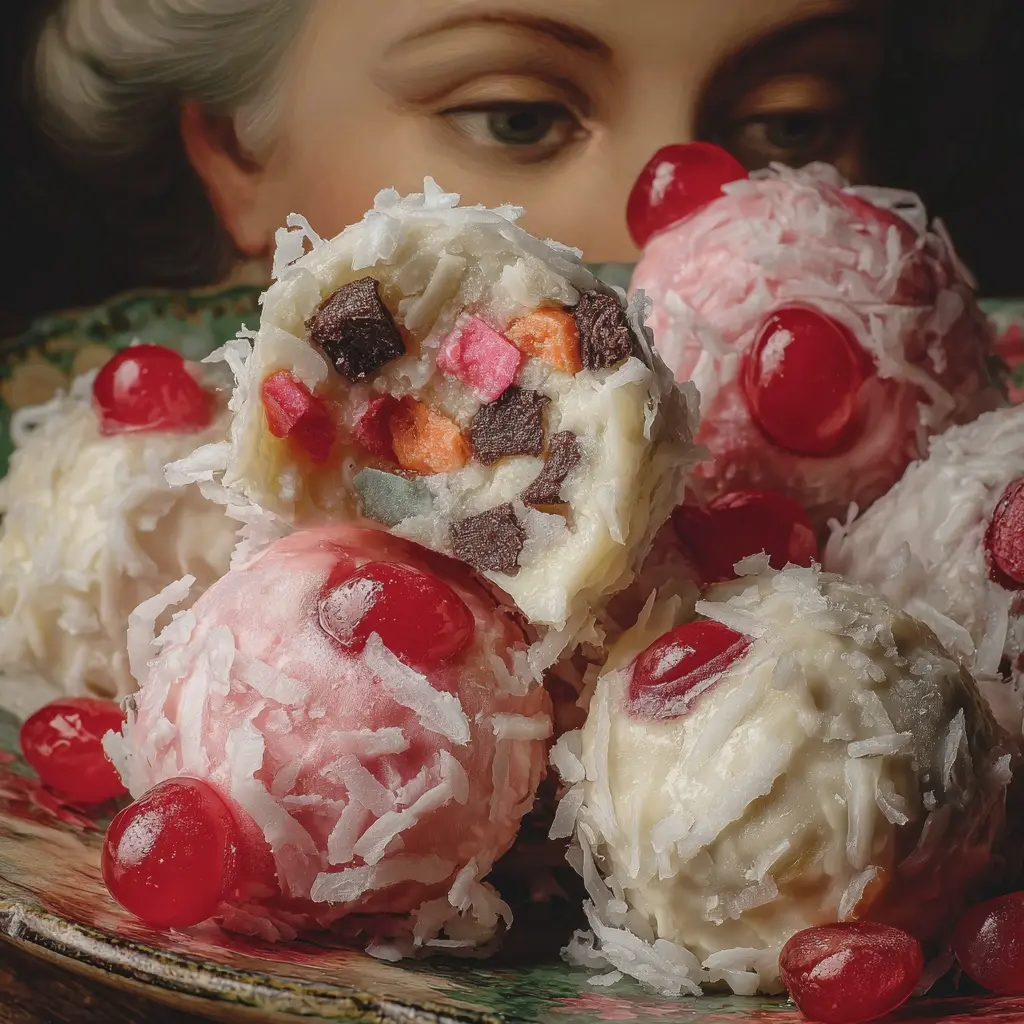
Over the years, recipes for Martha Washington candy have evolved, but they typically feature a luscious combination of coconut, nuts, and creamy centers, all coated in decadent chocolate. This candy offers not just sweetness, but also a glimpse into American life, where home-cooked delicacies were cherished. It's fascinating to see how our treat preferences have changed, yet homemade candies like Martha Washington remain timeless.
Why homemade candy is a delightful treat
Making your own Martha Washington candy can be a thoroughly rewarding experience. There's something special about crafting sweets in your own kitchen; it’s a form of self-expression, creativity, and even a bit of nostalgia. Think about it: Have you ever brought a homemade gift to a friend’s gathering? Watching their eyes light up as they take a bite is unparalleled.
Here are a few reasons why whipping up homemade candy is such a delightful venture:
- Customization: You can adjust ingredients to cater to your taste or dietary needs. Want to swap out pecans for walnuts? Go for it!
- Quality Control: Using fresh, high-quality ingredients means you can create something truly special without the preservatives found in store-bought alternatives.
- Fun Activity: The process of making candy can be a delightful group activity. Invite friends over for a candy-making night, complete with music and chat.
- Memories in Every Bite: Each piece carries a story. Perhaps you remember making these with family, or they remind you of grandma's kitchen.
If you're eager to dive into this culinary adventure, consider checking out recipes from reputable sources like Bon Appétit or Food Network for guidance. Happy candy-making!
Ingredients for Martha Washington Candy
Essential ingredients for a sweet success
Creating Martha Washington Candy at home is a delightful experience, and the ingredients play a vital role in achieving that perfect blend of flavors and textures. Here’s what you’ll need:
- Sweetened Condensed Milk: This is the base for your candy, providing that creamy, sweet foundation.
- Powdered Sugar: It adds sweetness and helps form the candy's structure.
- Chopped Pecans or Walnuts: For crunch and flavor, these nuts elevate your candy.
- Coconut Flakes: Unsweetened or sweetened, coconut adds a tropical flair.
- Dark Chocolate: A rich coating that brings all the flavors together.
Remember, the quality of these ingredients can make all the difference. You can find the best sweetened condensed milk and nuts at sites like Bob’s Red Mill or King Arthur Baking.
Optional ingredients for a personal touch
Elevate your Martha Washington Candy with these optional add-ins:
- Dried Fruit: Adding dried cherries or cranberries can provide a tart contrast.
- Flavor Extracts: Vanilla or almond extracts can intensify the overall taste.
- Sea Salt: A sprinkle on top can enhance the sweetness and provide a delightful contrast.
- Peanut Butter: For those who love that nutty flavor, a swirl of peanut butter can be magical.
Feel free to experiment! The beauty of this recipe is its versatility; personalize it to match your taste or impress your guests. Happy candy-making!
Preparing Martha Washington Candy
Making Martha Washington candy is a delightful journey that ends with a sweet reward! This classic homemade treat combines a creamy filling with a luscious chocolate coating, making it a perfect addition to any dessert table. Here's a friendly guide to help you prepare this delicious candy step by step.
Gather your kitchen tools
Before you dive into the world of Martha Washington candy, it’s essential to have the right kitchen tools ready. Here's a quick checklist to get you started:
- Mixing bowl
- Electric mixer or wooden spoon
- Measuring cups and spoons
- Rubber spatula
- Baking sheet lined with parchment paper
- Double boiler or microwave-safe bowl for melting chocolate
- Candy thermometer (optional, but helpful)
Having everything organized will save you time and help keep your work area tidy. Plus, do you ever find that having your tools on hand makes the whole process feel much smoother?
Prepare the creamy base
Creating the creamy base for your Martha Washington candy is the heart of this recipe. Here’s how you can do it:
-
Start with a base of ground nuts: Most recipes use pecans or walnuts. If you’re unsure, pecans are a classic choice and give a lovely flavor.
-
Combine the nut flour with sweetened condensed milk: Mix these two ingredients until they’re well-blended. If you want to learn more about the benefits of sweetened condensed milk, check out this guideline on Sweetened Condensed Milk.
-
Add powdered sugar: Gradually mix in powdered sugar to achieve the right consistency. You want it thick enough to shape, but still smooth.
-
Optional flavorings: Try adding vanilla extract or a pinch of salt to elevate the taste.
Mix in the delicious add-ins
Now that you have your base, it’s time to bring in those delicious add-ins.
- Coconut: Shredded coconut adds a fantastic texture and flavor.
- Dried fruit: Chopped dried cherries or cranberries will add a hint of tartness to balance the sweetness.
Fold these ingredients into your creamy mixture until fully combined. This is also an excellent time to think about any unique flavors you might love, such as almond extract or even a dash of espresso powder for a coffee twist.
Shape and chill the candy centers
Your next step is forming the candy centers.
-
Take a small amount of the mixture: About a teaspoon should do. Roll it into a ball or shape it into a small rectangle, depending on your aesthetic preference.
-
Place them on the prepared baking sheet: Give them some space because they will need the room when they set.
-
Chill until firm: Pop the sheet into your refrigerator for about an hour. This will make dipping them in chocolate much easier.
Melt the chocolate and dip your candies
The final and sweetest step: dipping those chilled centers into chocolate!
-
Melt your chocolate: You can use semisweet or dark chocolate. If you have a double boiler, that’s perfect. If not, microwave it in 30-second increments, stirring between each until smooth.
-
Dip each center: Use a fork to lower each candy piece into the melted chocolate, then lift it out, allowing the excess to drip back into the bowl.
-
Return to the baking sheet: Make sure to do this quickly, as the melted chocolate can cool and harden fast.
-
Chill again: Allow the chocolates to set by placing the baking sheet back in the refrigerator.
And there you have it — your very own delicious Martha Washington candy! These treats are not only delightful to eat but also serve as a heartfelt gift for friends and family. Who wouldn’t appreciate a homemade sweet? Enjoy the process, and don’t forget to taste-test along the way!
Variations on Martha Washington Candy
Creating Martha Washington candy is a delightful venture, but sometimes, dietary preferences or restrictions call for a twist on the classic recipe. Let’s explore some variations that ensure everyone can enjoy this lovely treat!
Coconut-Free Alternative
Traditional Martha Washington candy often includes coconut for that rich, tropical flavor. However, if coconut isn’t your jam, fear not! You can substitute crushed graham crackers or powdered sugar for the coconut flakes. Simply mix them into the sweetened condensed milk and nuts, and you’ll still achieve that luscious texture without the coconut. You can also enhance flavor by adding a hint of vanilla extract or almond extract, which beautifully compliments the chocolate coating.
Nut-Free Version for Sensitive Eaters
For those with nut allergies, there’s a way to enjoy Martha Washington candy safely! Replace the nuts with a generous amount of crispy rice cereal or even sunflower seeds. The crispy texture ensures you won’t miss the crunch of the nuts. Opt for allergy-friendly chocolate for dipping, which can often be found in health food stores or online. This way, you can make a delightful batch that’s safe for everyone around the table.
In both variations, always be sure to double-check ingredient labels to avoid cross-contamination. It’s essential to enjoy treats like Martha Washington candy without worry.
So, whether you're adjusting for dietary needs or just experimenting in the kitchen, these variations open up a world of sweet possibilities! For more inspiration, consider checking out American Coconut Council for alternatives in your baking adventures!
Cooking Tips and Notes for Martha Washington Candy
Ensure Perfect Texture for Your Candy
When making Martha Washington candy, the texture is everything. To achieve that delightful creaminess, ensure your ingredients, particularly the butter and cream cheese, are at room temperature. This helps them blend smoothly without lumps. Don't rush the cooling process—allow your chocolate coating to harden naturally to prevent cracking. Dipping the candies in melted chocolate can be messy; consider using a fork or dipping tools for a smoother finish.
Storage Tips to Keep Them Fresh
After you've crafted your delicious Martha Washington candy, you'll want to savor every bite! To store these treats, place them in an airtight container lined with parchment paper to maintain their texture and flavor. They’ll last up to two weeks in the fridge, but you can extend their life by freezing them for up to three months. When ready to enjoy, simply let them thaw in the fridge—this technique helps preserve those luscious flavors.
For more in-depth tips on candy making, check out Bon Appétit or Serious Eats.
Serving suggestions for Martha Washington Candy
Martha Washington Candy is a delightful treat that deserves a presentation as stunning as its flavor. Whether you're preparing for a gathering or simply indulging at home, consider these serving suggestions to elevate your candy experience.
Perfect pairings for a candy platter
To create an enticing candy platter featuring Martha Washington Candy, think about complementary flavors. Here are some ideas:
- Fruits: Pair with fresh berries like strawberries and raspberries for a contrast in texture and taste.
- Nuts: Add candied pecans or almonds to provide crunch and balance the sweetness.
- Cheese: A small selection of soft cheeses can bring creamy notes that harmonize beautifully with the candy's rich flavors.
For more insight on creating a stunning candy platter, check out this guide on pairing flavors.
Delicious ways to embellish your presentation
Presentation is key when serving Martha Washington Candy. Here are some creative touches:
- Elegant serving dishes: Use glass or ceramic platters that allow the candy’s colors to shine.
- Garnishes: Add a sprinkle of cocoa powder or a few mint leaves for a pop of color and freshness.
- Themed decorations: Tailor your presentation for holidays or events with themed serving items.
These simple yet effective embellishments will leave a lasting impression at your next gathering!
Time breakdown for Martha Washington Candy
When you're ready to indulge in Martha Washington Candy, it's good to know how your time will be spent. Here’s a breakdown to help you manage your kitchen adventure!
Preparation time
Gathering the ingredients and prepping for Martha Washington Candy takes about 30 minutes. Make sure to line your baking sheet and have everything on hand, including your favorite nuts and chocolate for dipping.
Cooking time
The actual cooking time is quite quick, clocking in at around 10 minutes for melting and mixing the ingredients effectively. You’ll want to stay close to the stovetop for best results.
Total time
When you combine the preparation and cooking, expect the whole process to take approximately 40–45 minutes. After that, you'll have delicious homemade Martha Washington Candy ready to enjoy or share! Need some inspiration for your next dessert? Check out this guide on sweet treats for more ideas!
Nutritional facts for Martha Washington Candy
When indulging in the sweet delight of Martha Washington Candy, it's essential to know what’s in your treat. Here’s a quick breakdown of the nutritional facts to help you enjoy this classic dessert mindfully.
Calories
A typical serving of Martha Washington Candy contains about 120 calories. This makes it a delightful treat without overwhelming your daily caloric allowance.
Sugars
One of the standout features of Martha Washington Candy is its sweetness, which can have about 15 grams of sugar per piece. If you're looking for ways to reduce sugar, consider enjoying smaller portions or pairing it with a low-sugar beverage for balance.
Protein
While primarily a sweet confection, Martha Washington Candy does offer a small protein boost, typically around 1 gram per serving. Consider enjoying this treat alongside a protein-rich snack, like yogurt, for a more balanced approach when satisfying your sweet tooth.
For more detailed nutritional information, check out resources from the USDA FoodData Central or NutritionData, which offer comprehensive insights into various food items. Enjoy your candy while being informed about your choices!
FAQs about Martha Washington Candy
Can I substitute the nuts in this recipe?
Absolutely! If you're not a fan of nuts or have allergies, your Martha Washington Candy can still shine. Instead of traditional nuts, try using seeds like sunflower or pumpkin seeds for that crunch. Or, if you're looking to infuse different flavors, consider dried fruits like cranberries or chopped dates. Just remember, whatever you choose, keep the balance of sweetness in mind!
How long can I store these candies?
Storing your delicious Martha Washington Candy is a breeze. They generally last up to two weeks when kept in an airtight container. For longer storage, placing them in the freezer can extend their lifespan to about three months. Just make sure to wrap each piece in parchment paper to prevent sticking!
What’s the best way to melt chocolate?
Melting chocolate can seem daunting, but it doesn't have to be! Here are a couple of methods to ensure smooth, glossy melted chocolate for your Martha Washington Candy:
-
Microwave Method: Chop your chocolate into uniform pieces and place them in a microwave-safe bowl. Heat in 30-second intervals, stirring in between until fully melted.
-
Double Boiler Method: For a more controlled melt, set a heatproof bowl over a pot of simmering water. Stir the chocolate until it's smooth and melted.
Using either method, just be careful not to overheat the chocolate, as that can lead to a burnt flavor and grainy texture. For more tips, check out this guide on melting chocolate perfectly.
Making Martha Washington Candy is not just about following a recipe; it’s about sharing something delicious with friends and family. Have fun experimenting, and happy candy making!
Conclusion on Martha Washington Candy
Martha Washington Candy is not just a delightful treat; it’s a nostalgic journey. This confection marries the rich flavors of chocolate with creamy fillings, making it an ideal indulgence for any occasion. Whether you plan to share these delightful creations with loved ones or savor them yourself, Martha Washington Candy embodies the spirit of celebration.
Creating this candy can be a fun project, allowing you to customize flavors and fillings to your preference. Plus, you can impress friends with your culinary finesse! Remember, the joy of making these candies is just as sweet as enjoying them. For more tips and variations, check out The Spruce Eats or Food Network for inspiration!
Print
Martha Washington Candy: Easy Indulgence for Homemade Treats
Martha Washington Candy is a delightful and easy-to-make treat that combines creamy and sweet flavors, perfect for indulgence or gifting.
- Total Time: 50 minutes
- Yield: 24 candies
Ingredients
- 1 cup chopped nuts
- 1 cup sweetened shredded coconut
- 1 cup confectioners' sugar
- 2 tablespoons unsweetened cocoa powder
- 1 tablespoon milk
- 1 teaspoon vanilla extract
- 2 cups chocolate chips
Instructions
- In a bowl, mix together chopped nuts, shredded coconut, confectioners' sugar, cocoa powder, milk, and vanilla extract until well combined.
- Form the mixture into small balls and place them on a baking sheet.
- Melt chocolate chips in a microwave-safe bowl, then dip each ball into the chocolate, coating completely.
- Place the chocolate-covered balls back on the baking sheet.
- Refrigerate until the chocolate sets, about 30 minutes.
Notes
- For added flavor, consider using different types of nuts or flavored extracts.
- These candies make excellent gifts when packaged nicely.
- Prep Time: 20 minutes
- Cook Time: 0 minutes
- Category: Dessert
- Method: No-Bake
- Cuisine: American
- Diet: Vegetarian
Nutrition
- Serving Size: 1 candy
- Calories: 150
- Sugar: 12g
- Sodium: 5mg
- Fat: 9g
- Saturated Fat: 5g
- Unsaturated Fat: 4g
- Trans Fat: 0g
- Carbohydrates: 18g
- Fiber: 1g
- Protein: 2g
- Cholesterol: 0mg