Introduction to Strawberry Earthquake Cake
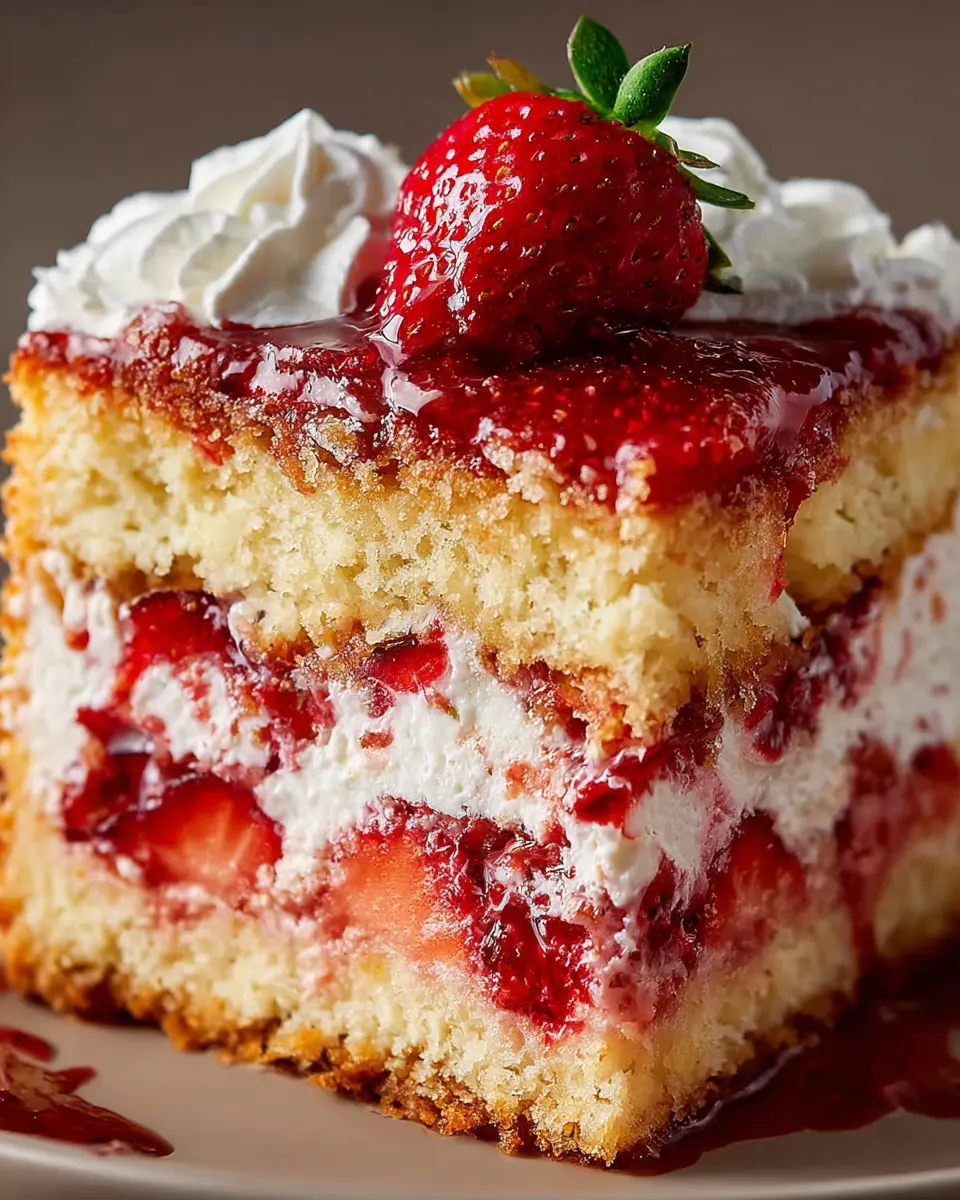
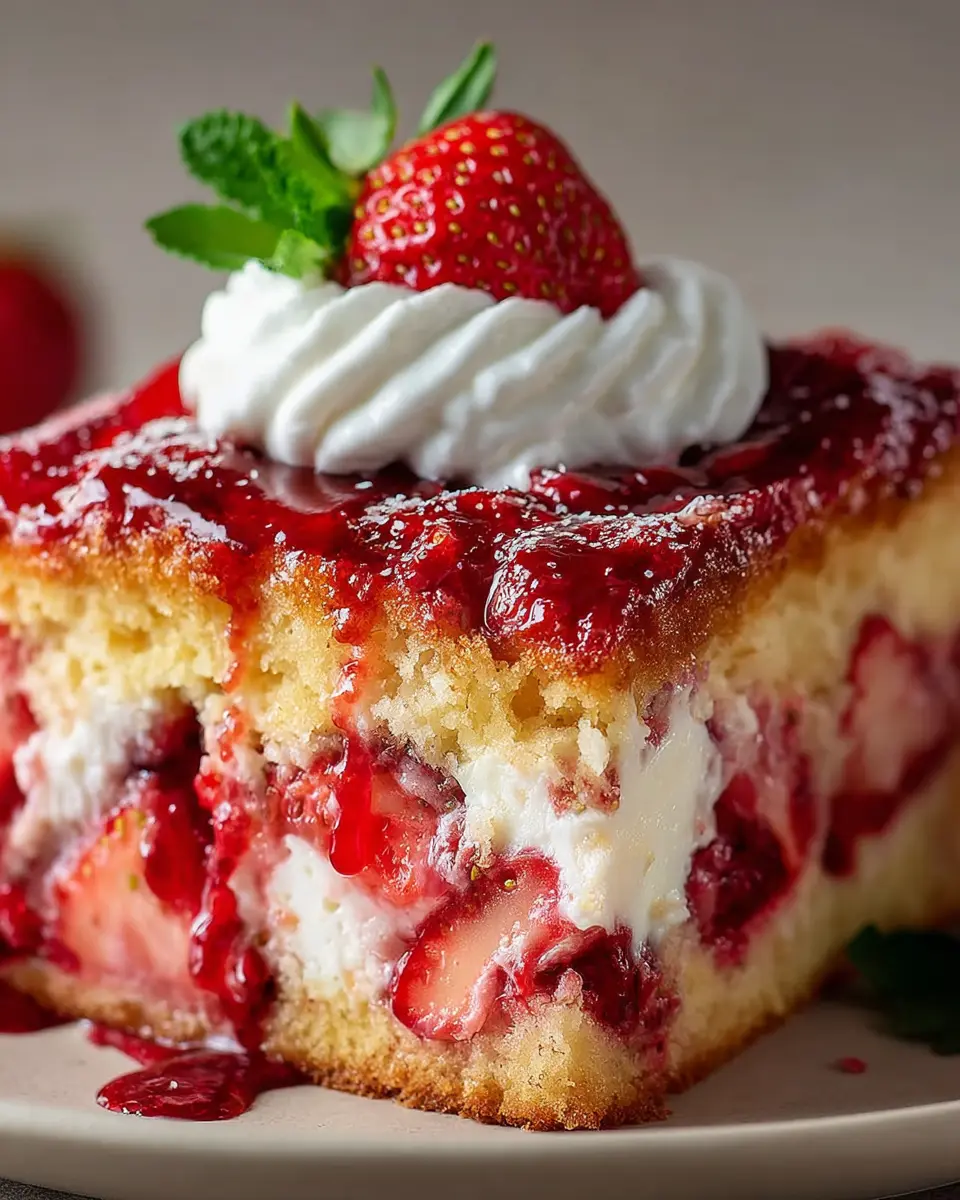
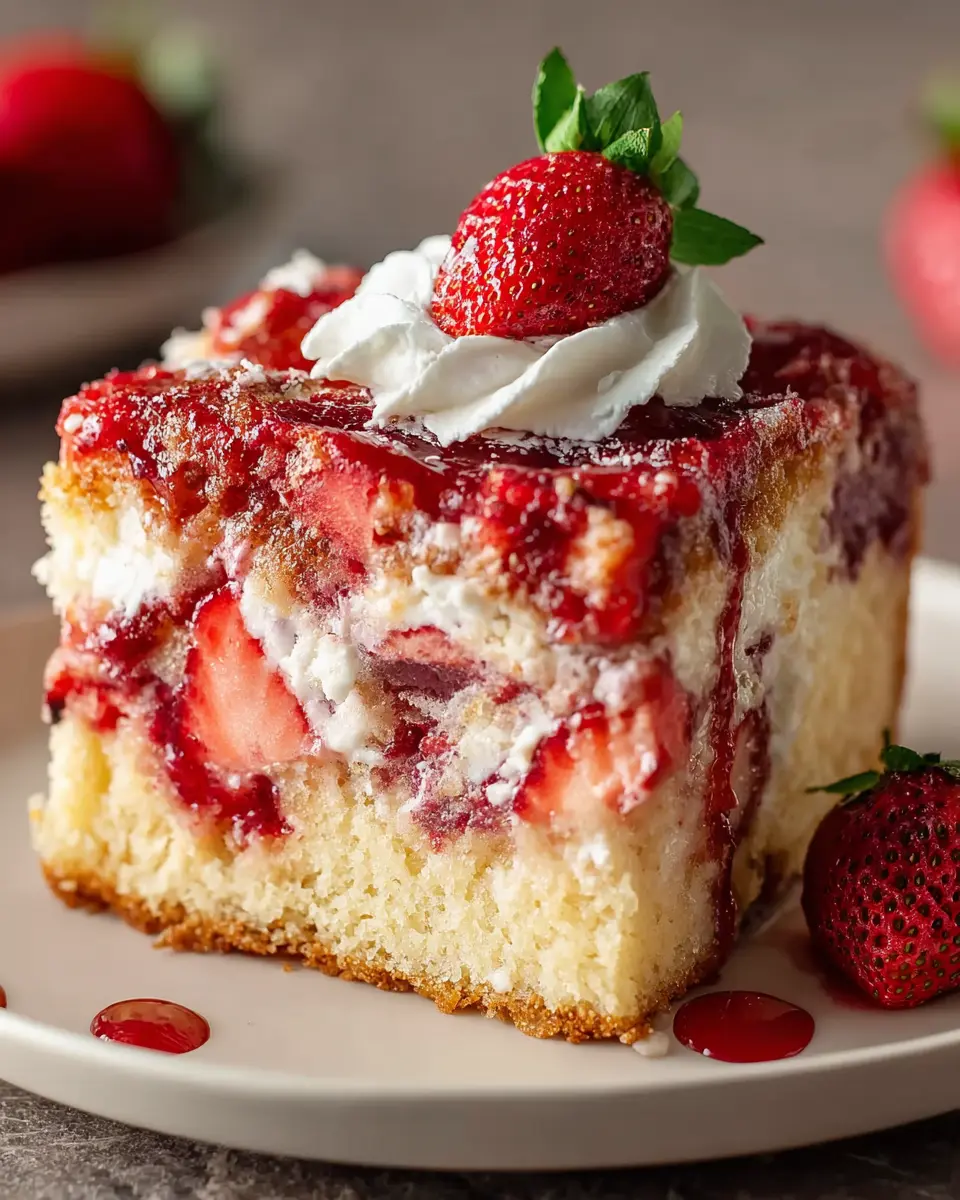
When it comes to delightful desserts that make a splash, you can’t go wrong with a strawberry earthquake cake. This unique treat is as visually captivating as it is delicious, making it a perfect choice for gatherings, celebrations, or even a quiet night in. Imagine a moist chocolate cake filled with a luscious strawberry filling that mysteriously sinks within the layers, creating an "earthquake" effect. It’s as fun to make as it is to eat!
Why you’ll love this cake
-
Flavor Explosion: What makes the strawberry earthquake cake truly special is the harmonious blend of flavors. The rich chocolate pairs beautifully with the sweetness of strawberries, creating a decadent experience you won’t forget.
-
Simple Yet Impressive: Don’t worry if baking isn’t your forte. This cake comes together easily, making it perfect for both seasoned bakers and novices alike. With just a few accessible ingredients and steps, you're just an outing away from serving a showstopper at your next dinner party.
-
Versatile Treat: Whether you’re planning a spring celebration, a summer barbecue, or just a cozy dessert for one, the strawberry earthquake cake fits the bill. Plus, it’s a great option for those who are looking to impress without a lot of fuss.
-
A Taste of Nostalgia: Many of us have fond memories tied to berry-picking and family gatherings over delicious desserts. This cake echoes those enchanting moments, bringing warmth and sweetness to your table.
-
All Year Round: Strawberries may be seasonal, but you can adapt this recipe using frozen berries in the off-season, ensuring your strawberry earthquake cake can be enjoyed any time of the year.
For more inspiration, check out this guide to summer fruits that can elevate your dessert game and check out popular dessert recipes. Get ready to dive into the world of baking magic with this utterly gratifying treat! With its unique installation and flavor profile, the strawberry earthquake cake will definitely shake things up at your next culinary adventure.
Ingredients for Strawberry Earthquake Cake
Essential ingredients
To whip up a delightful Strawberry Earthquake Cake, you'll need a few essential items that are probably already in your kitchen:
- Strawberries: Fresh or frozen, these will be the star of the show.
- Cake Mix: A simple vanilla or yellow cake mix works wonders for a quick base.
- Cream Cheese: This adds a rich, creamy texture that complements the strawberries beautifully.
- Powdered Sugar: Sweetens the cream cheese filling.
- Eggs: Essential for binding everything together.
- Butter: A little melted butter in the mix adds richness.
Optional ingredients for added flavor
Want to elevate your strawberry earthquake cake even further? Consider adding these optional ingredients:
- Vanilla Extract: A splash enhances the cake's sweetness and depth of flavor.
- Lemon Zest: Just a bit of zing can brighten up the flavors.
- Chopped Nuts: Walnuts or pecans can add crunch and heartiness.
- Chocolate Chips: For those who love a chocolate-strawberry combo, this is a game-changer!
By using these ingredients, you’ll create a dessert that’s not only gorgeous but also packed with delightful flavors. For more tips on baking with strawberries, check out Savory Spice. Happy baking!
Preparing Strawberry Earthquake Cake
Creating a strawberry earthquake cake is an adventure that blends luscious strawberries, a rich cream cheese filling, and a delightful cake texture. This cake isn't just delicious—it's visually stunning, making it perfect for gatherings or just a sweet treat at home. Here’s how you can prepare this lovely dessert step by step.
Preheat and Prepare the Pan
Start by preheating your oven to 350°F (about 175°C). While it heats up, grab a 9x13 inch baking pan and prepare it for your cake mix. Grease the pan generously with butter or cooking spray to ensure that your cake slides out effortlessly after baking. If you want to add an extra layer of security against sticking, you can also dust the pan with flour. An expertly prepared pan will give you smooth, clean edges for your strawberry earthquake cake.
Mix the Cake Batter
In a large mixing bowl, combine your cake mix, the ingredients specified on the box, and about a cup of chopped fresh strawberries. The moisture from the strawberries will elevate your cake’s texture and flavor. Use a hand mixer or whisk to blend everything until smooth. For added flair, consider incorporating a teaspoon of vanilla extract; it adds depth to the cake and complements the strawberries beautifully.
Here’s a quick tip: Fresh strawberries can lend not just flavor but also a vibrant color to your cake. If you’re in a rush, frozen strawberries are acceptable, but make sure to thaw and drain excess water before adding them to the mix.
Bake the Cake and Let It Cool
Pour the mixed batter into your prepared pan and bake for approximately 25 to 30 minutes, but keep an eye on it. An inserted toothpick should come out with a few moist crumbs when it's done; if it comes out clean, your cake may be overbaked. Once it’s done, take it out and allow it to cool in the pan for about 10-15 minutes. Afterward, transfer it onto a wire rack to cool completely. Cooling is essential—if the cake is still warm, it can mess with your cream cheese filling later on.
Create the Cream Cheese Filling
While your cake is cooling, it's time to whip up the decadent cream cheese filling. In a medium bowl, beat 8 ounces of softened cream cheese with about half a cup of powdered sugar. For a touch of richness, mix in a teaspoon of vanilla extract. This filling will add a marvelous creaminess that contrasts beautifully with the cake base. Once it's smooth and fluffy, set it aside, but make sure to keep it chilled until you're ready to assemble.
Assemble the Cake Layers
Now comes the fun part—assembly! Once your cake is completely cool, carefully slice it in half horizontally. This will give you two layers of deliciousness. Spread the cream cheese filling over the bottom layer evenly, then gently place the top layer back on. Don’t worry about perfection; it’s the love and effort you put into it that count.
Add the Toppings and Chill
To finish your strawberry earthquake cake, top it with a generous amount of sliced strawberries. You can also drizzle some chocolate syrup or a simple glaze for additional sweetness. Cover the cake with plastic wrap or foil and place it in the refrigerator to chill for at least an hour. Chilling not only enhances the flavors but also helps everything set nicely.
Enjoy making this strawberry delight! With these simple steps, you’re well on your way to serving up a dessert that will wow your friends and family. If you’re interested in additional tips and tricks for baking, consider visiting sites like Bon Appétit or Serious Eats for expert advice and inspiration. Happy baking!
Variations on Strawberry Earthquake Cake
Looking to add a twist to your classic strawberry earthquake cake? Whether you’re craving something decadent or prefer a bit of a healthier spin, we've got just the variations for you!
Chocolate-Covered Strawberry Variation
If you're a fan of the luscious combo of chocolate and strawberries, this one is for you! Start by mixing in chocolate chips into your original batter. You can also drizzle melted dark chocolate over the top before serving for that extra, eye-catching flourish. This not only amplifies the flavor but also adds a beautiful visual appeal.
To enhance the experience, top each slice with fresh strawberries dipped in chocolate. Imagine the mix of rich chocolate and juicy berries coming together—perfect for a gathering or a sweet personal treat! Check out this chocolate-dipped strawberries guide for tips on getting that perfect coating.
Vegan-Friendly Earthquake Cake
You can still indulge in a delicious strawberry earthquake cake even if you’re following a vegan lifestyle! Substitute the eggs with flaxseed meal or applesauce to keep it moist while engaging in a healthier route. Use plant-based yogurt for that creamy texture within the cake, along with a vegan cream cheese for the signature frosting flavor.
Don’t forget to replace traditional milk with almond or oat milk for a nutty flavor that complements the strawberries beautifully. You can find great vegan alternatives and egg replacements here to make your baking adventures more accessible.
With these variations, your strawberry earthquake cake might just become the new star of your dessert table, appealing to all taste preferences! So, which twist will you try first?
Cooking tips and notes for Strawberry Earthquake Cake
Choosing the best strawberries
When making your strawberry earthquake cake, the key is to select ripe, fresh strawberries. Opt for berries that are deep red, firm, and free of blemishes. Local farmers' markets often have the best quality; plus, you can support local growers! If you're in a pinch, frozen strawberries can work too, but ensure they are unsweetened and thawed before use.
Importance of chilling the cake before serving
Chilling your strawberry earthquake cake before serving is crucial. Letting the cake cool for at least an hour allows the flavors to meld beautifully, and the texture becomes more enjoyable. Not only does it enhance the taste, but a cooler cake is also easier to slice without falling apart. Imagine serving a perfectly chilled slice at your next gathering—it’s bound to impress!
Incorporating these tips will elevate your baking game and ensure your strawberry earthquake cake is a delightful centerpiece. For a deeper dive into baking techniques, check out the Joy of Baking for expert insights!
Serving suggestions for Strawberry Earthquake Cake
Ideal occasions for serving
The strawberry earthquake cake is perfect for numerous occasions! Think birthday celebrations, family gatherings, or even a cozy weekend brunch. Its vibrant colors and delicious flavors make it an instant crowd-pleaser. Planning a picnic? This cake travels well in a sealed container, ensuring everyone enjoys a sweet treat. You could even whip one up for potlucks or office parties—trust me, your co-workers will be impressed and grateful.
Pairing ideas with beverages
When it comes to beverages, you want to complement that delightful strawberry flavor. Here are some winning combinations:
- Lemonade: The zesty taste cuts through the sweetness perfectly.
- Iced tea: A refreshing choice that balances the richness of the cake.
- Coffee: An all-time classic pairing that enhances the cake's textures and flavors.
These suggestions will elevate your serving experience and impress your guests. Check out sources like Serious Eats for further inspiration on delicious drink pairings! Enjoy your strawberry earthquake cake in style!
Time breakdown for Strawberry Earthquake Cake
When you’re ready to make your delicious strawberry earthquake cake, it’s helpful to know how long each step takes so you can plan your baking adventure without any surprises. Here's a quick breakdown:
Preparation time
Getting your ingredients ready takes about 20 minutes. Make sure to gather fresh strawberries, cream cheese, and your favorite cake mix.
Baking time
Baking? That'll take around 40 minutes. Keep an eye on the cake to ensure it rises beautifully and achieves that lovely golden brown.
Cooling time
Once baked, allow your masterpiece to cool for about 30 minutes. This is the hardest part, but totally worth it!
Total time
In total, you’re looking at about 1.5 hours to enjoy your strawberry earthquake cake from start to finish. Isn’t it great that you can whip up such a treat in no time?
For more tips on baking timing, check out resources like BBC Good Food. Happy baking!
Nutritional facts for Strawberry Earthquake Cake
Calories per slice
If you're wondering about the indulgence you're getting into, a typical slice of strawberry earthquake cake comes in at around 300 calories. While this might seem high, keep in mind that you're treating yourself to a delightful dessert with rich flavors and textures.
Breakdown of key nutrients
When you savor a piece of this cake, you're enjoying more than just sweetness. Here’s a brief overview of the nutritional facts per slice:
- Total Fat: Approximately 10 grams
- Saturated Fat: About 6 grams
- Carbohydrates: Roughly 43 grams
- Fiber: 1 gram
- Sugars: Around 30 grams
- Protein: 3 grams
It’s great to indulge occasionally, especially when you can appreciate the joy this strawberry earthquake cake brings. For a more health-conscious approach, you can explore substituting some ingredients to reduce sugar or fat content without sacrificing flavor! Check out resources like Healthline for creative alternatives.
With all these factors considered, enjoy your cake in moderation, savoring each bite—but remember, it's not just about the calories; it's about the experience and the memories shared over dessert!
FAQs about Strawberry Earthquake Cake
Cooking can sometimes feel overwhelming, especially when you want everything to be perfect. Don’t worry! Here are some frequently asked questions about strawberry earthquake cake to help you navigate the baking journey with ease.
Can I make this cake in advance?
Absolutely! You can prepare your strawberry earthquake cake a day or two in advance. After it cools, simply cover it tightly with plastic wrap or foil to keep it fresh. This not only saves you time on the day you plan to serve it, but the flavors also have a chance to meld beautifully. If you want to take it a step further, consider freezing it for up to three months. Just ensure to thaw it in the fridge overnight before serving.
What can I substitute for cream cheese?
If you’re not a fan of cream cheese, or if you’re looking for an alternative, you can use ricotta or mascarpone cheese for a similar texture. Greek yogurt is another excellent substitute, giving a nice tangy flavor without the heaviness. Always opt for full-fat versions for the best results. Read more on this healthyeating.com for more swaps!
How long does the cake last in the fridge?
When stored properly in the fridge, your strawberry earthquake cake will last about 4 to 5 days. Ensure it's covered well to prevent it from drying out or absorbing any funky fridge odors. Just be warned – once your friends and family get a taste, it might disappear faster than you think!
By prepping your questions ahead of time, you're set up for success, and armed with the right info, your baking experience can be enjoyable and stress-free. Happy baking!
Conclusion on Strawberry Earthquake Cake
Recap the highlights of making this cake
Making a strawberry earthquake cake is a delightful journey, filled with fun and flavor. You start with a simple yet rich base of cake mix, embracing creativity by folding in playful swirls of cream cheese and sweet strawberries. The resulting explosion of flavors captures the essence of a summer garden in every bite.
This cake is not just about the taste; it's also an eye-catching centerpiece for any gathering. Whether you're celebrating a birthday or enjoying a casual weekend treat, it’s sure to impress.
For more tips on dessert pairings, feel free to check out great resources like The Kitchn or Serious Eats and elevate your culinary game. Enjoy your baking adventures!
Print
Strawberry Earthquake Cake: The Indulgent Treat You'll Love
A deliciously rich and decadent dessert that combines the flavors of rich chocolate cake with the fresh taste of strawberries.
- Total Time: 1 hour 5 minutes
- Yield: 12 servings
Ingredients
- 1 box chocolate cake mix
- 4 large eggs
- 1 cup water
- ½ cup vegetable oil
- 1 cup fresh strawberries, sliced
- 1 cup cream cheese, softened
- 1 cup powdered sugar
- ½ cup cocoa powder
- ½ cup chocolate chips
Instructions
- Preheat the oven to 350°F (175°C).
- In a large bowl, combine cake mix, eggs, water, and vegetable oil. Mix until smooth.
- Pour half of the cake batter into a greased 9x13 inch baking dish.
- In another bowl, blend cream cheese and powdered sugar until smooth. Add sliced strawberries and mix gently.
- Spread the cream cheese mixture over the batter in the baking dish.
- Pour the remaining cake batter on top.
- Sprinkle cocoa powder and chocolate chips on top of the batter.
- Bake for 40-45 minutes, or until a toothpick comes out clean.
- Let cool before serving.
Notes
- Serve with whipped cream for added indulgence.
- Can be made a day ahead for improved flavor.
- Prep Time: 20 minutes
- Cook Time: 45 minutes
- Category: Dessert
- Method: Baking
- Cuisine: American
Nutrition
- Serving Size: 1 slice
- Calories: 350
- Sugar: 25g
- Sodium: 300mg
- Fat: 15g
- Saturated Fat: 5g
- Unsaturated Fat: 8g
- Trans Fat: 0g
- Carbohydrates: 50g
- Fiber: 2g
- Protein: 6g
- Cholesterol: 50mg