Introduction to Homemade Luncheon Meat
When you think about lunch options, nothing beats the convenience of a well-prepared sandwich featuring delicious luncheon meat. But let's face it—store-bought varieties can be packed with preservatives and fillers, leaving you questioning what you're actually putting into your body. That's where homemade luncheon meat comes in, transforming the way you approach your midday meals.
Why Homemade Luncheon Meat is a Gamechanger
Creating your own homemade luncheon meat allows you to take control of the ingredients. You'll know precisely what goes into your dish, from choosing grass-fed beef to opting for leaner cuts, ensuring not only superior flavor but also a healthier meal option. Many store-bought brands pack their products with additives and unnecessary sodium; according to the American Heart Association, excessive sodium intake is linked to heart disease and hypertension. Why gamble with your health when you can whip up a batch of flavorful luncheon meat at home?
Imagine the satisfying aroma of seasoned beef cooking, blending with spices that cater to your taste. You can experiment with flavors like garlic, black pepper, or even a hint of chili for a kick. Plus, making your own lets you avoid common allergens and unwanted fillers, focusing instead on natural, wholesome ingredients. If you're curious about some popular options, check out this Nutritional Guidelines for Healthy Eating from the USDA for more insights.
Making homemade luncheon meat also opens the door for creativity; you might even choose to incorporate other proteins, like chicken ham or turkey bacon, into your recipe. The preparation process is simpler than you may think—just blend your ingredients, shape, and let your meat cook until delightfully tender. With your homemade version, you’ll always have a wholesome, ready-to-eat option on hand.
In a world where taste often compromises nutrition, homemade luncheon meat empowers you to have the best of both. Are you ready to bring this culinary gem into your kitchen? Trust me, you'll never look at lunchtime the same way again.
Ingredients for Homemade Luncheon Meat
Creating your own homemade luncheon meat can be incredibly rewarding, not to mention tasty! Let’s dive right into the ingredient list that will elevate your lunchtime meal.
The Core Ingredients
- Beef: Choose a quality cut to ensure a juicy and flavorful base for your homemade meat.
- Chicken Ham: This will lend a delightful savory note, making your homemade luncheon meat more deliciously complex.
- Turkey Bacon: Adding turkey bacon not only boosts flavor but makes the dish a little lighter.
- Garlic Powder: For that aromatic kick that everyone loves.
- Onion Powder: A pinch of onion powder adds depth and complements the other flavors beautifully.
- Black Pepper and Salt: Essential for seasoning. Use them to adjust to your taste.
- Chicken Broth: This will keep your mixture moist while imbuing it with additional flavor. If you're looking for a veggie option, consider vegetable broth for a lovely twist.
- Gelatin: An unexpected but fantastic ingredient that helps your meat set and retain moisture.
Keep It Fresh!
Don't forget to check out high-quality ingredient sources, like USDA's guidelines for meat or local farmers' markets for fresh produce. Remember, using fresh ingredients not only enhances flavor but also supports your local economy.
By blending these ingredients, you'll be on your way to enjoying delicious and satisfying homemade luncheon meat that’s perfect for sandwiches or on its own!
Step-by-Step Preparation of Homemade Luncheon Meat
Homemade luncheons meat is a delightful twist on a classic comfort food, and crafting it in your kitchen can bring satisfaction like no other. This Filipino-style recipe blends flavors you love into a savory treat that not only tastes fantastic but also allows you to control the ingredients. Ready to dive in? Let’s get started!
Prepare the Mixture
To begin, gather your ingredients. Here’s what you’ll need:
- 500g beef, finely ground
- 200g chicken ham, finely chopped
- 100g turkey bacon, diced
- 2 tablespoons soy sauce (for flavor)
- 1 tablespoon garlic powder
- 1 tablespoon onion powder
- 1 teaspoon black pepper
- Salt (to taste)
- ¼ cup water or low-sodium chicken broth
- 1 egg (to bind the mixture)
In a large bowl, combine all the ingredients. It’s essential that the mixture is well-blended to ensure even flavor throughout your homemade luncheon meat. Use your hands to mix everything thoroughly; it’s a bit messy, but it’s also the best way to connect with your ingredients.
For an extra boost of flavor, consider adding a pinch of smoked paprika or a dash of Worcestershire sauce. Aromatic flavors will enhance the depth of taste, making your homemade luncheon meat something special. The key is to play around with flavors that resonate with your palate!
Shape the Loaf
Once your mixture is ready, it’s time to shape it into a loaf. Line a loaf pan with parchment paper for easy removal later. Using your hands or a spatula, press the meat mixture into the pan evenly. Don’t forget to pack it tightly; this helps create a firm product that slices beautifully.
After shaping your loaf, you might want to cover it with foil. This protects it during the steaming process and helps keep all those tasty juices intact. Did you know that steaming allows the meat to retain its moisture better than other cooking methods? Trust us, it’s worth it!
Steam the Luncheon Meat
Now that your loaf is nicely packed and wrapped, it’s time to steam! Fill a large pot with water and bring it to a gentle boil. Place your loaf pan on a steaming rack over the boiling water, ensuring it’s not submerged in the water. Cover the pot and steam for about 1 to 1.5 hours.
Keep an eye on the water level – it should stay consistently above the bottom of the pot. If it starts to get too low, add more hot water to maintain steam. You’ll know your homemade luncheon meat is done when it reaches an internal temperature of 165°F (75°C). This is the perfect temperature to guarantee safety while enjoying a delectable meal.
Cool and Chill
After steaming, carefully remove the loaf and let it cool for about 15-20 minutes at room temperature. Next, place it in the refrigerator for at least 4 hours or, better yet, overnight. Chilling allows the flavors to meld beautifully and makes slicing effortless.
Imagine waking up to the anticipation of homemade luncheon meat sandwiches for breakfast! Plus, chilling gives you an exciting reward after a bit of patience.
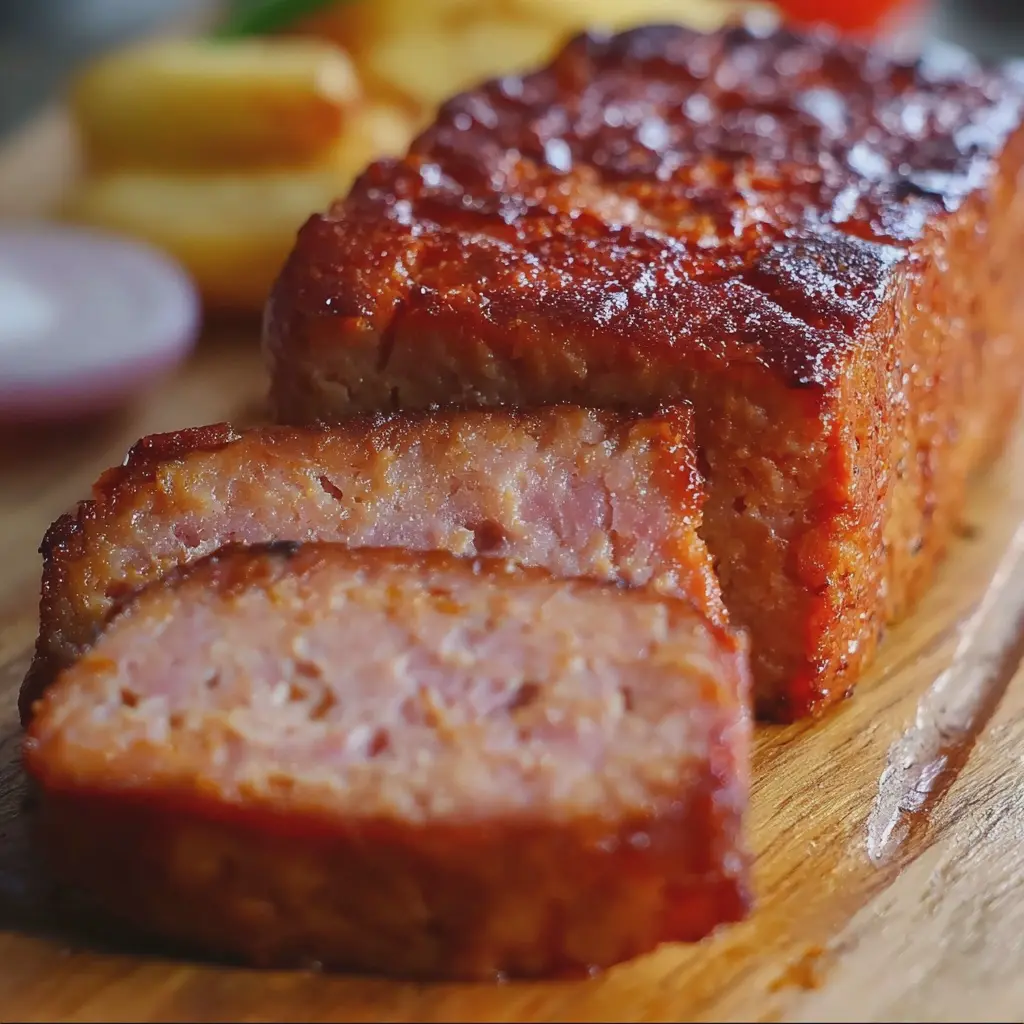
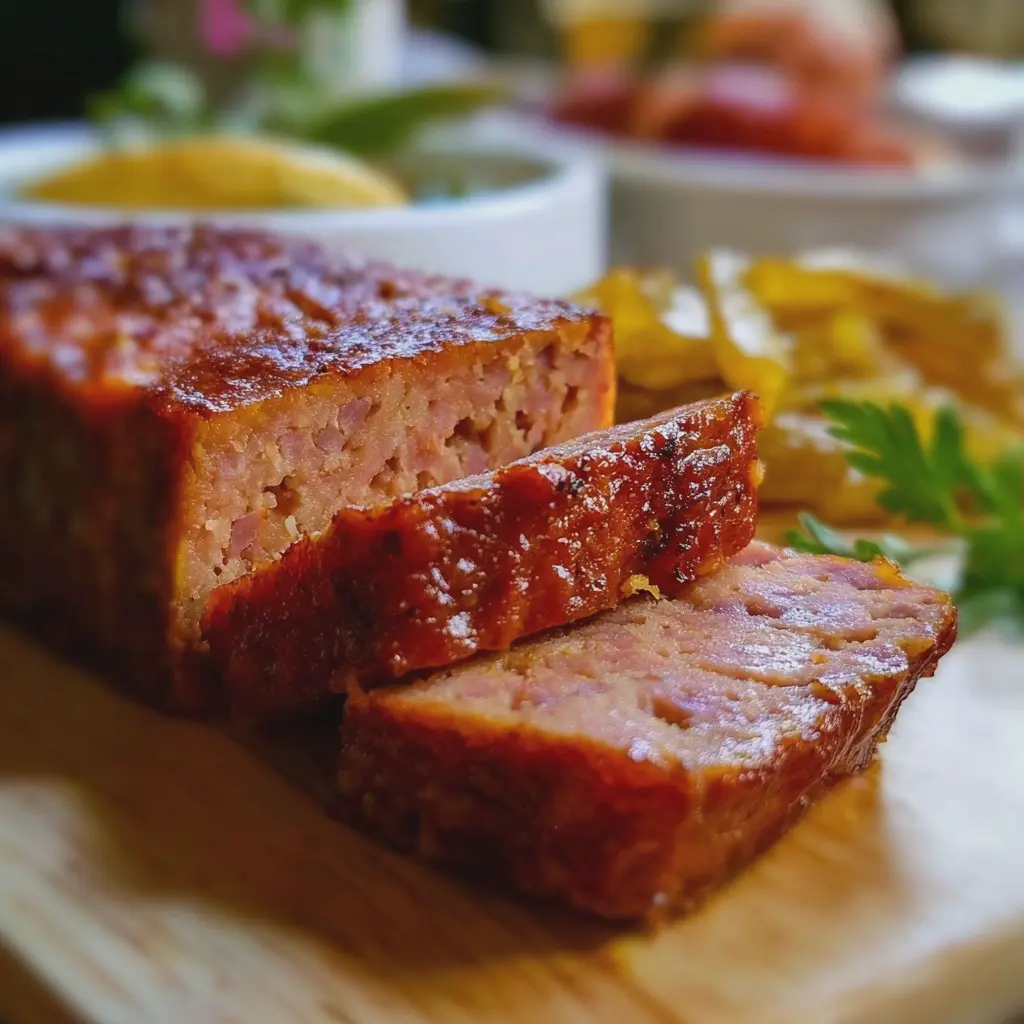
Slice and Fry
Once chilled, it’s time to slice your homemade luncheon meat. Using a sharp knife, cut it into even slices about a quarter-inch thick. These slices are perfect for frying until golden brown – about 2 to 3 minutes per side in a lightly oiled pan.
The sizzling turkey bacon will add an irresistible crunchy texture that contrasts wonderfully with the savory, soft meat. Serve it in a sandwich, or pair it with eggs and rice for a traditional breakfast. Each mouthful will be a reminder of why making homemade food is so rewarding.
Homemade luncheon meat is not just about the end product; it’s also about the experience of cooking and learning along the way. So, why not give it a go? You might just discover that your kitchen is the best place for culinary adventures!

Variations on Homemade Luncheon Meat
Filipino-Style with Added Spices
If you're looking to elevate your homemade luncheon meat, why not add a Filipino twist? Incorporating traditional spices can make your dish more vibrant and flavorful. Consider adding:
- Garlic powder for that punchy aroma.
- Ground black pepper for mild heat and depth.
- Cayenne pepper or chili flakes if you enjoy some spice.
- Soy sauce or even a splash of pineapple juice for a touch of sweetness.
Mixing these ingredients not only enhances flavor but also personalize your homemade luncheon meat to suit your taste buds. The best part? You can control the spice levels, ensuring a balanced dish that delights everyone at your table.
Alternative Meats for Variety
While traditional homemade luncheon meat often features beef, don’t hesitate to explore other options for a unique twist. Here are some alternatives to consider:
- Turkey Bacon: A leaner choice with a delightful, smoky flavor. It's great for breakfast sandwiches or as a savory snack.
- Chicken Ham: This is juicy and tender, providing a different texture and taste that pairs wonderfully with cheeses and spreads in your lunches.
- Vegetarian Options: For those leaning towards plant-based diets, consider using tofu or seitan seasoned to mimic that classic luncheon meat flavor.
Experimenting with different meats can keep lunchtime exciting. You might even discover a new family favorite! For more inspiration on homemade meat substitutes, check out this article on plant-based meats.
By diversifying your ingredients and flavors, your homemade luncheons won't just be a meal—they'll be an experience!
Cooking Tips and Notes for Homemade Luncheon Meat
Creating your own homemade luncheon meat is both a rewarding and fun experience! Here are some tips to ensure that your recipe turns out amazing every time.
Choose Your Meat Wisely
Opt for lean cuts of beef or mix in some turkey bacon for added flavor. A balanced selection not only enhances the taste but also contributes to the overall texture.
Seasoning Matters
Don’t shy away from experimenting with different spices! A pinch of garlic powder, pepper, and maybe even some smoked paprika can elevate your homemade luncheon meat to a new level. For insights on seasoning, check out this great guide.
Texture Troubles?
If you aim for a smoother texture, a food processor can be your best friend. Blend the mixture until it's just shy of puree—this helps achieve that classic sliced texture we all love.
Perfecting the Cooking Process
Cook in a preheated water bath for even heating. This method helps keep your homemade luncheon meat moist and prevents it from drying out.
By following these simple tips, you’ll impress not just yourself, but anyone lucky enough to taste your delicious creation!
Serving Suggestions for Homemade Luncheon Meat
Classic pairings with garlic fried rice
There’s nothing quite like homemade luncheon meat alongside a hearty serving of garlic fried rice. The rich, savory flavors of the meat perfectly complement the aromatic notes of garlic, creating a delightful breakfast or brunch option. For an added flair, top your dish with a sunny-side-up egg or some fresh scallions.
If you're in the mood for something savory but lighter, a side of pickled vegetables can really elevate the meal, balancing the richness with some acidity. Not sure where to find great pickling recipes? Check out this guide.
Creative sandwich ideas
Looking to switch up your lunchtime routine? Incorporate homemade luncheon meat into a variety of sandwiches!
- Banh Mi-Style: Layer slices of your homemade delicacy with pickled carrots, cucumber, and a drizzle of sriracha mayo on a crusty baguette.
- Classic Club: Stack it with turkey bacon, lettuce, tomato, and your favorite spread for a satisfying meal.
Feeling adventurous? Consider combining different textures—like crunchy slaw or creamy avocado—to create a sandwich that pops with flavor! Want more sandwich inspiration? Check out this article on creative sandwich ideas.
Each option opens up a world of flavor and is sure to impress your friends or coworkers!
Time Breakdown for Homemade Luncheon Meat
When it comes to making your very own homemade luncheon meat, getting the timing right makes all the difference. Let’s break it down so you know just what to expect.
Preparation time
Getting everything prepped for your homemade luncheon meat is essential. Allow about 20 to 30 minutes for chopping, seasoning, and mixing your ingredients. It’s your chance to experiment with flavors, so don’t rush!
Cooking time
Once you're all set, you’ll need about 1 to 1.5 hours to cook your luncheon meat, ensuring it’s perfectly tender and delicious. This can include some relaxing time to let it simmer while you focus on other snacks or drinks.
Total time
In total, you’ll be looking at 1 hour and 50 minutes to 2 hours from start to finish. But trust me, the wait is well worth it for that savory, juicy goodness.
For more tips on timing and techniques in homemade cooking, check out resources like Serious Eats or America's Test Kitchen. Happy cooking!
Nutritional Facts for Homemade Luncheon Meat
When preparing homemade luncheon meat, you’re not just creating a tasty dish; you’re putting thought into nutritional benefits as well. Here’s a quick breakdown of what you can expect per serving.
Calories per serving
Each serving of homemade luncheon meat typically contains around 150–200 calories, depending on your recipe variations. This makes it a sensible choice for a light lunch or snack while keeping your daily caloric intake in check.
Protein content
One of the standout features of homemade luncheon meat is its high protein content. You can enjoy roughly 18–25 grams of protein per serving, depending on whether you opt for turkey bacon or chicken ham. Protein is essential for muscle repair and keeping you satiated throughout the day.
Sodium levels
Like many deli meats, homemade luncheon meat can be sodium-rich, ranging from 300 to 600 mg per serving. To manage your sodium intake, consider seasoning it with herbs and spices instead of salt. This not only enhances flavor but also makes it a healthier choice. For more insights on sodium recommendations, you might check out this resource.
By making your own homemade luncheon meat, you're in control of the ingredients, helping you to enjoy a delicious meal that fits your health goals without the guesswork of store-bought options.
FAQs about Homemade Luncheon Meat
How long can I store homemade luncheon meat?
When it comes to storing your homemade luncheon meat, you’ll be pleased to know it can last quite a while! Once cooked and cooled, you can keep it in the refrigerator for up to a week. To ensure it stays as fresh as possible, make sure to wrap it tightly in plastic wrap or store it in an airtight container. If you’re planning to use it later, storing it in the freezer is your best bet!
Can I freeze homemade luncheon meat?
Absolutely! Freezing your homemade luncheon meat is a smart way to extend its shelf life. Just slice it into portions that suit your meals, and wrap each piece individually in plastic wrap, then place them in a freezer bag. This way, you can easily take out what you need without having to thaw the entire batch. It can stay frozen for up to three months without losing its delicious flavor.
What are the best spices to customize my luncheon meat?
Getting creative with spices can elevate your homemade luncheon meat to a whole new level. Here are some delightful options to consider:
- Garlic powder for that robust flavor.
- Black pepper for a subtle kick.
- Smoked paprika for a smoky depth.
- Dried herbs like oregano or thyme for an aromatic touch.
- Crushed red pepper if you like a bit of heat.
Feel free to mix and match these spices according to your taste preferences! By experimenting with different seasonings, you’ll be able to craft a version of homemade luncheon meat that’s uniquely yours.
If you're curious to learn more about the benefits of custom seasoning, this article from Healthline is a great read!
Conclusion on Homemade Luncheon Meat
Creating your own homemade luncheon meat is not just a fun culinary project; it’s also an opportunity to control what goes into your food. With thoughtful ingredients like beef and chicken ham, and a hint of personalized seasoning, you can craft a delicious alternative to any store-bought option. Make your sandwich standout with this delightful spread, or even slice it for a family breakfast featuring turkey bacon. Embrace the versatility of this dish and consider experimenting with flavors or pairing it with vegetables for a fresh twist.
For more tips on enhancing your meals, check out this resource for inspiration!
Print
Homemade Luncheon Meat: Easy Filipino-Style Turkey Bacon Recipe
Discover how to make delicious Homemade Luncheon Meat in the Filipino style with this easy turkey bacon recipe that your family will love.
- Total Time: 55 minutes
- Yield: 4 servings
Ingredients
- 1 pound ground turkey
- ¼ cup soy sauce
- ¼ cup cornstarch
- 1 teaspoon garlic powder
- 1 teaspoon onion powder
- ½ teaspoon black pepper
- ¼ cup sugar
- 2 tablespoons cooking oil
- 1 tablespoon salt
Instructions
- In a large mixing bowl, combine ground turkey, soy sauce, cornstarch, garlic powder, onion powder, black pepper, sugar, oil, and salt.
- Mix all the ingredients thoroughly until well incorporated.
- Transfer the mixture into a mold or a loaf pan.
- Cover the mold with foil and steam for about 45 minutes.
- Once cooked, let it cool completely before slicing.
- Store the sliced luncheon meat in an airtight container in the refrigerator.
Notes
- For a spicier version, consider adding chopped chili flakes.
- This recipe can be adapted using different types of ground meat.
- Prep Time: 10 minutes
- Cook Time: 45 minutes
- Category: Main Dish
- Method: Steaming
- Cuisine: Filipino
- Diet: Low-Carb
Nutrition
- Serving Size: 1 slice
- Calories: 150
- Sugar: 2g
- Sodium: 600mg
- Fat: 8g
- Saturated Fat: 2g
- Unsaturated Fat: 6g
- Trans Fat: 0g
- Carbohydrates: 5g
- Fiber: 0g
- Protein: 20g
- Cholesterol: 60mg