Introduction to Cherries in the Snow
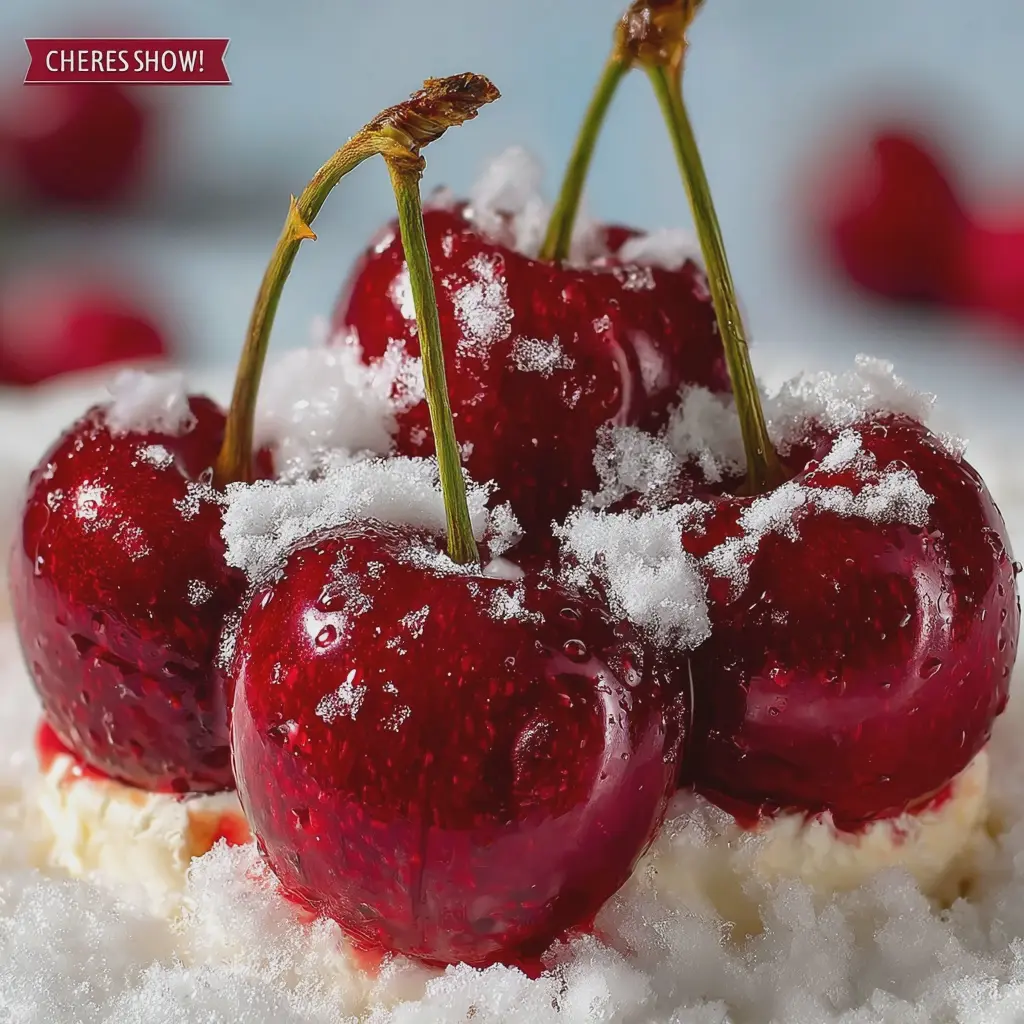
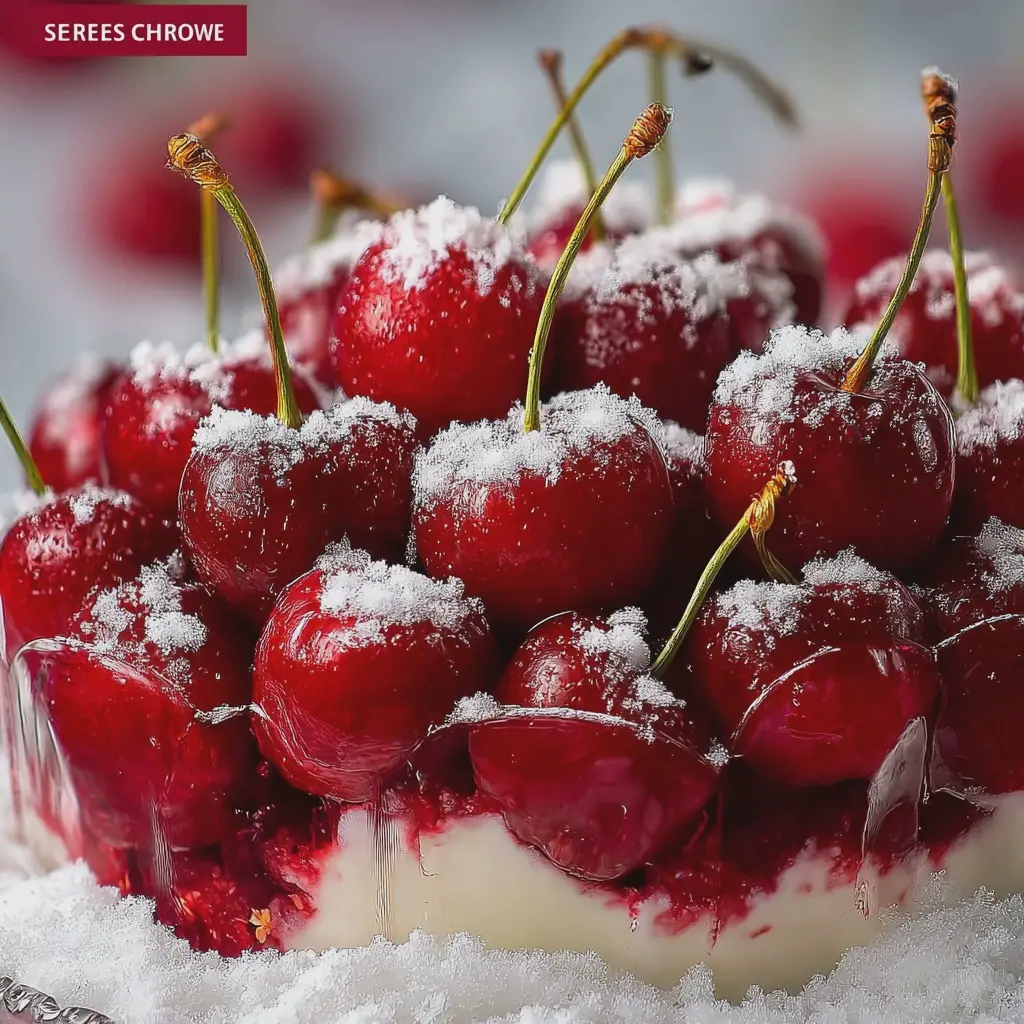
When it comes to homemade desserts, few dishes evoke the same level of nostalgia and delight as Cherries in the Snow. This luscious treat combines the tartness of fresh cherries with the creamy indulgence of a fluffy, whipped topping, creating a delightful contrast that dances on the palate. Perfect for both intimate gatherings and family celebrations, this dessert speaks to the heart and brings everyone together around the table.
A Sweet Indulgence for Homemade Dessert Lovers
Imagine serving a dessert that not only looks stunning but also offers a refreshing taste. Cherries in the Snow is that sweet indulgence that can elevate any meal. The recipe is simple yet elegant, making it ideal for those of us who appreciate homemade desserts without the fuss. With just a handful of ingredients—fresh cherries, whipped topping, and perhaps a hint of vanilla—you can whip this up in no time.
Ever wondered how a dessert can be both luxurious and straightforward? That’s the charm of Cherries in the Snow. It’s a dessert that doesn’t require exotic skills or unattainable ingredients. Instead, it encourages creativity in the kitchen. You can customize it by adding different fruits, like strawberries or blueberries, to suit your taste preferences. For tips on kitchen equipment to make your dessert-making process smoother, check out this guide on essential kitchen tools.
Did you know that cherries are not only delicious but also packed with antioxidants? According to research from the American Cherry Growers, cherries can help reduce inflammation and even improve sleep quality. So, indulging in Cherries in the Snow could be a delicious way to treat yourself while enjoying the health benefits of cherries.
Whether you're hosting a dinner party or looking for a delightful way to cap off a weeknight dinner, this dessert shines. Plus, it's a fantastic opportunity to involve your friends or family in the preparation. Cooking together can turn dessert-making into a fun and memorable event. So, gather your loved ones and dive into the sweet world of Cherries in the Snow—you won’t regret it!
Ingredients for Cherries in the Snow
When it comes to making Cherries in the Snow, the ingredient list is simple yet delightful. Let’s gather what you’ll need for this tasty treat.
Fresh Cherries
- 2 cups of fresh cherries: Look for ripe, juicy cherries; they’re the star of the show! If you can't find fresh ones, frozen works too—just thaw them first.
Creamy Base
-
1 cup of heavy whipping cream: This will give your dish that luscious, creamy texture. For a lighter option, you can substitute with half-and-half.
-
½ cup of powdered sugar: This adds sweetness. Adjust to taste, especially if you want to balance the tartness of the cherries.
Flavor Enhancers
-
1 teaspoon of vanilla extract: Adds warmth and depth. Using pure vanilla can elevate the flavor profile significantly.
-
A pinch of salt: It may seem minor, but this tiny addition enhances all the flavors beautifully.
Garnishes and Extras
- Optional: Toasted almonds for crunch: A sprinkle on top adds a lovely texture and nutty flavor.
These ingredients come together to create a delightful dessert that’s perfect for any occasion. Curious about other variations? Check out this resource on delicious fruit desserts for inspiration! Preparing Cherries in the Snow is not just cooking; it’s an experience that brings a little joy to your everyday meals!
Step-by-step Preparation for Cherries in the Snow
Creating the perfect dessert can be a daunting task, but with this step-by-step guide, you’ll have no trouble whipping up a beautiful and delicious dish, Cherries in the Snow. This creamy dessert, layered with light angel food cake and topped with sweet cherries, is sure to impress your friends and family. Let's dive into what you'll need and how to put this delightful treat together.
Gather your ingredients
The first step in preparing Cherries in the Snow is to gather your ingredients. You'll need the following:
- Angel food cake (store-bought or homemade)
- Cream cheese (8 oz, softened)
- Powdered sugar (1 cup)
- Whipped topping (12 oz, thawed)
- Canned or fresh cherries (1 can or 2 cups)
- Cherry pie filling (optional but tasty)
Make sure you pick up quality ingredients; after all, they make a difference! For tips on selecting fresh cherries, you might want to check out this guide.
Prepare the cream cheese mixture
Once you’ve gathered everything, it’s time to make the cream cheese layer. In a mixing bowl, beat the softened cream cheese until it is smooth and creamy. Gradually add the powdered sugar and mix until combined. Gently fold in the thawed whipped topping until the mixture is light and fluffy.
Tips:
- Be cautious not to overmix, as you want to maintain that airy texture.
- If you’re feeling adventurous, consider adding a splash of vanilla extract for an extra flavor boost.
Assemble the base with angel food cake cubes
Next, we’ll create the base of our dessert. Cut the angel food cake into small cubes—about 1 inch is ideal. This cake's light texture is perfect for soaking up the cherry and cream cheese flavors.
Now, in a trifle dish or a large bowl, layer the angel food cake cubes across the bottom. Ensure even coverage, as this will set the foundation for your Cherries in the Snow masterpiece.
Layer in the cream cheese mixture
Now for the fun part! Scoop a generous amount of the cream cheese mixture over the angel food cake cubes, making sure to cover them completely. For visual appeal—and taste—try to create a smooth, even layer. You can use a spatula to help spread it out evenly.
Feeling creative? You can also alternate layers of cake cubes and cream cheese mixture to create a stunning visual effect in your dish.
Add the cherry topping
With the layers in place, it’s time to give your Cherries in the Snow its final touch. Spoon the cherry topping over the cream cheese layer, letting the juices drizzle down to add flavor to the cake beneath. If you’re using cherry pie filling, spread it evenly across the top for that perfect finish.
Want some crunch? Feel free to sprinkle some crushed nuts or granola on top for an added texture.
Chill and let the flavors meld
Once your dessert is fully assembled, it's crucial to let it chill in the refrigerator for at least 4 hours, or even overnight if you can wait. This chilling lets the flavors meld beautifully—trust me, it’s worth the patience!
When you’re ready to serve, slice into the layers and dish out generous portions. Your friends and family will be eagerly anticipating this delightful treat, and you’ll be the star of the gathering!
In conclusion, preparing Cherries in the Snow is a straightforward process filled with simple steps that yield impressive results. So why not give it a try? Your taste buds and social circle will thank you! For more delicious desserts, take a look at this collection of sweet treats. Happy cooking!
Variations on Cherries in the Snow
When it comes to the delightful dessert of Cherries in the Snow, the possibilities for creative variations are nearly endless. Here are two fun ideas that can elevate your dish to new heights, perfect for impressing friends at your next gathering.
Tropical Twist with Pineapple
Imagine taking that classic Cherries in the Snow and transporting it to a tropical paradise. By incorporating fresh pineapple, you add a refreshing zesty flair that completely transforms the experience. Here’s how you can do it:
- Prepare diced, ripe pineapple to mix with your cherries.
- Layer the cherries and pineapple atop a fluffy cloud of whipped cream (you can also use coconut whipped cream for a truly tropical vibe).
- Garnish with shredded coconut or even a sprinkle of lime zest for an extra kick.
The sweetness of the pineapple juxtaposed with the tartness of the cherries creates a delicious harmony. Plus, pineapple is rich in vitamins and a great source of digestive enzymes!
Chocolate Cherry Delight
If you're a fan of chocolate (and let's be honest, who isn't?), then this variation is a must-try! Chocolate and cherries are a timeless combination. Here’s how to give your Cherries in the Snow a decadent upgrade:
- Melt down high-quality chocolate or use chocolate syrup to drizzle over your dessert.
- Mix in some mini chocolate chips for added texture and indulgence.
- Top with whipped cream and a few whole cherries for that perfect finishing touch.
This version not only satisfies your sweet tooth but also packs the antioxidant power of dark chocolate. For tips on choosing the best chocolate, you can check out resources like The Chocolate Life.
By trying these imaginative takes on Cherries in the Snow, you can take a simple yet delightful dessert and elevate it to a showstopper—ideal for entertaining!
Cooking Tips and Notes for Cherries in the Snow
When preparing your Cherries in the Snow, a few thoughtful tips can elevate your dish from good to fabulous. Whether you’re a kitchen novice or a seasoned pro, these friendly pointers will help you create something special.
Selecting Perfect Cherries
- Freshness Matters: Always opt for ripe, plump cherries. They should be bright in color and firm to the touch. Learn more about selecting fruits from resources like The Spruce Eats.
- Sweetness Preference: Remember, the sweetness of your cherries will dictate the overall flavor of your dish. If you prefer a more tart option, go for sour cherries instead.
Cream Alternatives
For the fluffy layer that represents the “snow”, consider using alternatives like Greek yogurt or whipped coconut cream if you want a healthier twist.
Elevate with Seasonal Flavors
- Herbs & Spices: Introduce a hint of fresh mint or vanilla extract to add depth to your Cherries in the Snow. A touch of cinnamon can provide a warm undertone, perfect for any gathering.
Enjoying Leftovers
If you find yourself with leftovers, don’t worry! They can be stored in an airtight container in the fridge for up to three days. Just be sure to enhance the flavors a bit before serving again by adding fresh cream or a sprinkle of nuts for crunch.
Happy cooking!
Serving Suggestions for Cherries in the Snow
When you're indulging in the delightful dessert of Cherries in the Snow, consider how to elevate this treat for your next gathering. Here are some fun and easy serving suggestions to make your dessert the star of the show.
Pair with Savory Delights
To create a balance of flavors, serve your Cherries in the Snow alongside savory options. Here are some great pairings:
- Turkey Bacon: The saltiness of crispy turkey bacon contrasts beautifully with the sweet cherries, making for an irresistible bite.
- Chicken Ham: The mild flavor of chicken ham can enhance the overall taste profile while keeping it light and refreshing.
Create a Dessert Bar
Why not set up a mini dessert bar? Stack bowls of chopped nuts, whipped coconut cream, and toasted coconut flakes. This allows guests to customize their Cherries in the Snow, catering to different preferences.
Go for Fun Drink Pairings
For a refreshing beverage, consider serving homemade lemonade or sparkling water with a splash of cherry juice. Both will complement the dessert’s flavors while keeping the vibe fresh and uncluttered.
By thinking creatively about how to serve Cherries in the Snow, you'll not only impress your guests but also create a memorable experience that encourages conversation and connection. Want to explore more dessert ideas? Check out Serious Eats for inspiration on sweet pairings and innovative presentations!
Time Breakdown for Cherries in the Snow
When you're ready to whip up your delicious Cherries in the Snow treat, it’s important to plan out your time effectively. Here’s a simple breakdown:
Preparation Time
The preparation for Cherries in the Snow typically takes about 15 minutes. This is when you’ll wash your cherries, and assemble your ingredients. It’s quick and allows you to enjoy the sweeter side of cooking.
Chilling Time
After mixing everything together, you’ll need to chill the dessert for at least 2 hours. This step is crucial; it lets the flavors meld beautifully while the creamy texture firms up.
Total Time
In total, you’re looking at approximately 2 hours and 15 minutes from start to finish. Make sure to give yourself enough time to relax while it chills. After all, enjoying a delightful dessert is equally about the anticipation! If you want to learn more about chilling and dessert techniques, check out this cooking guide.
Nutritional Facts for Cherries in the Snow
When you're whipping up Cherries in the Snow, it's not just the delightful taste that matters; it’s also about what’s going into your body. Let’s break down the nutritional facts for this charming dessert.
Calories per serving
Each serving of Cherries in the Snow contains approximately 150 calories. This makes it a fantastic indulgence without completely derailing your healthy eating habits. Just imagine savoring that fluffy cream paired with sweet cherries while keeping your calorie count in check!
Nutrient breakdown
A healthy dessert? Yes, please! Here’s what you get per serving:
- Carbohydrates: 24g
- Fiber: 2g
- Protein: 3g
- Fat: 5g (mainly from the cream)
- Vitamins & minerals: Excellent source of Vitamin C, with potassium and antioxidants from the cherries.
Cherries are known for their health benefits, including anti-inflammatory properties and a great dose of antioxidants. If you want to dive deeper into the perks of cherries, check out sources like the Cherry Marketing Institute.
Next time you're enjoying your Cherries in the Snow, remember that you're not just treating your palate; you're nourishing your body, too!
FAQs about Cherries in the Snow
Can I use fresh cherries instead of pie filling?
Absolutely! While Cherries in the Snow traditionally calls for cherry pie filling for its sweet and rich flavor, using fresh cherries can elevate your dessert to a new level. Just make sure to pit and slice them first. You might want to add a bit of sugar and lemon juice to mimic that filling’s sweetness and tartness. This substitution gives your dish a delightful, vibrant twist that is as fresh as it is delicious.
How long can I keep leftovers?
Leftovers of Cherries in the Snow can be stored in an airtight container in the refrigerator for up to three days. Just a tip: if you want to maintain the fluffy texture, consider keeping the topping separate from the cherry mixture until you're ready to serve. This way, you won’t lose that lightness!
Can I make this dessert in advance?
Yes! Preparing Cherries in the Snow ahead of time is a fantastic idea, especially for gatherings. You can create the cherry layer a day in advance and let it chill in the fridge. Just whip up the topping a few hours before serving to ensure it stays nice and fluffy. This makes it a breeze to impress your friends with minimal day-of effort.
For additional tips on dessert prep and serving, you might find resources like The Kitchn really helpful!
Conclusion on Cherries in the Snow
In wrapping up our exploration of Cherries in the Snow, it’s clear that this delightful dessert not only captivates with its vibrant colors but also enchants with its refreshing flavors. Whether you choose to serve it at a cozy gathering or a festive occasion, it's a true crowd-pleaser.
This dessert is incredibly customizable—consider swapping in Turkey Bacon for a unique twist, or trying variations with different fruits. The beauty of Cherries in the Snow lies in its versatility, making it a joyful recipe to play around with.
Remember, the joy of cooking comes not only from following recipes but also from making them your own! For more tips on enhancing your dessert game, check out resources on seasonal fruits or expert baking techniques. Happy baking!
Print
Cherries in the Snow: Indulgent Dessert with Turkey Bacon Delight
Experience the delightful blend of sweet and savory with this Cherries in the Snow dessert, featuring turkey bacon for an unexpected twist.
- Total Time: 2 hours 20 minutes
- Yield: 6 servings
Ingredients
- 1 cup fresh cherries
- ½ cup granulated sugar
- 2 cups whipped cream
- ¼ cup turkey bacon, cooked and crumbled
- 1 teaspoon vanilla extract
- 1 cup crushed graham crackers
Instructions
- Preheat the oven to 350°F (175°C).
- In a bowl, mix the cherries and granulated sugar. Let sit for 10 minutes.
- In another bowl, combine whipped cream and vanilla extract until smooth.
- In a serving dish, layer graham crackers, the cherry mixture, and whipped cream alternately until all ingredients are used.
- Top with crumbled turkey bacon.
- Chill in the refrigerator for at least 2 hours before serving.
Notes
- For a sweeter taste, use more sugar as per your preference.
- Feel free to substitute turkey bacon with regular bacon if desired.
- Prep Time: 20 minutes
- Cook Time: 0 minutes
- Category: Dessert
- Method: Refrigeration
- Cuisine: American
- Diet: None
Nutrition
- Serving Size: 1 serving
- Calories: 250
- Sugar: 20g
- Sodium: 150mg
- Fat: 10g
- Saturated Fat: 4g
- Unsaturated Fat: 6g
- Trans Fat: 0g
- Carbohydrates: 35g
- Fiber: 1g
- Protein: 3g
- Cholesterol: 10mg